
Easy Handmade Wreath Tutorial

Spring time yard clean-up is right around the corner for most of us. Shrubs have to be trimmed, dead branches need to be picked up from the winter winds and vines need to be cut back to promote new growth in the spring. Most of the debris can be picked up by the waste management company we use but some of it can be reinvented into beautiful wreaths.
Grape vines are the usual choice for wreaths, but let’s consider some alternatives. Curly Willow branches are long and curly like a pigs tail and they make beautiful wreaths. They are fragile when they are dry so be aware of this before deciding where to hang the wreath. Birch branches make beautiful, loose looking wreaths like the one below on this vintage window.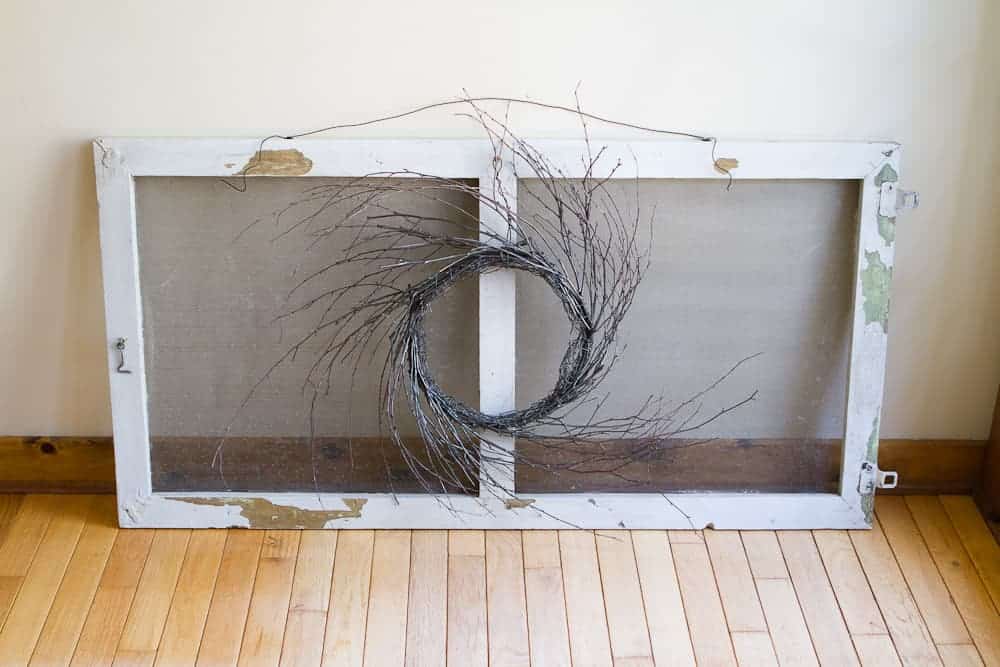
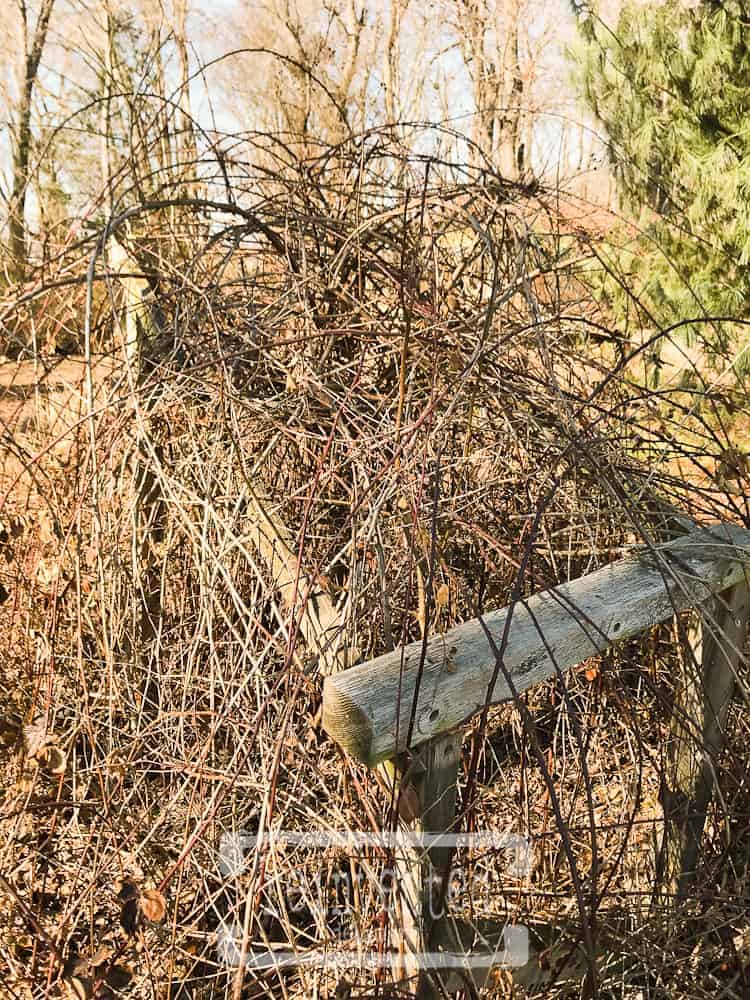
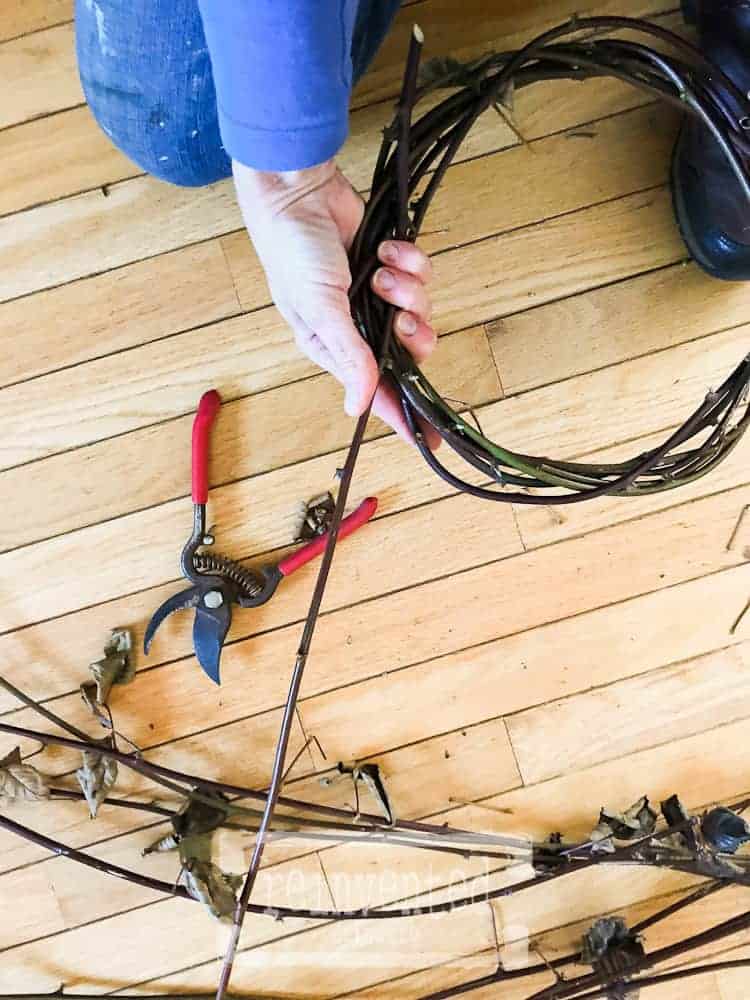
Another choice is any kind of long and branching vine. We have thornless blackberry ‘bushes’ that produce delicious blackberries for a couple of weeks in late spring. It’s always a challenge to get to the berries before the beetles do! The vines need to be trimmed yearly to keep the bush producing berries. Here is ours. It is a scraggly mess right now! And it is a bit overgrown because we didn’t trim it last year 🙂 The branches stretch way out and if they touch the ground the branches will take root and start a whole new plant. So I started cutting the branches. I cut the branches as long as I could so that I could have long pieces to form the wreaths.
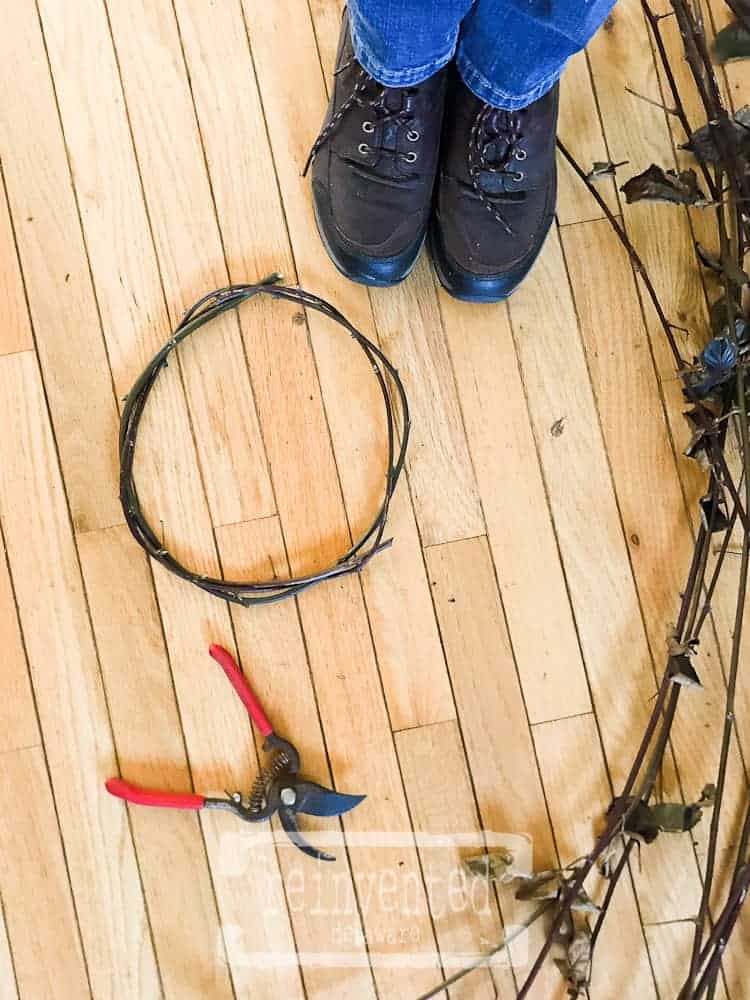
The best part about making the wreath just after cutting the branches, is that the branches are pliable. If you just pick up branches that have already fallen, they will be brittle and unworkable.
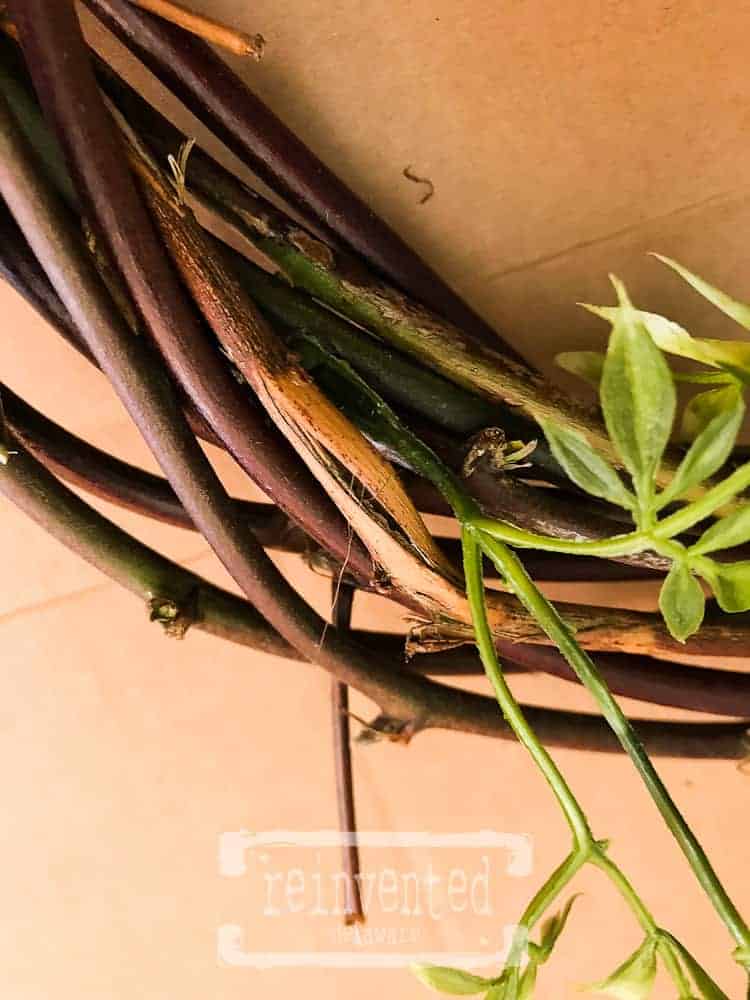
This wreath is about 12″ in diameter. I held the branch in the middle and formed the initial circle, wrapping it around itself as I closed in the circle.
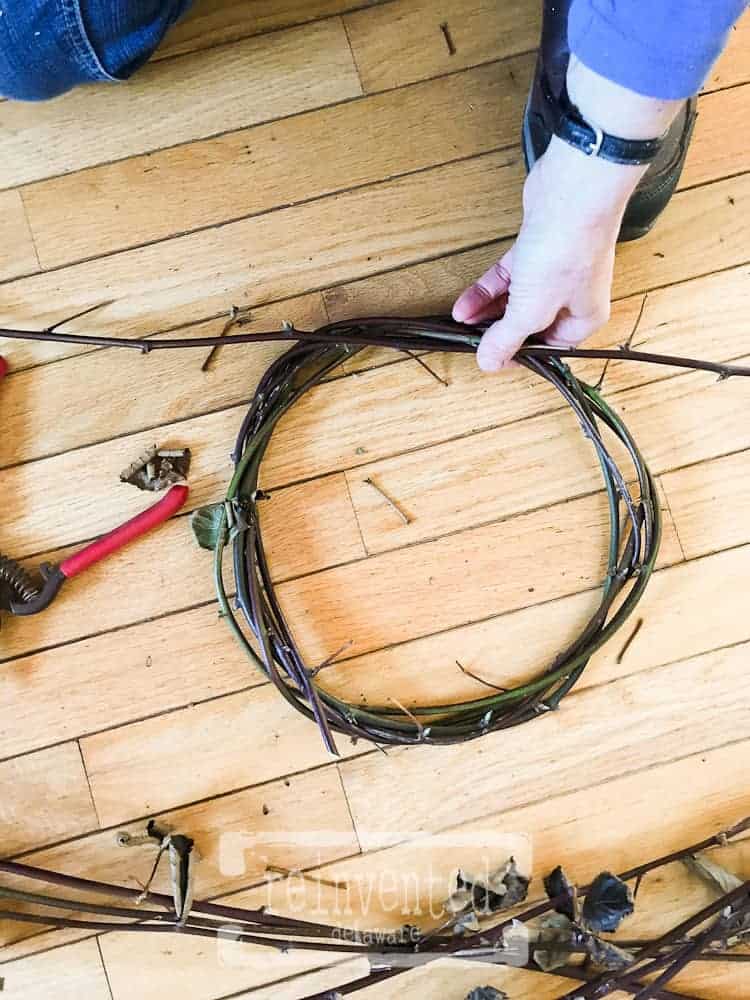
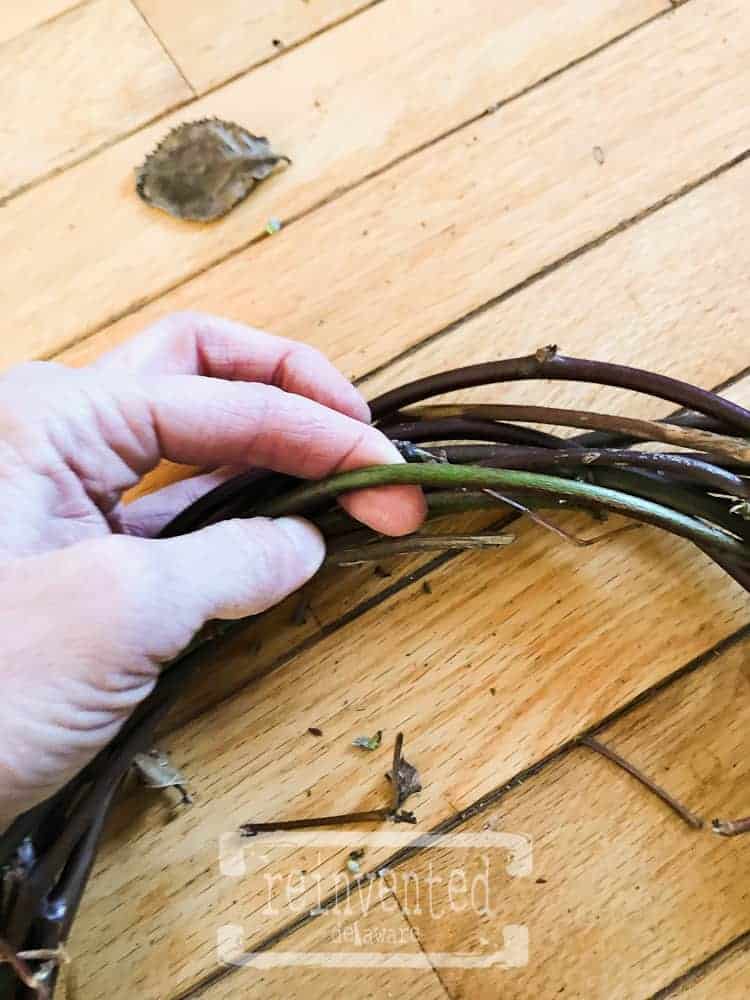
I repeated the same method with each branch I added alternating the position of the starting point. Alternating like this will keep the wreath even. The branches are thicker towards the root end and skinnier towards the other end. So by changing the position of the branches you will prevent parts of the wreath being thicker than other parts.
Wrap the branches around the wreath looping inside the center of the wreath.
When you get to the ends of the branches, lift up the previous branches and tuck in the ends. If the ends are too stiff, just cut off the part that won’t cooperate (they can be especially stiffer towards the root end – the other end is much more pliable) .
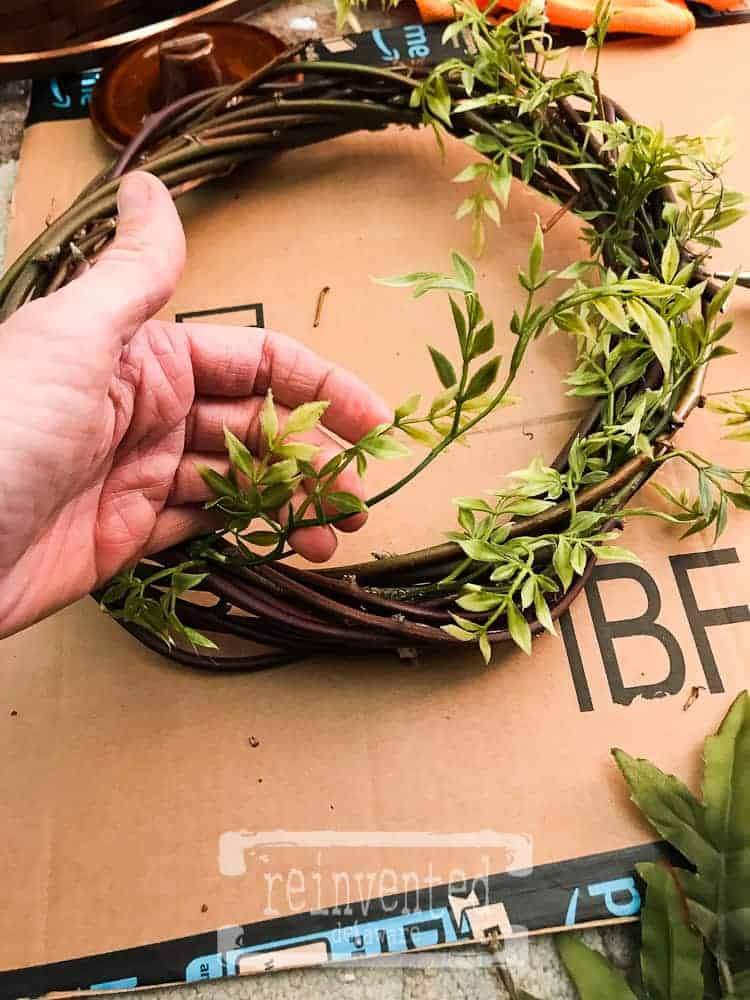
Continue to wrap as many branches as needed to make the wreath as thick as you want. I prefer the scraggly, sparse look but you can wrap branches to your hearts content! You can even leave the pliable ends a bit loose to add to the scraggliness 🙂
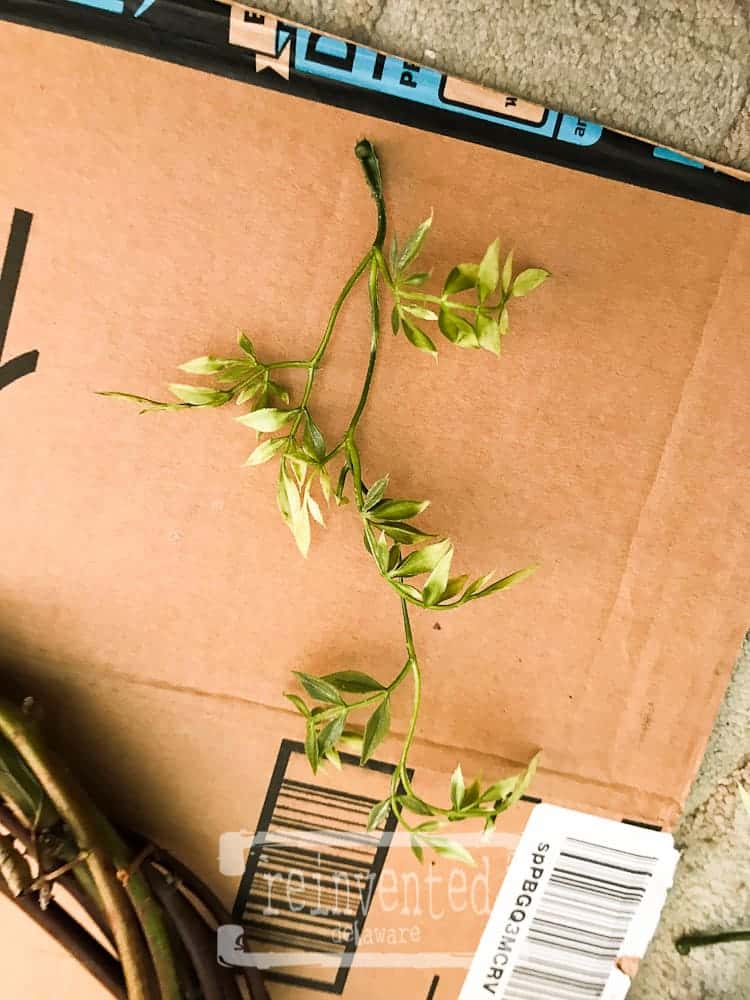
Here is some greenery I found at Hobby Lobby. They were having a 50% sale on all the garland. Honestly, their greenery is the best – in my humble opinion 🙂 I picked up several garlands in a variety of colors and leaf shapes.
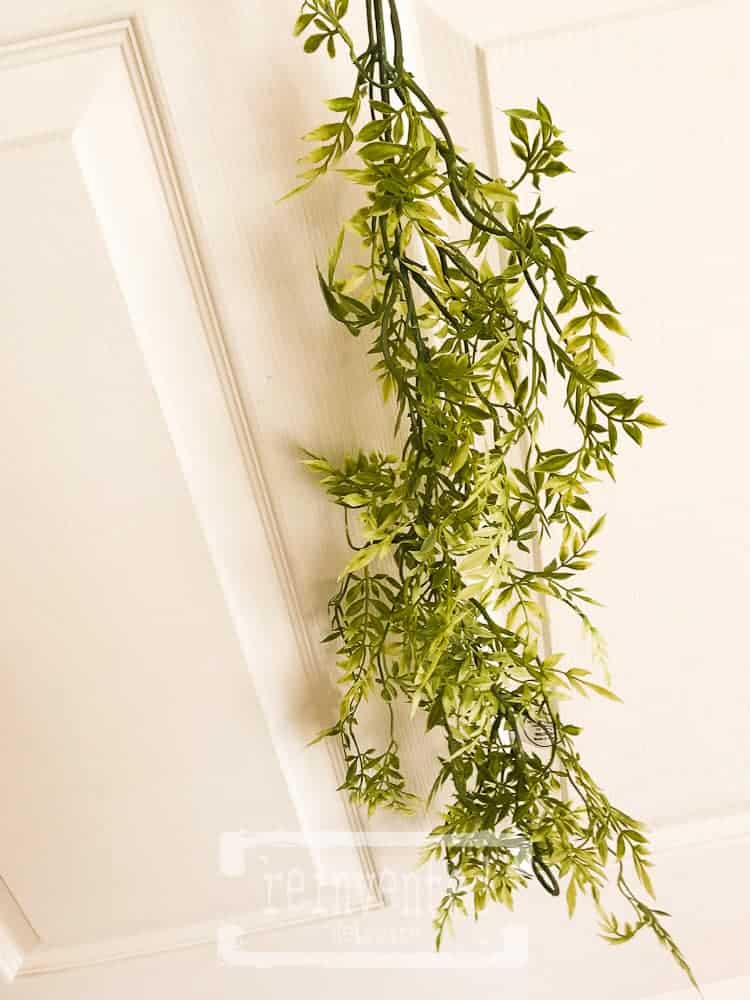
I pulled off the little pieces to make it a bit more manageable. Plus, I like the sparse look so I didn’t want to use the whole garland on one wreath. This is a creative way to get a great bang for your buck especially if you plan on making more than one wreath. If not, save the leftover greenery for another project 🙂
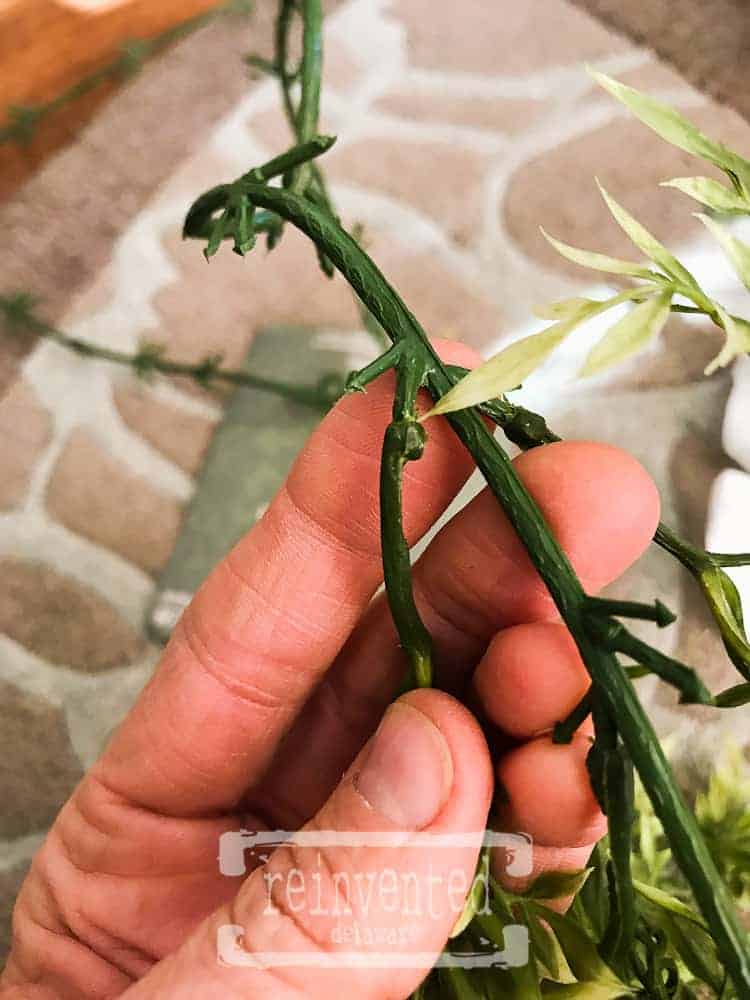
The hot glue gun held in each little section very nicely. I tried to hide the part that had the glue on it. Not pretty if the glue shows 🙂 Be sure to keep the top of the first piece loose. This will be taken care of when you completely go around the wreath with the greenery.
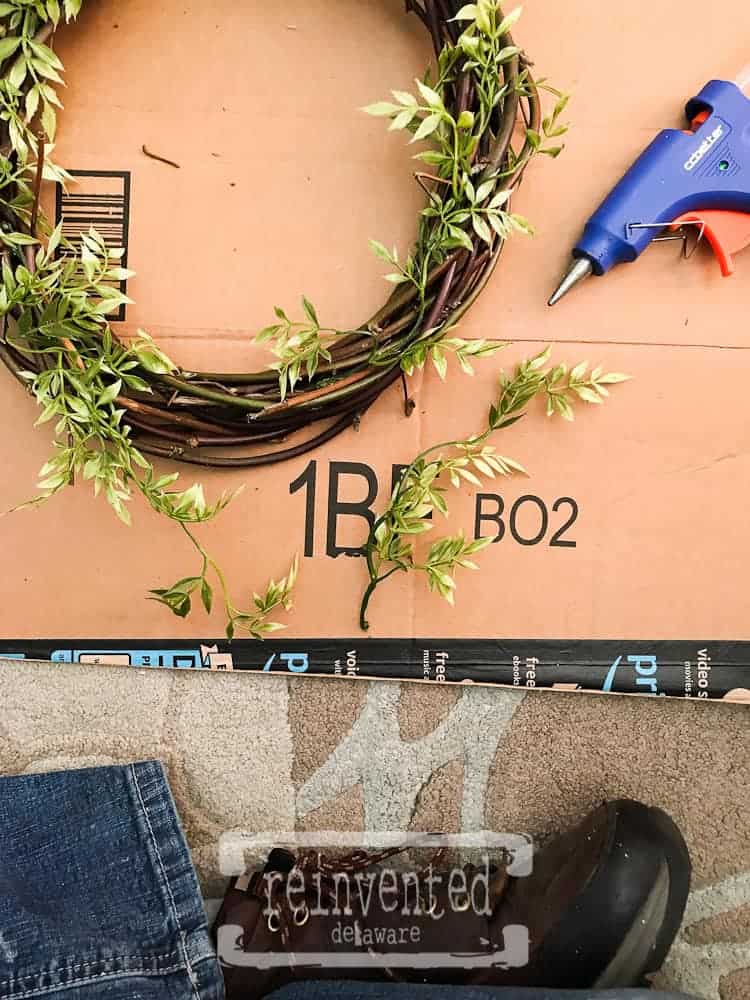
Work in a ‘backwards’ way so that you can cover the previous glued section and help to hide any glue that might be showing. If the pieces are long like this one, just glue it down towards the top of the piece. This will keep everything under control once you hang it.
Here we are – close to the end! Remember the first piece we left loose at the top? Use the top end of the first piece to cover the bottom end of the last piece you glued.
Check your wreath for any bare spots and fill them in with more greenery. Again, this is your personal preference.

Some of the garland I picked up had little flowers so I pulled them off too. I added them to the wreath for additional texture.
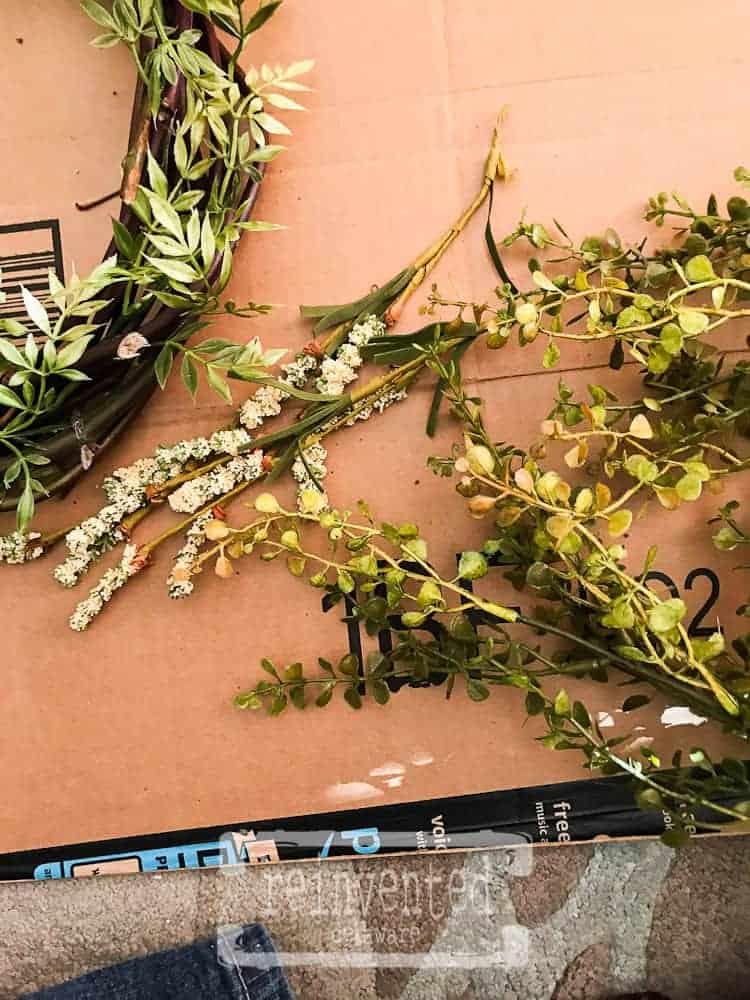
Those Amazon boxes come in so handy for a quick work surface! You will also see the sun came out from behind the clouds while I worked on this wreath in my craft room 🙂
Add a bit of twine to the back for hanging.

Of course, this wreath would be so pretty hanging in any room or on any door as is, but let’s just get crazy and add an old and discarded cabinet door to it before we hang the wreath! The cabinet door just adds another dimension to the wreath!

This wreath uses a different color of greenery and some lavender both from Hobby Lobby!

I would love to see the wreaths you make with branches and vines from your own yard – or help your neighbor trim some vines in their yard and make a wreath for them too!
Thanks for stopping in! Any questions you might have can be asked in the comments below. If you make a wreath, be sure and tag me on Instagram @reinventeddelaware. I would love to hear from you! Pin the image below for future reference!
Have a great day!
Cindy, this is beautiful!!!
Thanks so much Amber! Let me know if you give this tutorial a try! I would love to see the wreath you make 🙂
You made this tutorial so easy to follow, Cindy! Great job and the wreaths are so pretty! I will have to go to Hobby Lobby for some cool garland…..
Thanks Patti! Hobby Lobby has the greatest greenery!!
Fabulous tutorial with a gorgeous result!!
I’d love for you to join us over at the Creative Crafts Linky Party every Wednesday through Sunday
https://creativelybeth.com/creative-crafts-linky-party-39/
Followed and Pinned! 🙂
Creatively, Beth
Thanks Beth! And thanks for the invite! I’ll try to hop over to your link party!
Love this, Cindy!!! Items from nature make THE best decor! Thanks so much for sharing at Home Imagined this week. Pinned!
I agree Rachel, so many goodies in our own yards!
Love this wreath idea Cindy! We will be featuring it on the Fabulous Friday Link Party this week.
Thanks for the feature Michele! I appreciate it!
What a sweet wreath! Thanks for the reminder that we don’t have to buy the basic wreath and then embellish. We can make the whole thing.
PS. Your shoes are so cute!
Thanks Diane! There are so many ways to make beautiful things from the natural elemenmts around us! And those shoes! Haha! They have saved my toes many times in my workshop 🙂