
Victorian Upholstered Chair
Here are my tips for the beginning stages of reupholstering a Victorian upholstered chair! Be sure to see the video for a demonstration!
discovering the goodies
We come across our furnishings and home decor items in random ways.
Take this chair for instance. My bible study friend has a friend who is moving and downsizing to another state. This friend had a gorgeous chair that she hated to part with because it had been her grandmother’s. The only reason she was able to part with it was because of the damage her kitty cat had done to the fabric.
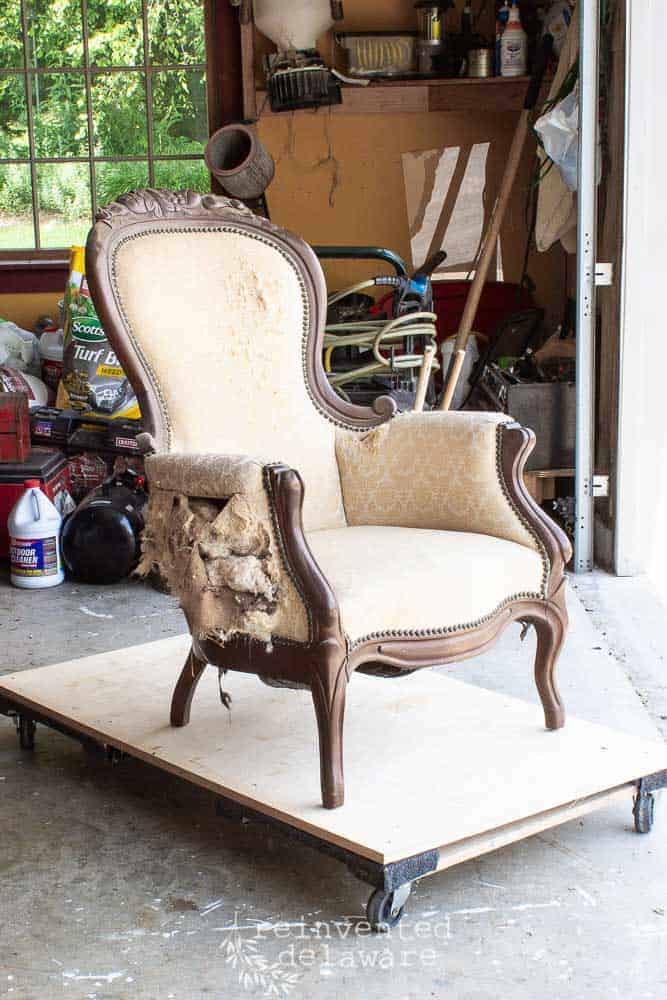
It was in a sad state when we went to her home to pick it up. She had also had several other pieces that she was getting rid of but, unfortunately for us, those pieces were already gone! Oh well, I hope someone out there is treasuring them!
projects on hold
This chair sat in my garage among the pile of projects that had to be completed first. But the day finally came! I ordered the fabric and put the chair on the docket!
I’ll share the details of the gorgeous fabric I chose in a future post. For now, let’s get the damaged fabric off of this lovely victorian upholstered chair!
tools of the trade
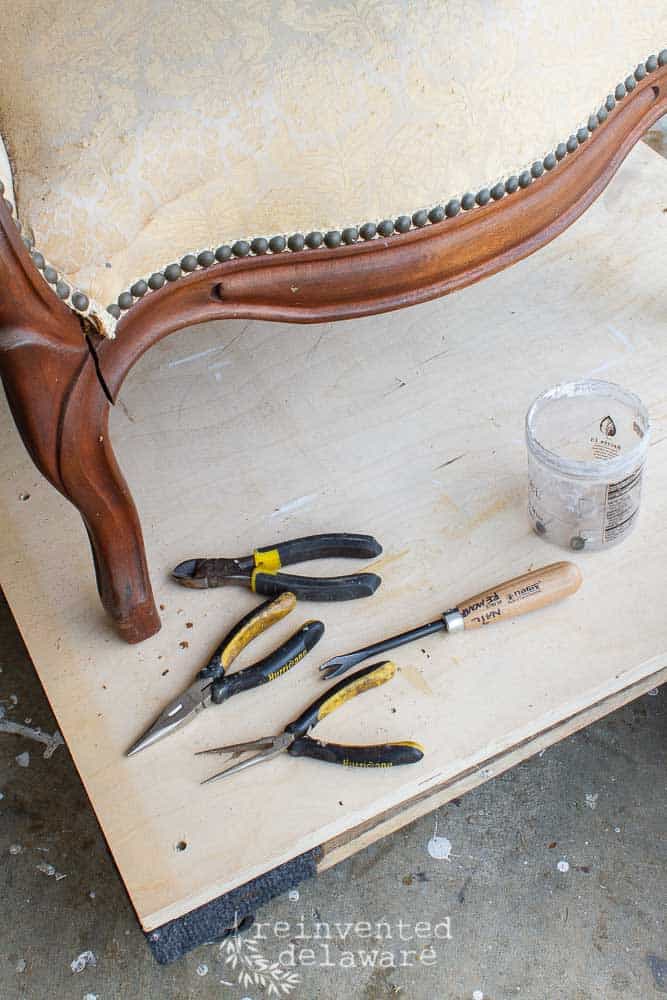
Hear are the tools I use to remove staples, upholstery tacks and decorative tacks:
- tack lifter and upholstery staple remover
- spring loaded needle nose pliers
- various pliers
- container for tacks and staples
- audio book
how to remove the tacks
Here is a little video to show you how I remove upholstery tacks!
control the tacks
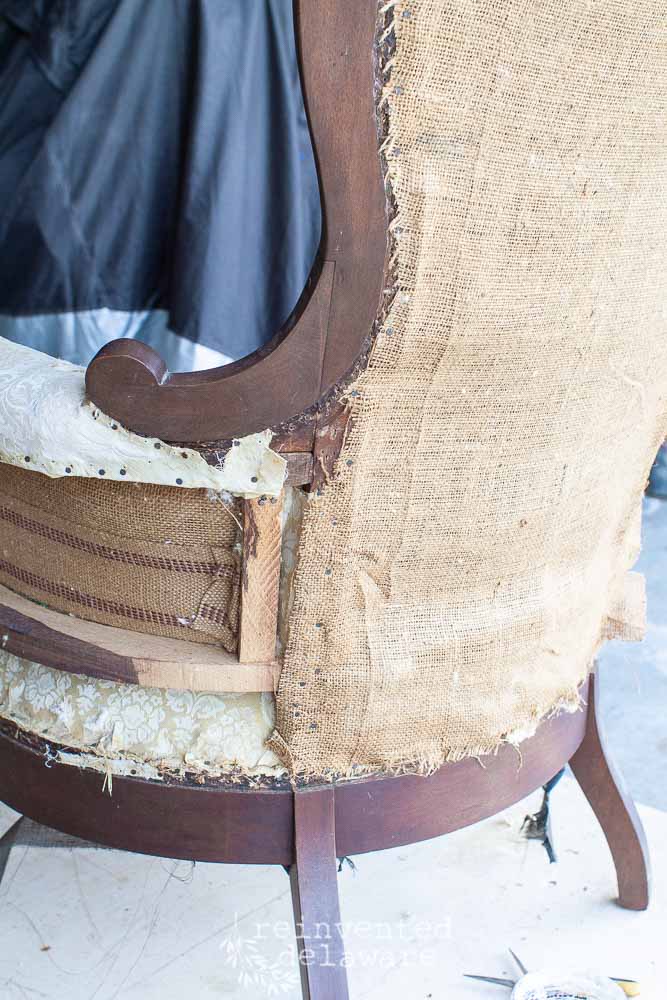
Once the decorative tacks are removed, the hardworking, tiny tacks that were used to secure the fabric can be removed. These little tacks are super sharp and super tiny. Very carefully, I pulled the fabric away from the chair and the fabric helped to pulled out most of the smaller tacks. I was careful not to pull too fast to avoid small tacks flying all over the garage.
I also used a plier in a twisting motion to loosen and remove the fabric and tacks. Again, I was careful to do this slowly to avoid flying tacks!
Check out this post for more details on removing the tiny tacks.
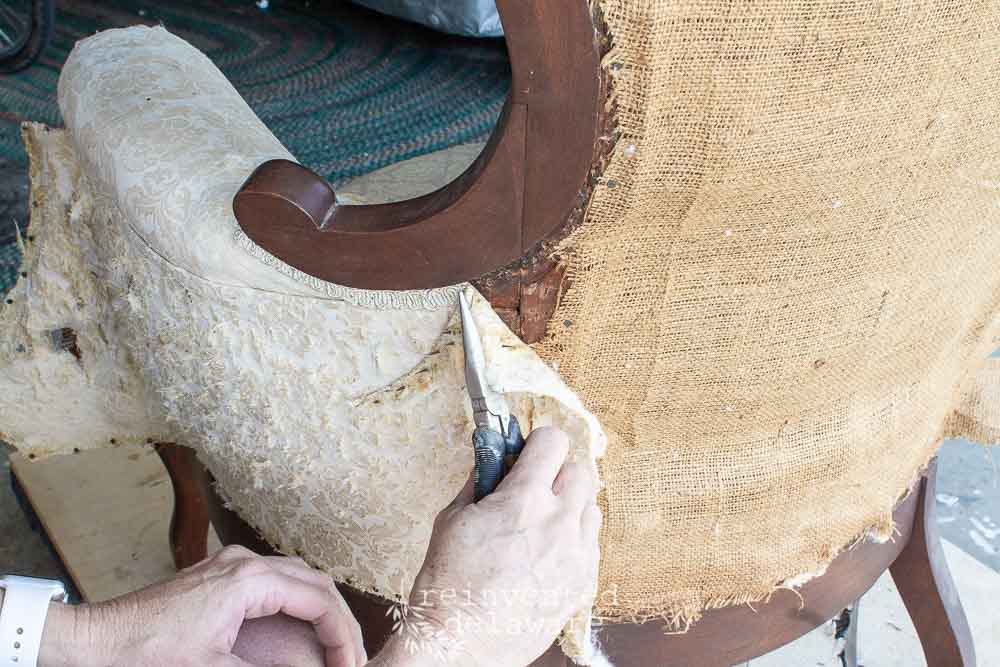
Here you can see the smaller tacks that are put in first to hold the fabric. Nowadays, we use an air compressor and staple gun 🙂
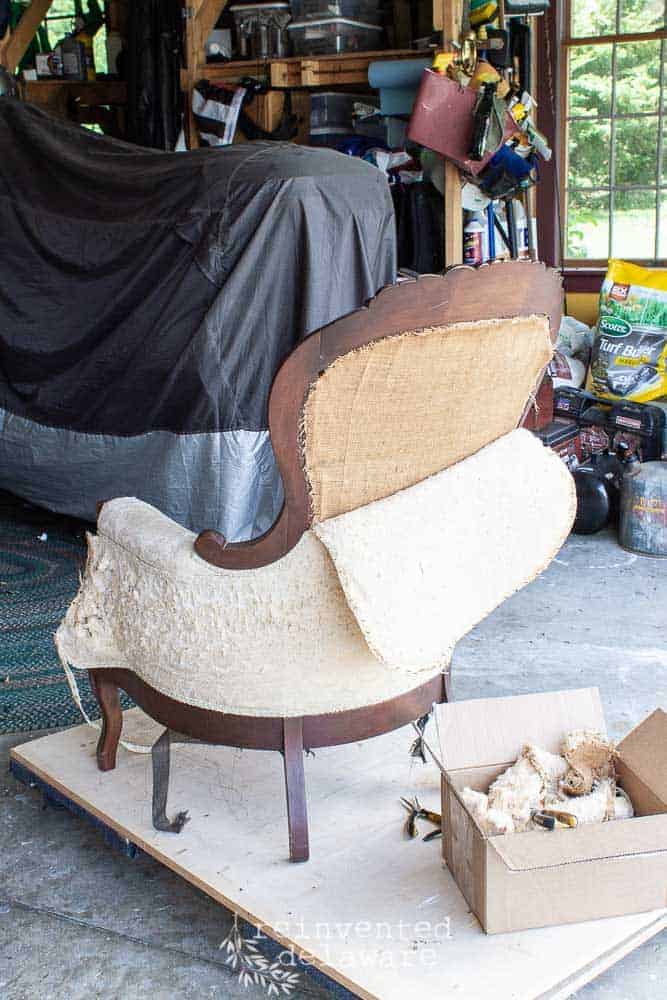
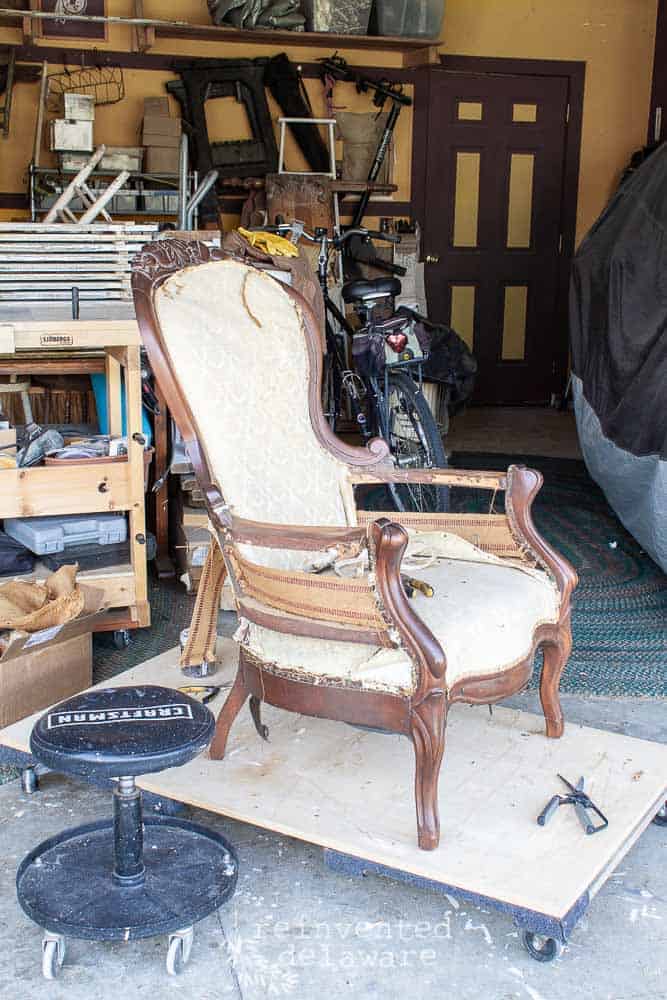
finished for the day
This is as far as I got on the chair yesterday! I am pretty pleased – all of the decorative tacks are removed and most of the fabric is in the trash!
Once I was finished for the day, I gave the garage a good vacuuming with the shop vac! As careful as I was, there were still some stray tacks on the floor. Take my word for it, they are not friendly on feet or tires!
Stay tuned as I progress with this beautiful victorian upholstered chair!
UPDATE: The Victorian Upholstered Chair is finished and I have gathered all the posts together for you! I don’t want you to miss a thing!
I can’t wait to see this one finished!
Me too my friend!!
What a cliffhanger, Cindy! Ha ha! I’m dying to see what it will look like. Someday I’m coming home with a vintage item and heading back to your site to figure out what the heck to do with it and how to do it! Can’t wait to see the progress on this one…Thanks for sharing at Tuesday Turn About!
Thanks my friend!! I am hoping to fill my site with projects that help others!? Good luck hunting out the vintage goodies!