
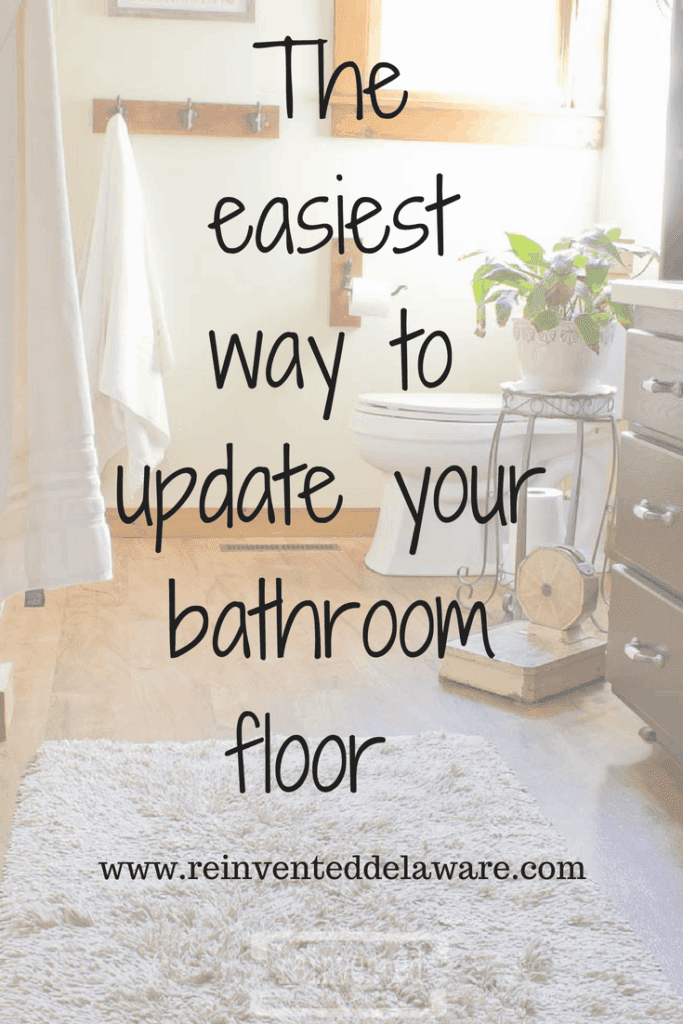
The Easiest Way to Update Your Bathroom Floor | Shaw VersaLock Vinyl Plank Flooring
**This post is not sponsored by Shaw. I am not being compensated in any way, I just love the product 🙂
Seriously, this was one of the easiest DIY projects that we have tackled in our 30+ years of home projects!
Shaw VersaLock Vinyl Plank Flooring is literally a snap to install 🙂 Measure, cut and snap. It is really that easy!
We started this flooring project in our small guest bathroom.
You can read all about it here. I have step by step directions on laying this flooring down yourself and saving a ton of money! The total cost for both bathrooms was about $200.
Yes, I just said only $200!
We couldn’t believe the transformation for such a great price!
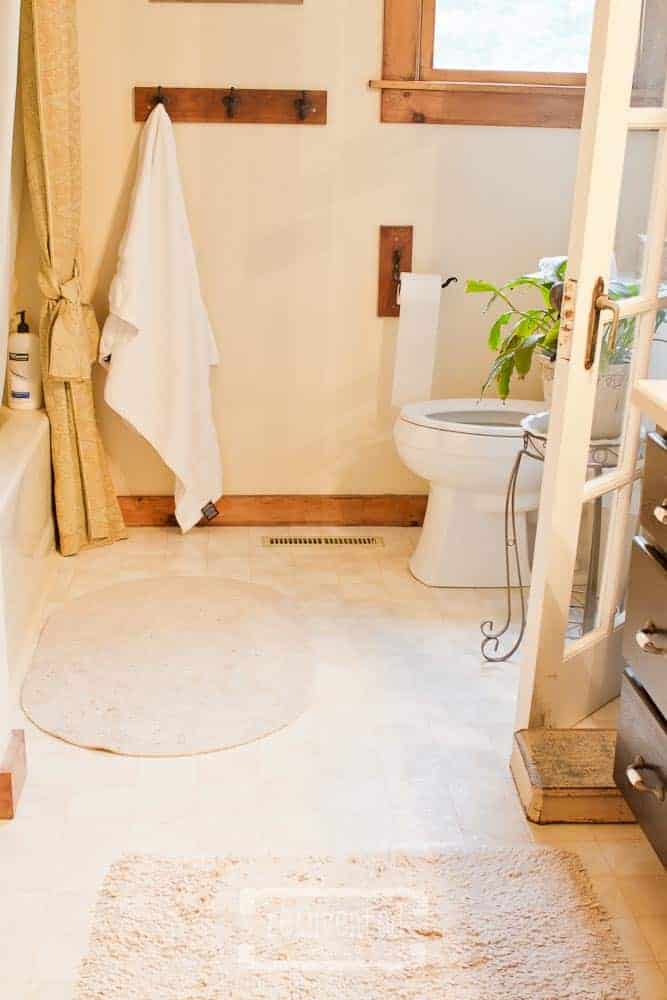
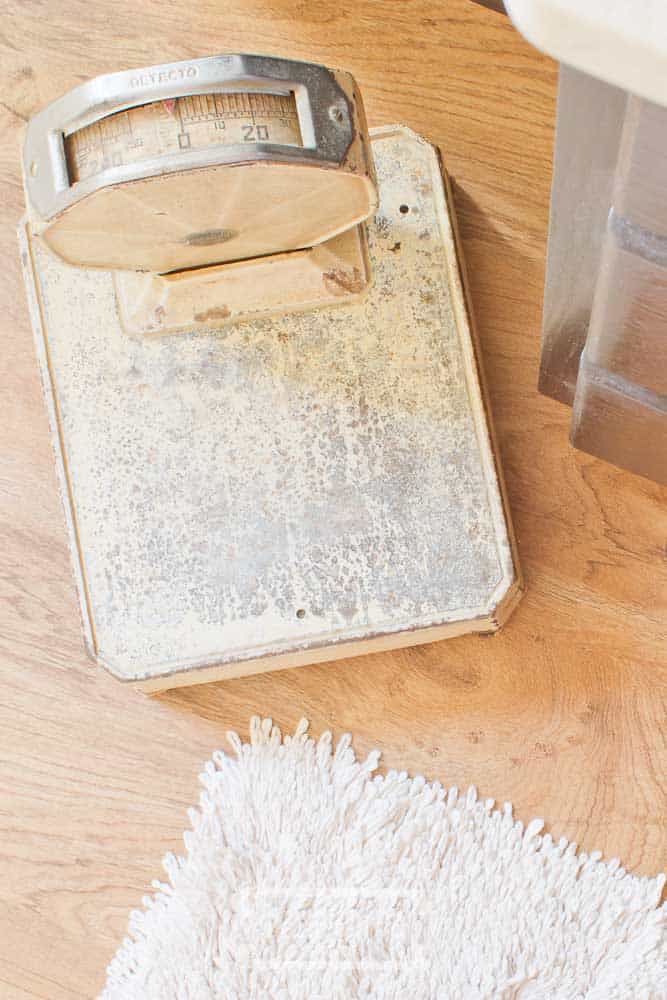
Here is the before shot of our master bathroom.
The linoleum is original to our 20 year old home. Ceramic tile wasn’t big back then so we chose linoleum. That really was the standard of the day. I loved neutrals even back then 🙂
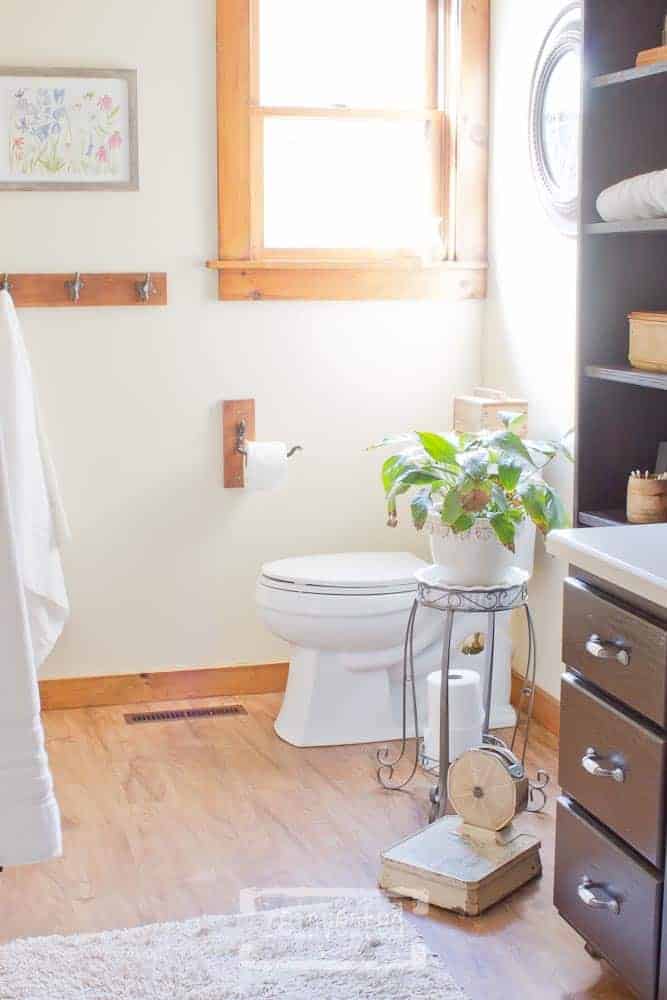
And here it is after 1 1/2 days of demo, cleanup, and installation. We took several breaks so I would say the total time for this project was about 10 hours.
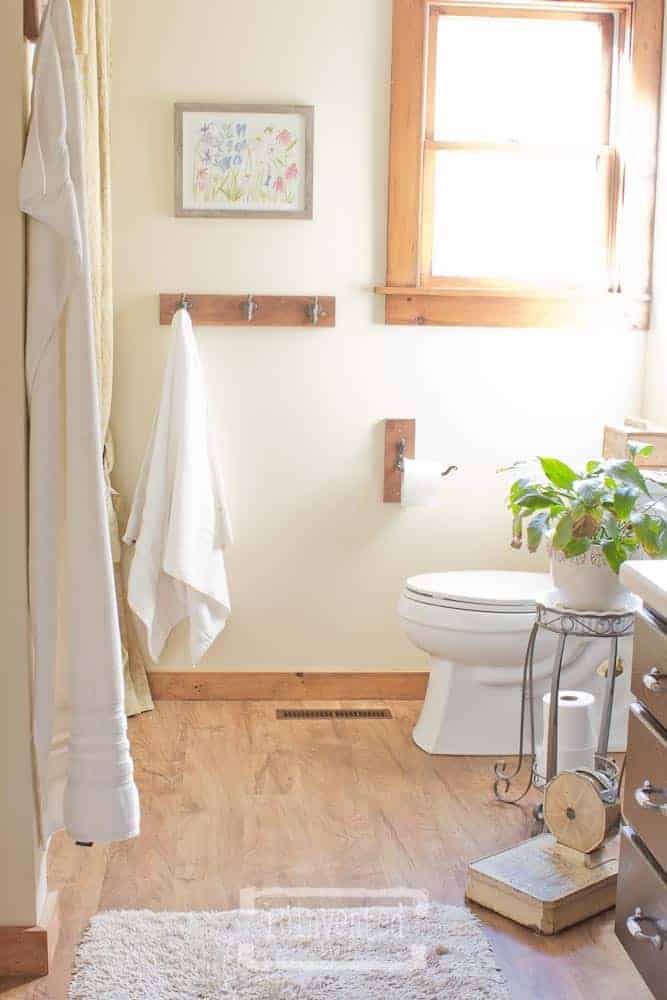
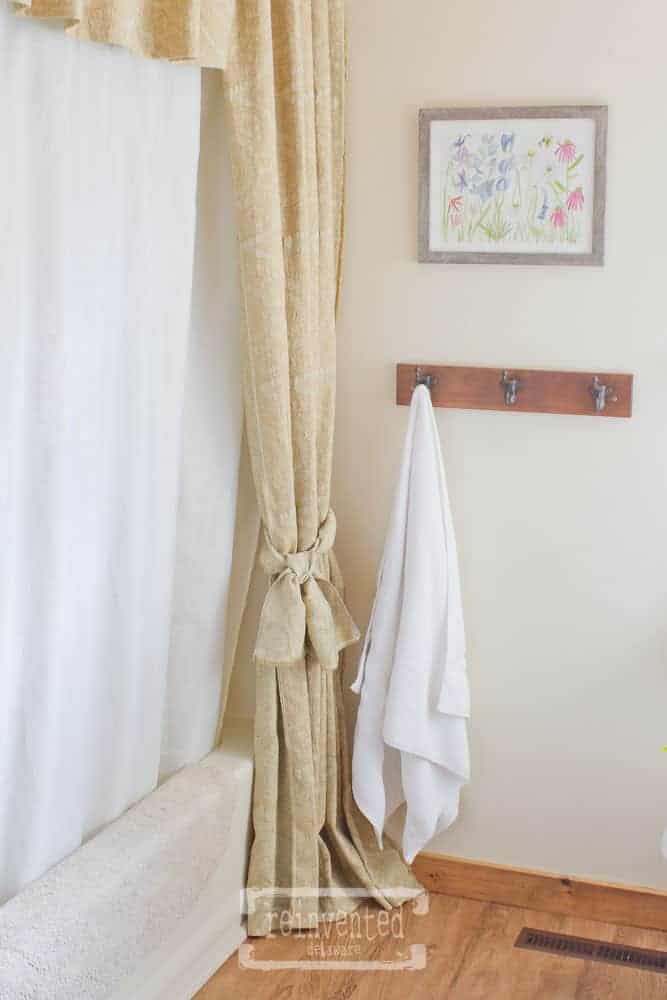
The color we chose was called Resort Teak
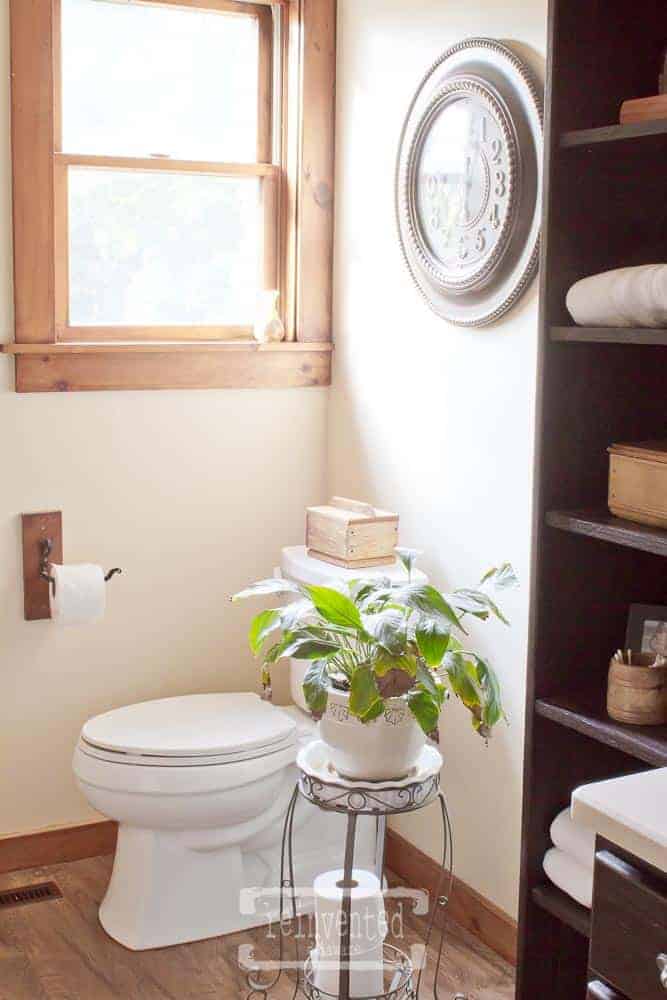
and I love it because it had grain lines that matched our vanity. It also looks so nice with our wood baseboard trim.
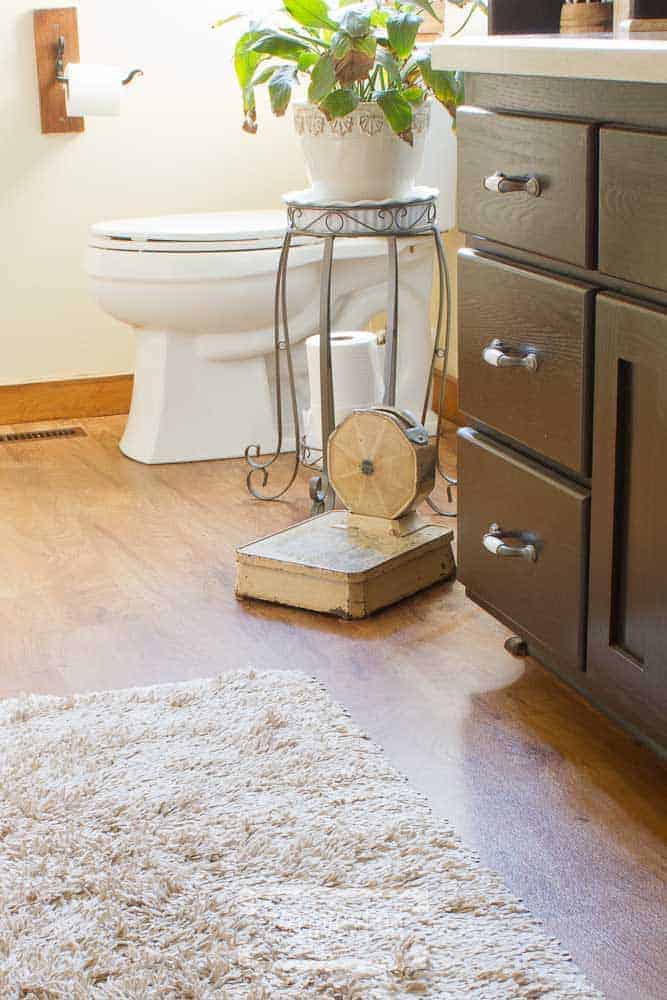
See how the dark grain in the vinyl coordinates with the dark vanity? Yay!!
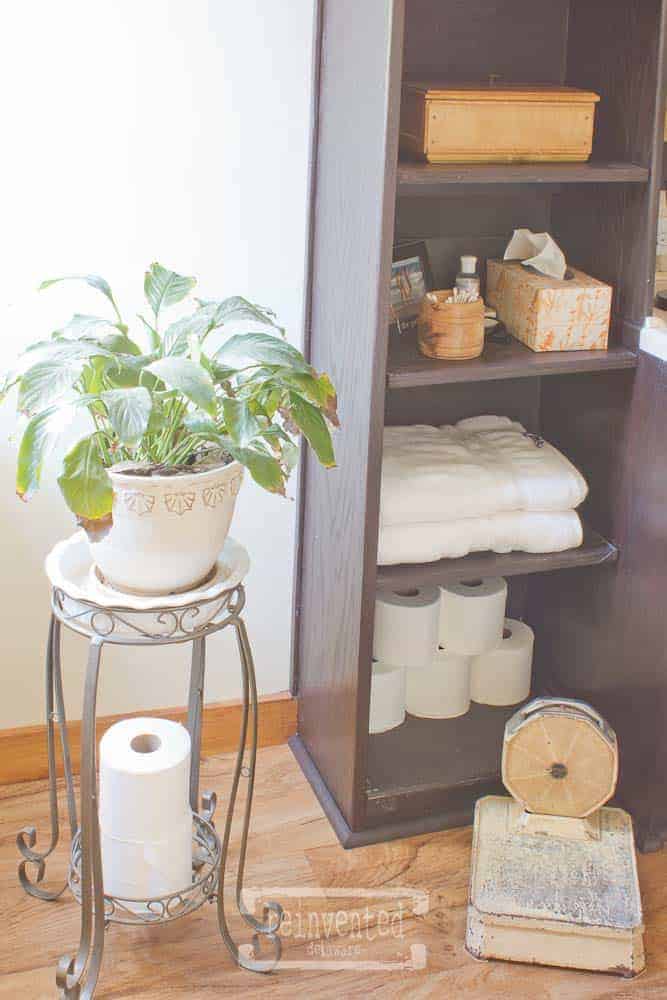
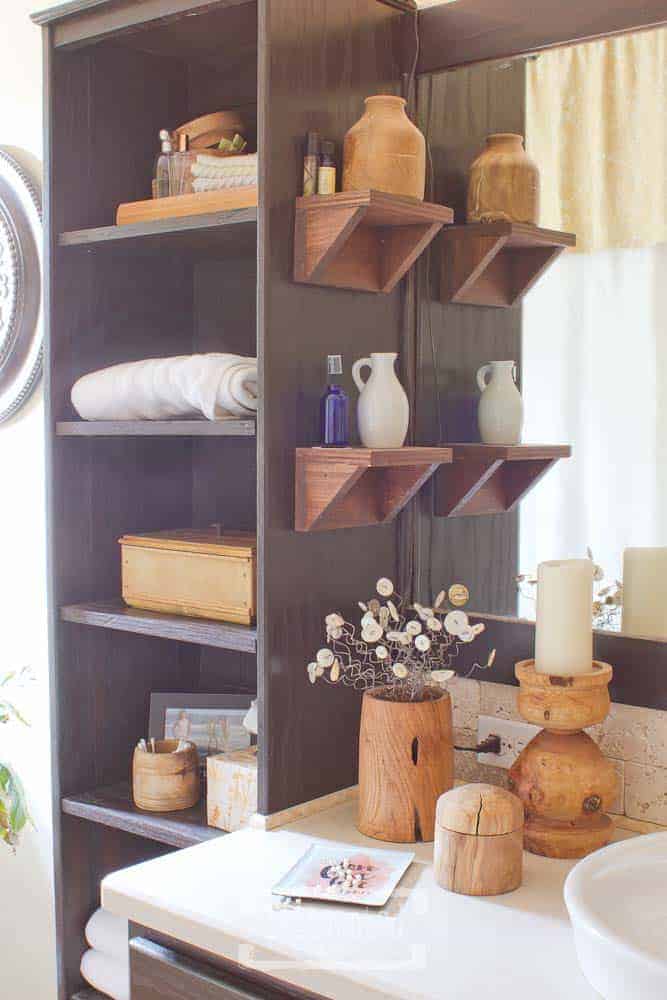
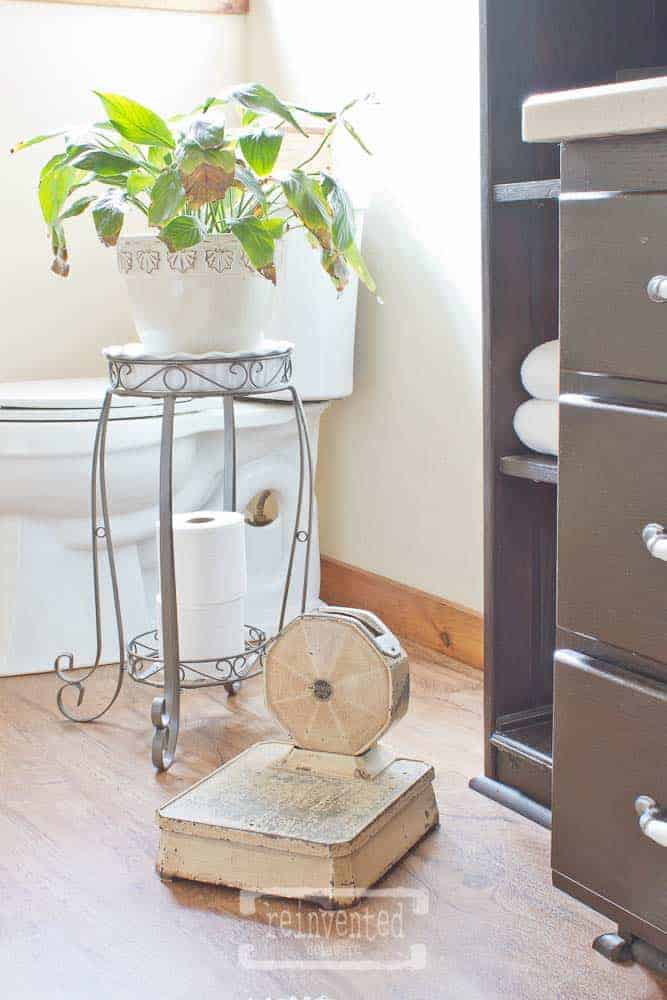
We have several wood pieces in our home that my husband has made by hand like these hand-turned vases, candle holders and bowls. The new vinyl wood-looking flooring fits perfectly into our home!
We couldn’t be happier with the flooring.
Installation really was a breeze and so quick. The hardest part was removing the old flooring and cleaning up afterwards. Cutting the vinyl was easy since the vinyl comes in long planks. Measure twice and cut once!
If you are looking to change the flooring in your bathroom, be sure and consider this flooring. See our small guest bathroom floor reno here. I have all the steps to install this flooring!
Pin this to your bathroom decorating board for future reference!
If you have any questions about this flooring be sure and ask in the comments section!
Thanks for stopping by! I would love to hear if you decide to tackle this project for your bathroom!
My favorite photo is the one with all the wooden pieces and shelving…and your husband made some of them?! Love!
He did make them! A few years ago we updated the oak vanity using General Finishes Gel Stain in Java. Along with that reno he built the shelving uniting and the small shelves. I stained the shelving unit the same as the cabinets so it looks like one unit 🙂
Great article! Shaw VersaLock vinyl plank flooring can be an excellent choice for updating your bathroom floor, as it is durable, water-resistant, and easy to install. With its interlocking system, VersaLock vinyl plank flooring can be installed over most existing floors without the need for glue or nails, making it a convenient and affordable DIY option. Additionally, its realistic wood-look design can add a touch of natural beauty and warmth to your bathroom design. However, it is important to ensure that the subfloor is clean, level, and dry before installation, and to follow manufacturer instructions for proper installation and maintenance to ensure the longevity and performance of the flooring. Ultimately, Shaw VersaLock vinyl plank flooring can be a practical and stylish choice for updating your bathroom floor with minimal hassle and cost.
Thanks so much for the information in your comment! I’m sure my readers will appreciate the additional info. Thanks for stopping by today!