
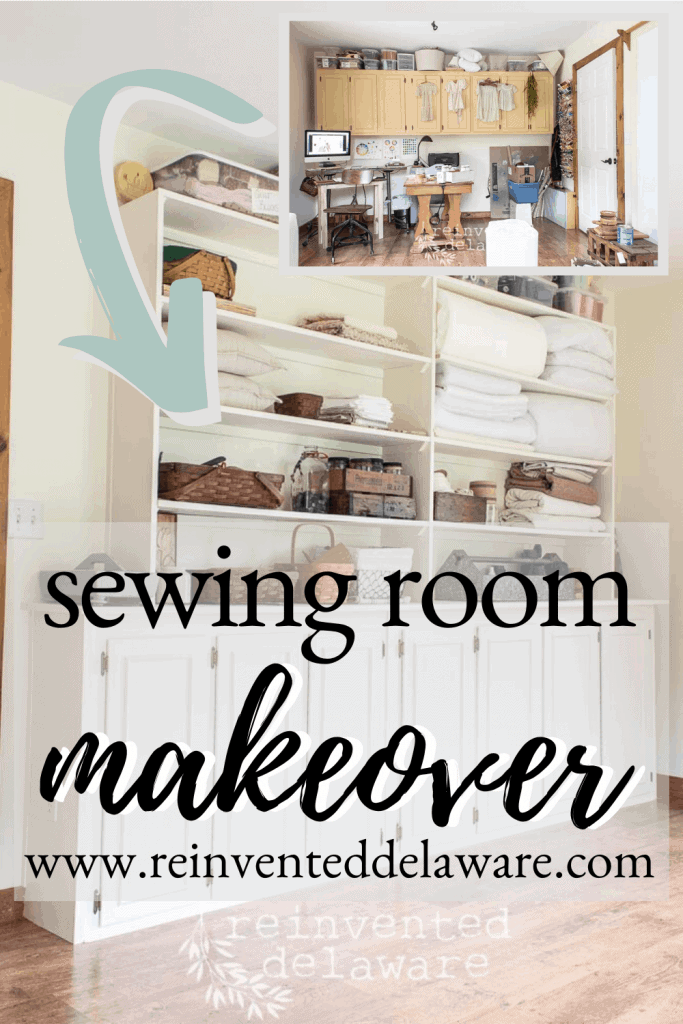
Sewing Room Makeover DIY | Part 2
It’s been a busy couple of weeks getting the sewing room makeover DIY complete but today it is in working order! I am so excited to share with you some of the ways we have reinvented this room into an organized and useful space for our business!
The following post may contain affiliate links. That means if you click and then buy something, I will make a small commission at no additional cost to you! Thank you for supporting my blog. full disclosure here.

let’s jump in!
Do you remember when I mentioned on Instagram Stories that this room was intended to be a dining room? Well, that just wasn’t going to work for our family dynamic when we built this home in 1998! I have been an avid seamstress since I was nine. Ok, so I didn’t actually sew when I was nine – you can read about the beginning of my sewing journey in this post!
Over the years, I have sewn a variety of projects like my own clothing, clothing for our three children including smocking little girls’ dresses, curtains and seat cushions for our home, slipcovers, quilts, quilts, and more quilts. You name it and I have probably sewn it!
Needless to say, I love fabric, thread, patterns, colors — all of it! I actually took sewing classes all four years of my high school career! One of my teachers even gave me permission to come to her sewing room during my study halls!
So you see why we converted the designation dining room in this home to a sewing room!
new purpose, new room
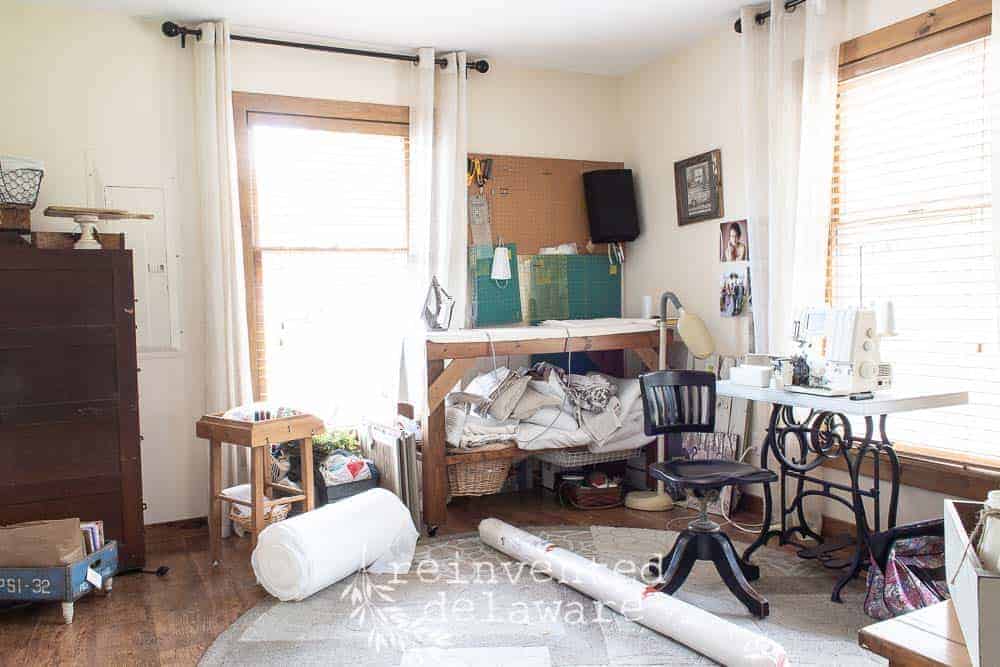
The room just needed a good makeover to suit the needs of our business. I don’t only sew in this room. It is an office where I can do our monthly bookkeeping tasks, write the blog tutorials we offer our readers, a storage room for workshop supplies, storage for custom reupholstery and slipcover projects, a video room for blog and YouTube tutorials, a staging room to showcase our finished furniture and home decor pieces and of course, sewing!
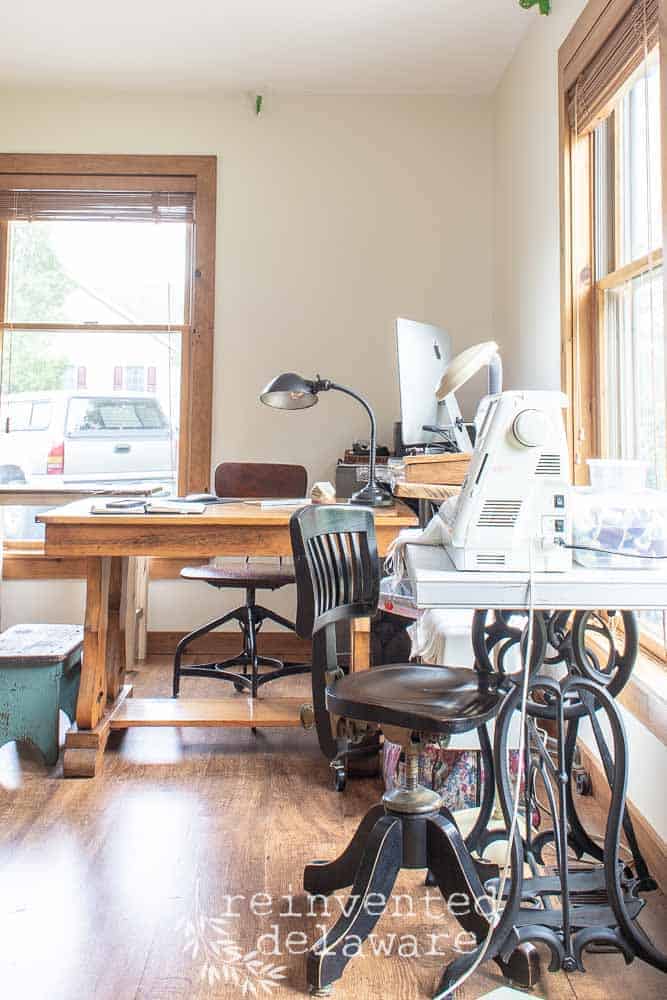
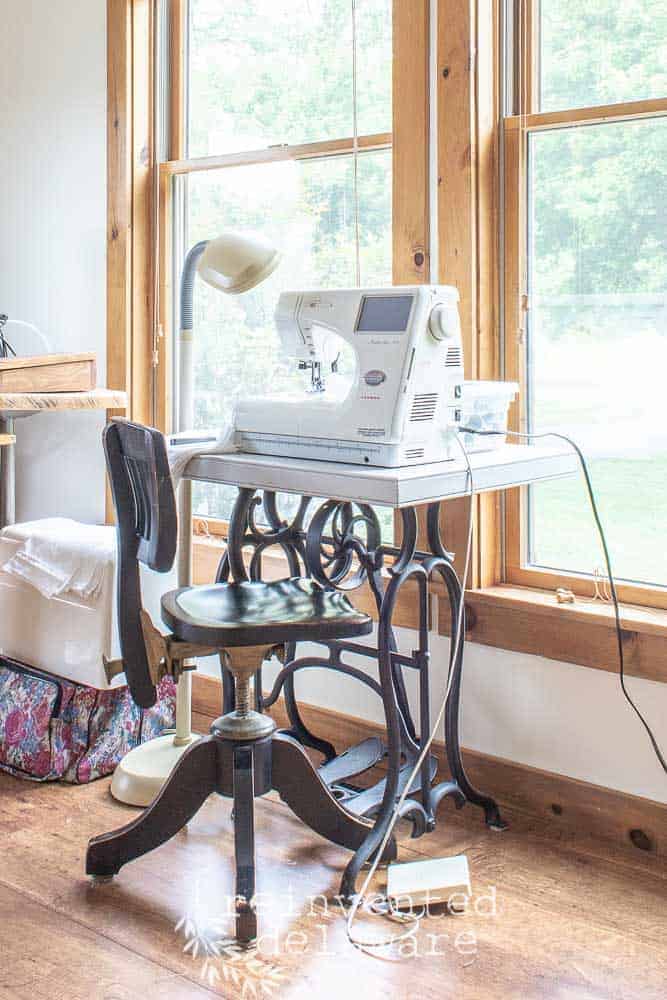
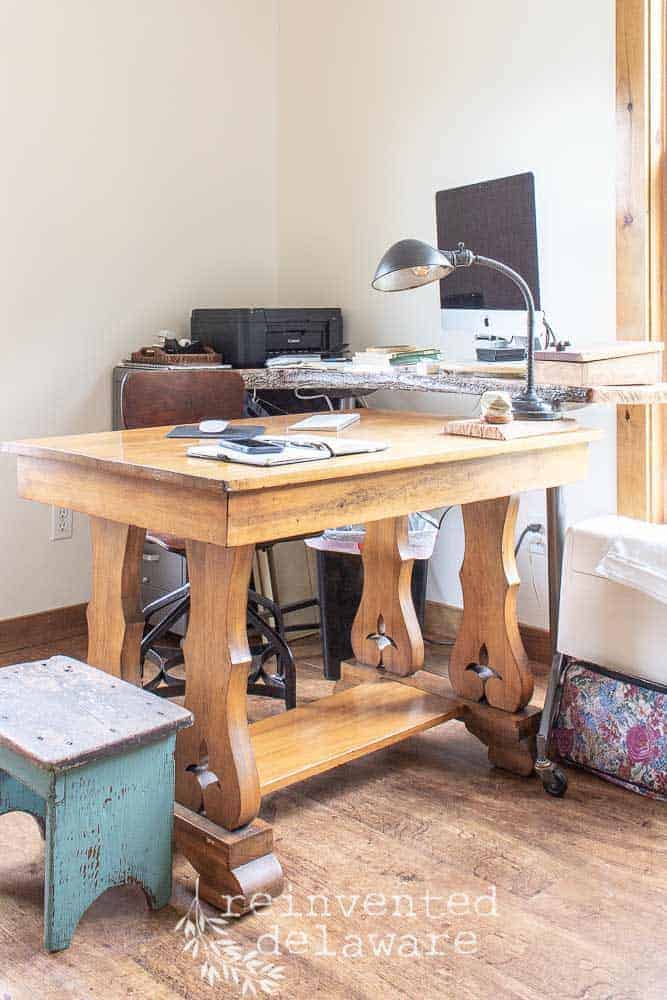
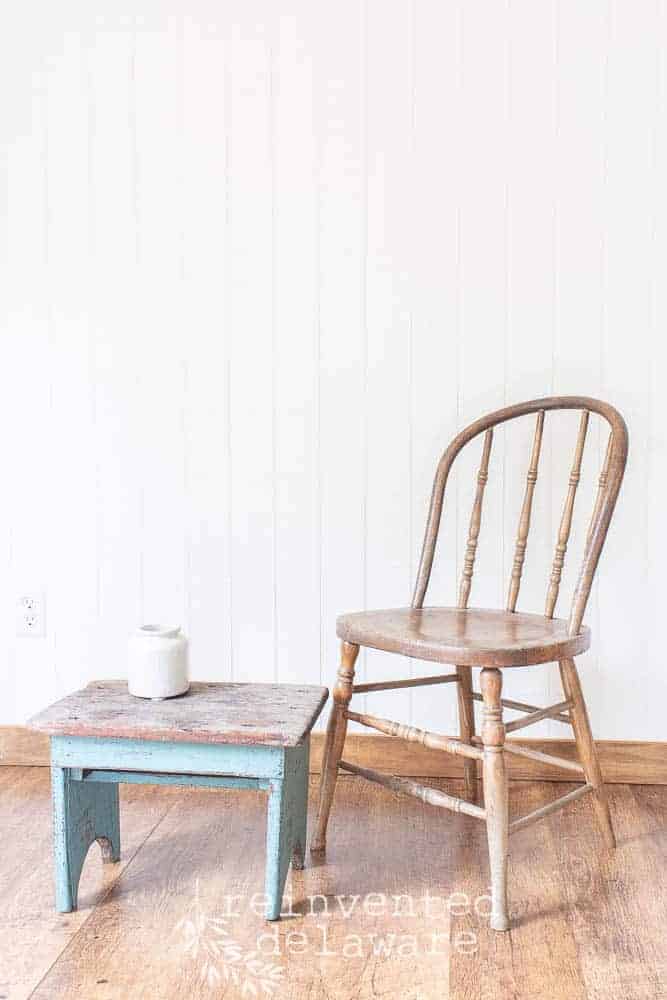
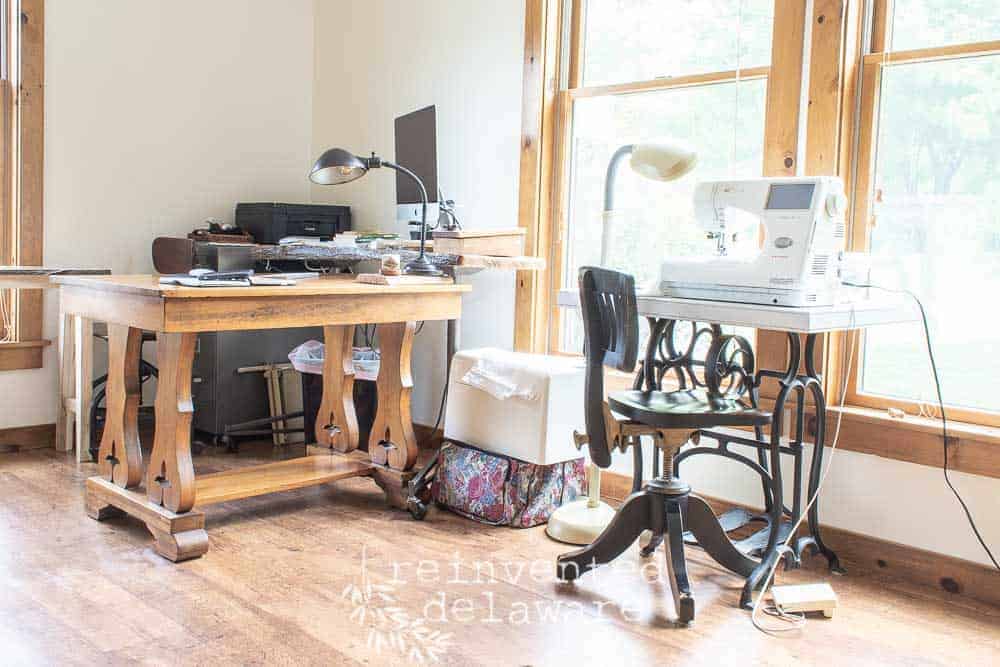
I am loving this little sewing spot! I can also use this table to paint watercolors! The natural light that comes from our 3’x6′ windows is perfect for sewing and painting!
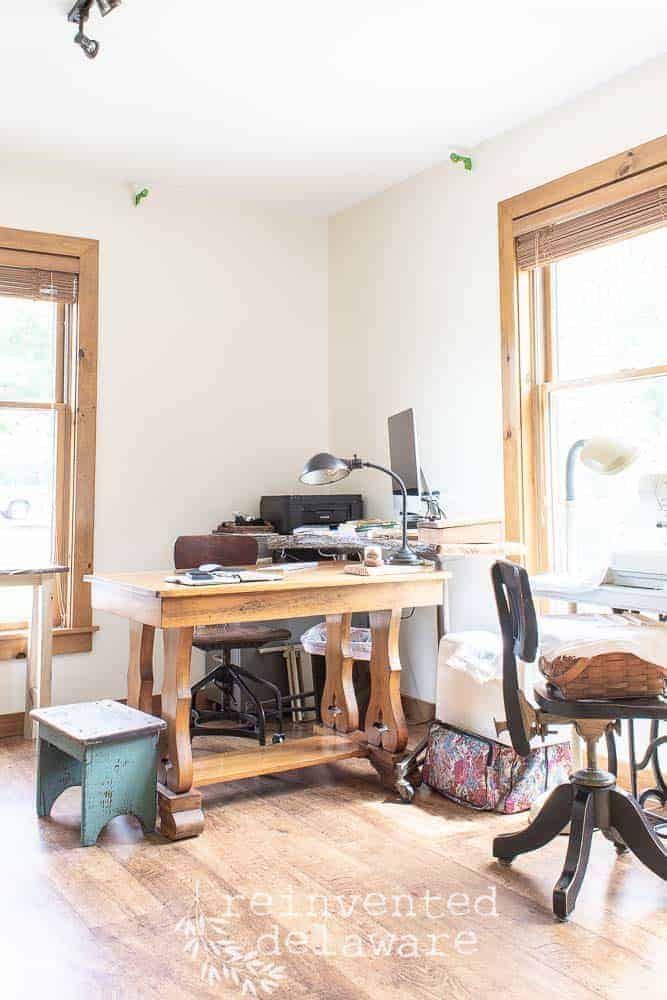
My sweet little office nook is perfect for the admin tasks I do on a regular basis. Bookkeeping, blogging, photo editing, Tailwinding (yeah, that’s a thing!), YouTube watching….
You know, all the things! BTW, this is the spot I usually eat lunch too!
The library desk belonged to my hubby’s grandma. I am going to give it a refresh as part of this room makeover so when I do I will tell you more about it. It has a cool story to it! I am honored that I can use it at this very moment typing this blog post!
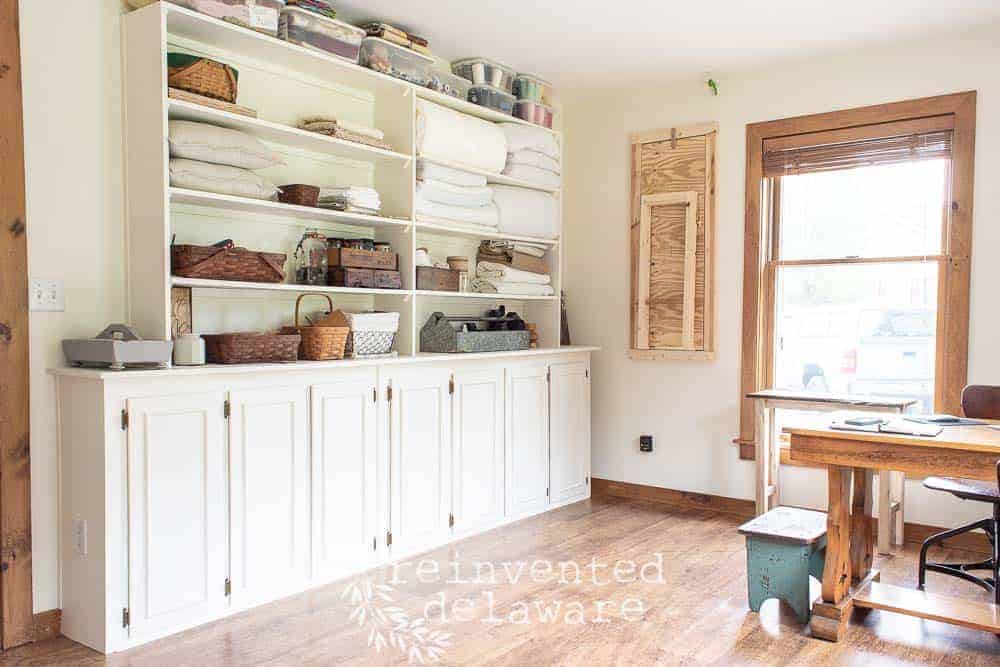
reinvented wall cabinets
In my last post, you saw that we moved the wall cabinets onto another wall and onto the floor. Wall cabinets aren’t just for walls, they are perfect on the floor when you don’t want to take up much floor space. They are only 12″ deep. I would have had a problem installing the fold-down ironing board if they were standard base cabinets. Base cabinets measure 24″ deep!
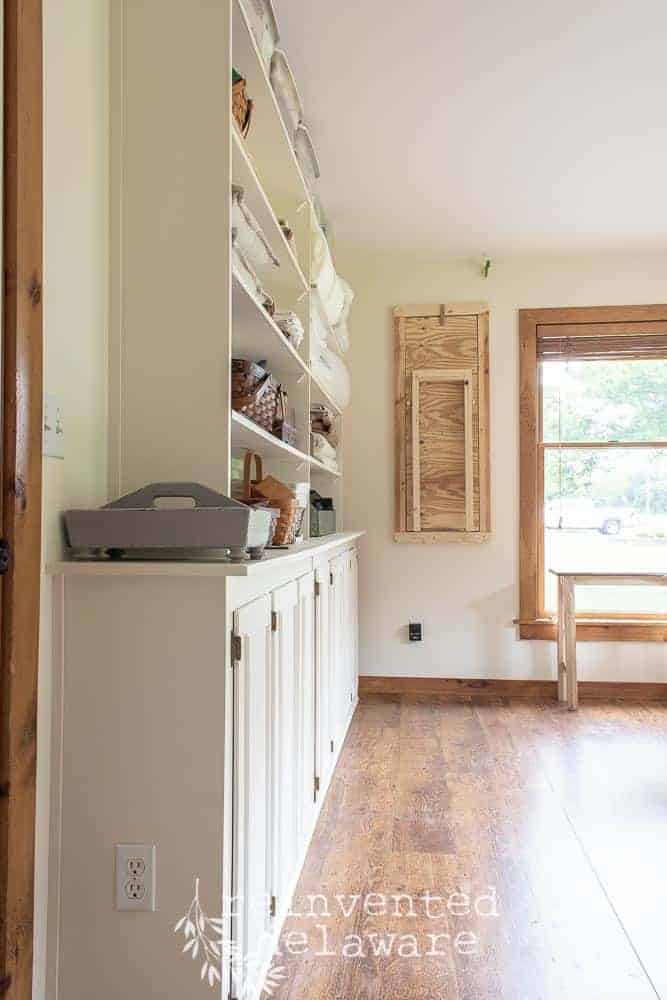
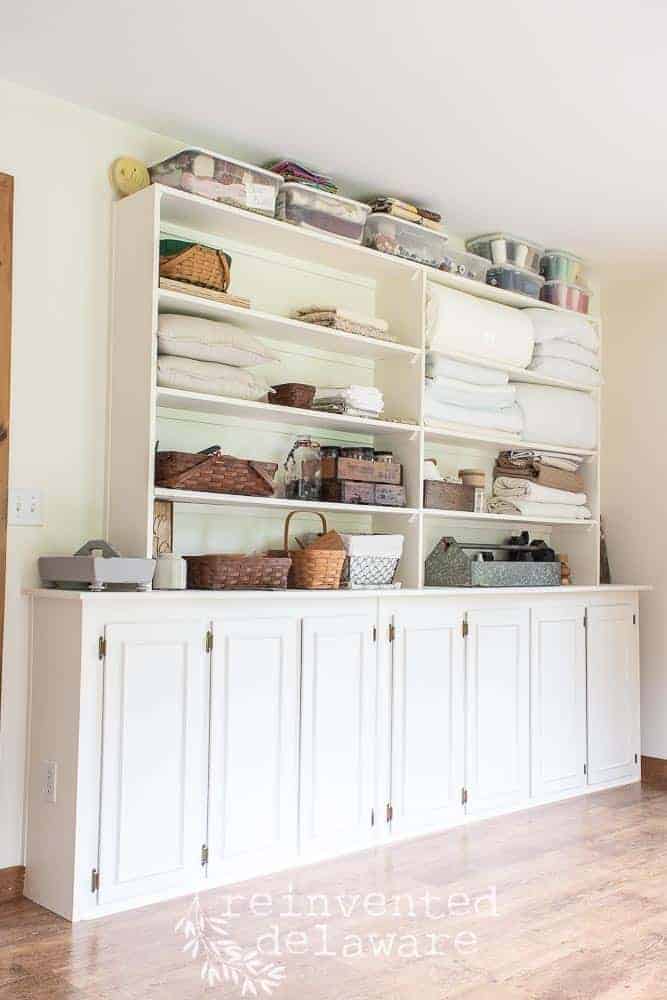
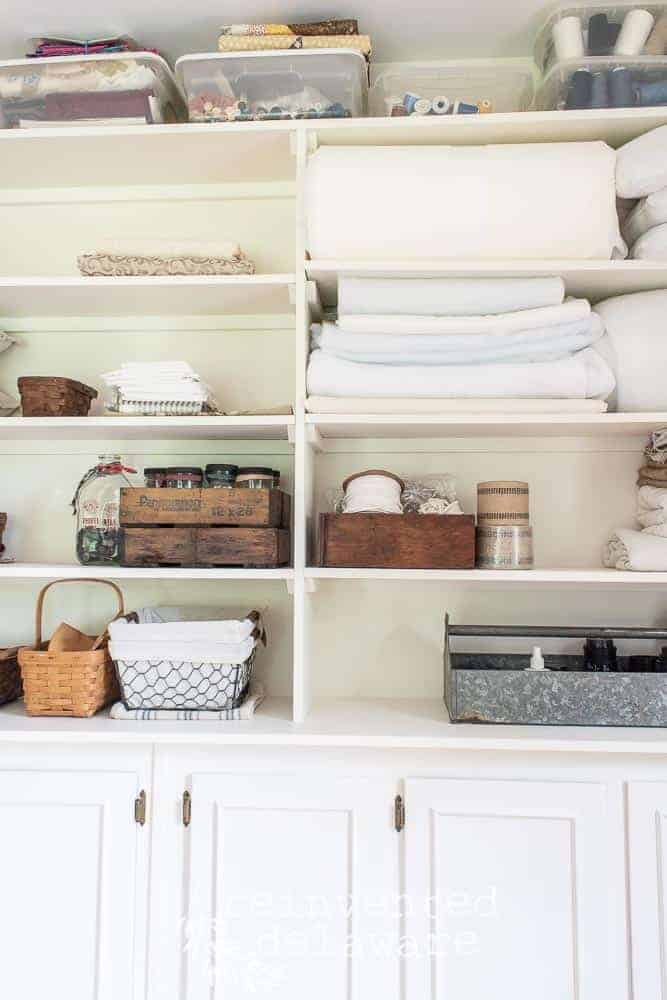
The built-in shelving unit along with the uniform color makes this piece look like a ginormous piece of furniture, don’t you think? I am loving it! This unit will be well-used, believe me!
I’ve gathered some of the tools and supplies we used to give this room a makeover!

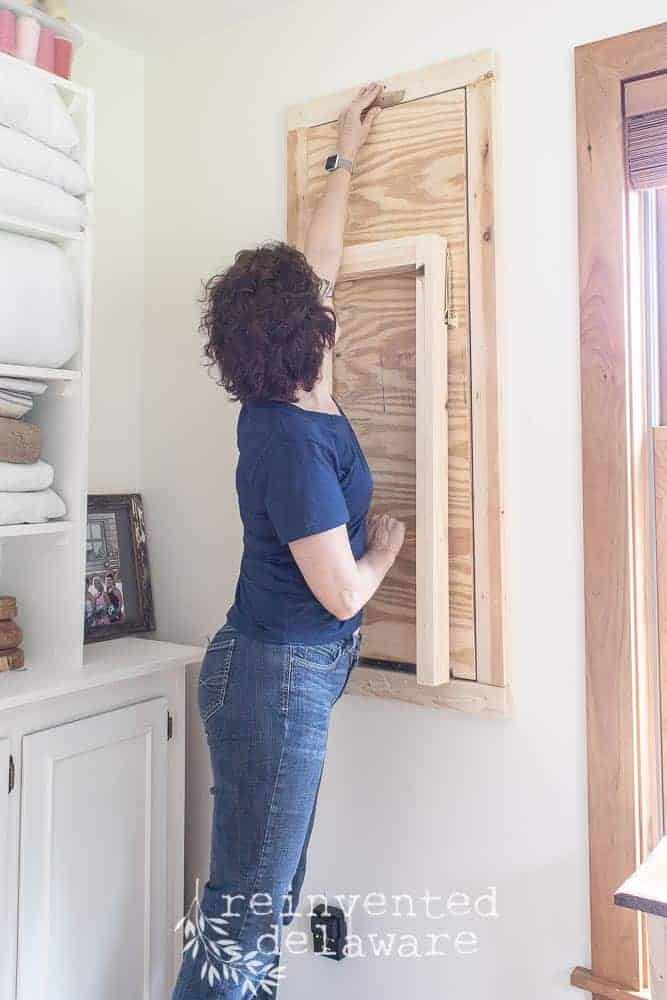
fold down ironing board
Now for the fold-down ironing board!
Let me first make mention where we found the idea for this fold-down ironing board. Pinterest of course! I searched for images of what I had in my mind and found this website. So glad I did! This fella’s YouTube is packed full of helpful tutorials like this Drop Down Work Table!
I showed it to my business partner, aka my sweet building hubby, and he said let’s build it! The one he built is geared towards an ironing surface but it can also be used as a work table for craft projects.
We came up with measurements that would suit the space available.
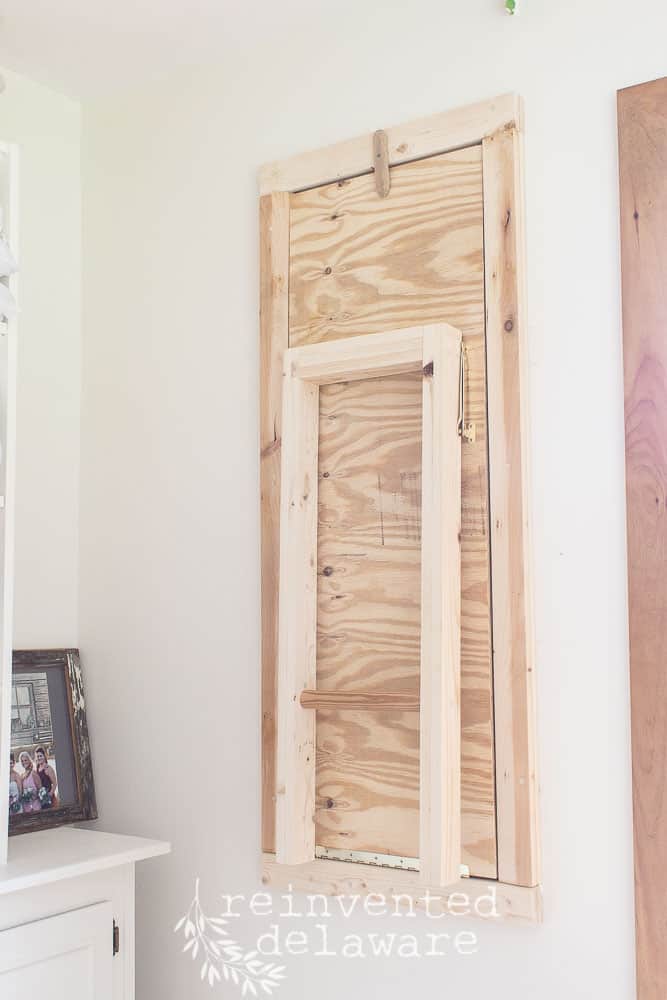
Here are the measurements we used. We had to fit the ironing surface and frame around an existing electrical box. If you build your own fold-down ironing board, you will need to calculate your own measurements.
- outer frame 53″T x 21″W
- board surface using 3/4″ plywood 15.75″ W x 47.5″ L x 36.5″ T when open
I strongly encourage you to read Woodworking For Mere Mortals blog post about this project. He has a great YouTube video showing step-by-step directions to build his crafting table. We modified the size and supplies to suit our needs. and called it an ironing board. Feel free to ask any questions you might have about our modifications in the comments below!
You can also see that it hides the electrical box perfectly!
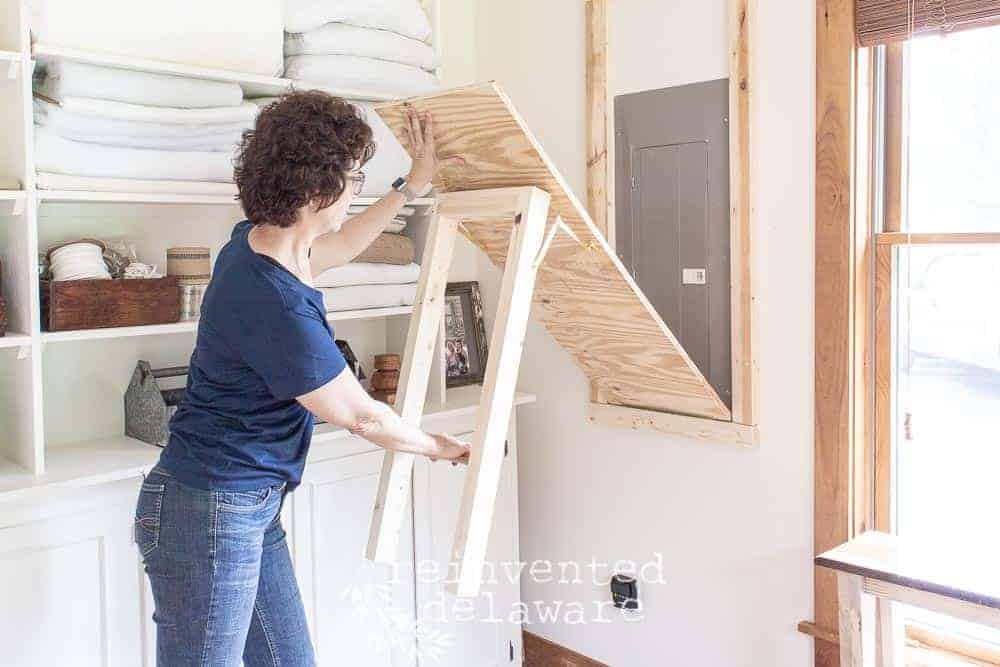
I showed my followers how this bad boy works on IGTV – here it is for you to watch too!
The board will be padded and covered like an ironing board. I will also paint the wood to match the walls. When that task gets finished, I will be sure to let you see it!

staging and video recording wall
Now on to the next purpose for this room – video recording and staging our finished pieces! This is a solid wall – no doors and no windows – so it is perfect for its new purpose! The T1-11 board that we attached in the last post was primed with two coats of Zinsser Shellac Based Primer and then two coats of latex paint.
I used Valspar Signature Latex in an eggshell finish to prevent shine in my photos. Unfortunately, my 5-gallon bucket doesn’t have the color name and I must have tossed the sample card in the trash. It’s a soft white, not too stark and not too yellow. Perfect for me!
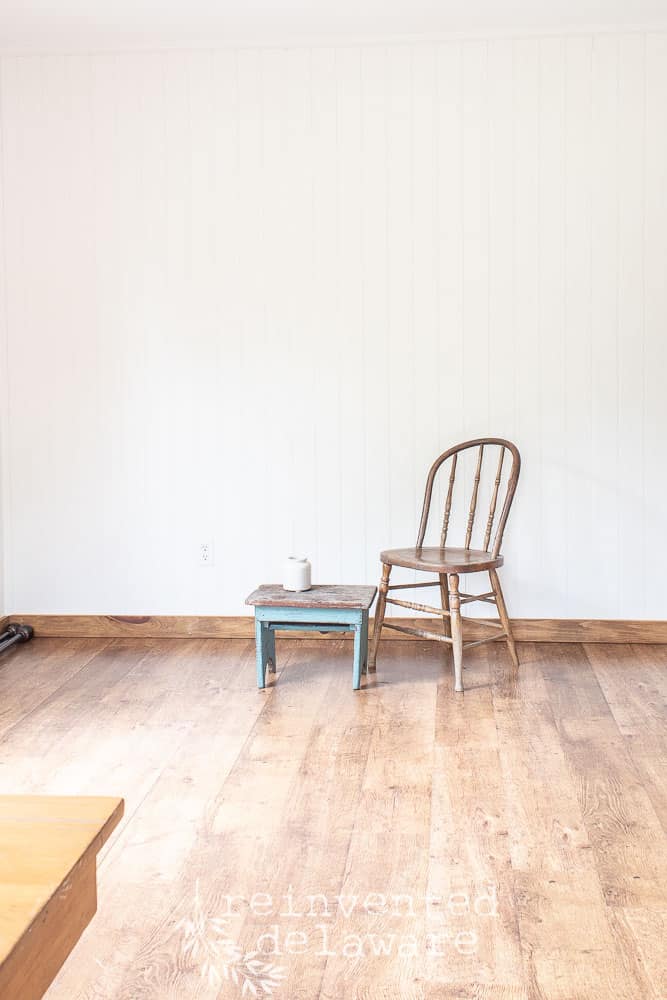
The texture of the T1-11 adds to the cozy, farmhouse style we love. In fact, our dining room, living room, and one of our bathrooms have this type of wall treatment!
Isn’t that a nice texture? I did just a light sanding on the 4’8′ sheets before bringing it into the house. The light sanding helped to preserve the texture of the board. This is an easy and fast way to bring farmhouse interest to a room!

ready to work!
Ahhh, I am loving this new space! And we finished just in time! If you watch my Instagram and Facebook stories, you know that I am working on reupholstering an antique exposed wood settee! So I will need this room for all the sewing and reupholstering! I am also making some more masks for Red Land Cotton’s Mask campaign! Nothing like jumping into work!
want all the free tutorials??
One more look! Isn’t that a great way to get some beautiful and useful storage for a room?? All in all, this project was relatively inexpensive. The staging wall was about $75 and the boards for the bookcase were about $100. The wall cabinets were free to us about 15 or so years ago. The only other cost was the paint and our time!
I still have to re-hang the curtains and maybe hang some artwork. I will also paint the vintage wood file cabinet. I share that in another post!
Join the fun over on Instagram and Facebook! We are on Pinterest sharing more inspiration with our followers! Feel free to pin any image in this post for future inspiration!
Want to receive my free tutorials in your inbox? Join our email list – pink promise I won’t sell your email address – I just don’t want you to miss the fun tutorials I have for you! You can sign up in the side bar of this post!
Thanks for stopping by!
Thanks for stopping by for this sewing room makeover! I hope it inspires you to think outside of the box when organizing and making over one of your rooms!
Thanks so much for joining us for this post! Join our journey so you don’t miss any fun projects, tutorials, and inspiration we share with you each week! You can follow us on Instagram, Facebook, and YouTube. We share even more inspiration on Pinterest!
Here are some of the supplies and tools we used for this project!
I absolutely love your new space and that ironing board is genius.Great job friend
Isn’t the ironing board great?? I use it more for things other than ironing clothes. It also works as a work surface! Thanks for stopping by Sonya :). Big hugs about your doggie.
You have an amazing sewing room. What a wonderful space to enjoy while doing what you love to do.
I love this multipurpose room! The windows are gorgeous and of course you have it filled with amazing antique goods. The staging wall is also great- you’ve managed to fit in everything.
Is sewing room envy a thing? I think I have it after seeing your amazing sewing room. I adore your grandmother’s library desk and the little blue stool.
Hugs,
Kippi
Haha!! Yes, it’s a thing! Thanks for stopping by for a visit!
Such a great space! I live the light and airy feeling! The pull down ironing board! I am so jealous of that! When I see I have to bring in my big one and it takes up half the room! 🤪 Love your shelving ideas too!
Karin
Isn’t that ironing board genius? We got the idea from a YouTuber named Steve Ramsey. He has great tutorials! Thanks for popping by Karin!
My gosh, Cynthia, you are just ridiculously multi-talented! My mom used to make and hand smock our clothes when we were little – it’s nice to hear someone is still doing that kind of beautiful hand work – I couldn’t even begin to try! This space is so great – love the storage wall, the textured backdrop wall, the built in ironing/table, and the fact that you have an heirloom family piece for a desk – that is SO special to have
Your room is so functional now! I love how you moved the cabinet to the floor and added shelves! Genious! I know you’re going to enjoy working there! Thanks for sharing, Donna
This room is such a great place to spend my day! So glad you enjoyed the post, Donna! 😊