
Revamped Candlesticks
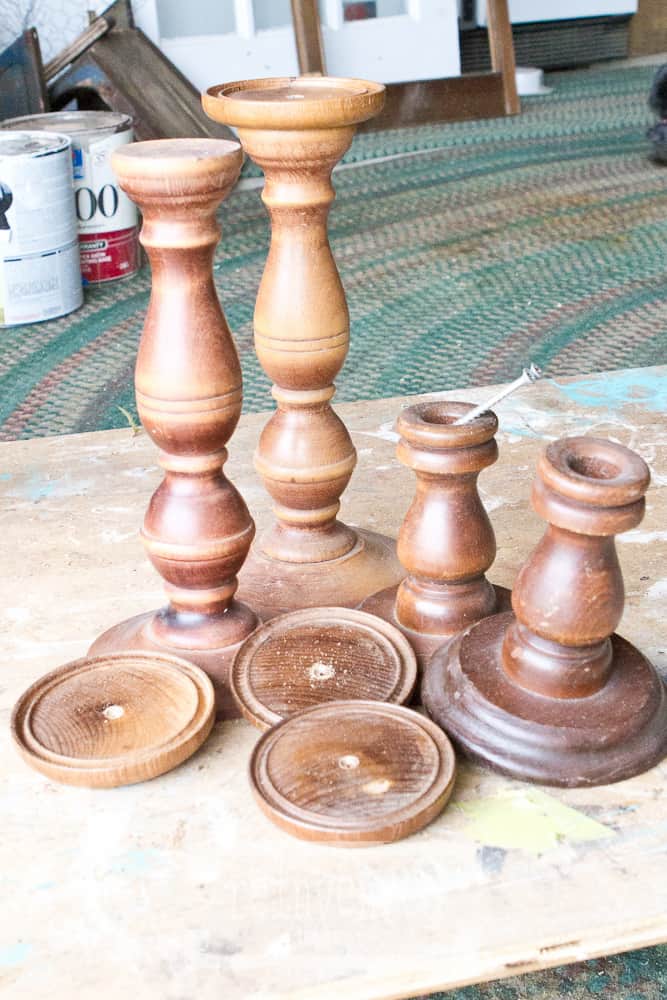
It’s nothing new here – I love to reinvent things. Taking something and transforming it to a newer version of itself is so rewarding. These candlesticks are great examples of revamping. They started out as taper candle holders. Taper candles have waxed and waned in popularity over the years, just like many home decor items. They are pretty easy to find in thrift shops or yard sales and the same is true for the second component of these revamped candle holders – coasters. Still popular today, coasters are a great way to save your table top from the rings that a cold drink can create. They come in all sorts of styles, but the ones I found at a yard sale were made of teak wood and perfect for the candlesticks! Pillar candles seem to be the thing right now so I decided to take these old taper candlesticks and bring them into 2017!
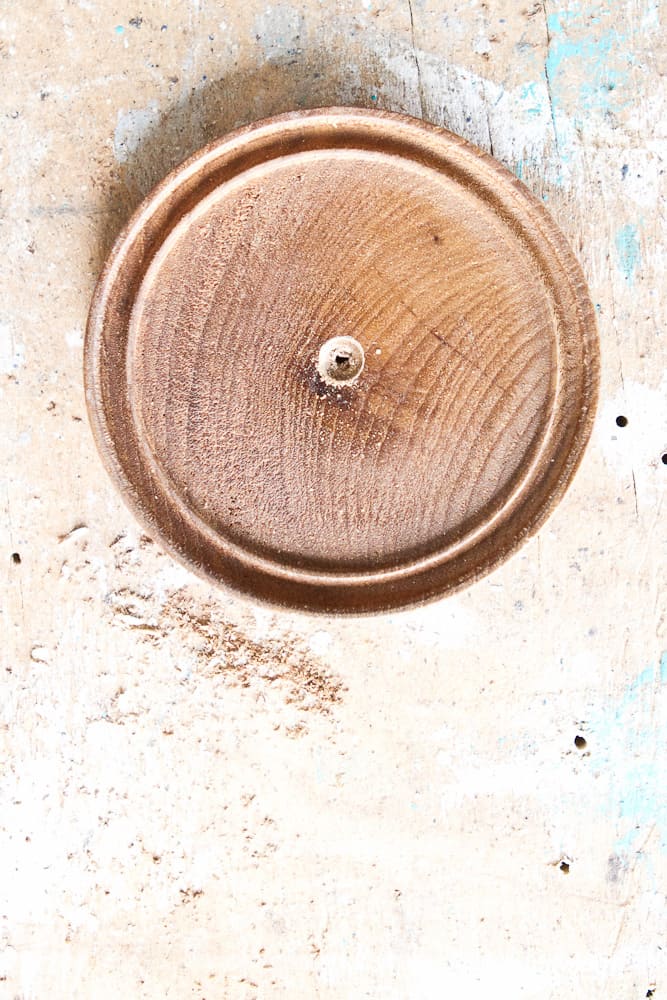
After cleaning the candlesticks and the coasters, I drilled a hole in the center of the coaster. The bottom of each coaster had a little indentation from the turning process in manufacturing the coasters, so finding the center was pretty easy. If you don’t have any indication of the center, just measure the widest part of the coaster forming a ‘+’ sign. The crosshair will be your center. Drill a hole in the center using a countersink drill bit. This will allow the screw to rest flush with the top of the coaster. If you do not have a countersink drill bit, just use the flatest screw you can find. The pillar candle can be pressed down a bit to make it sit flat.
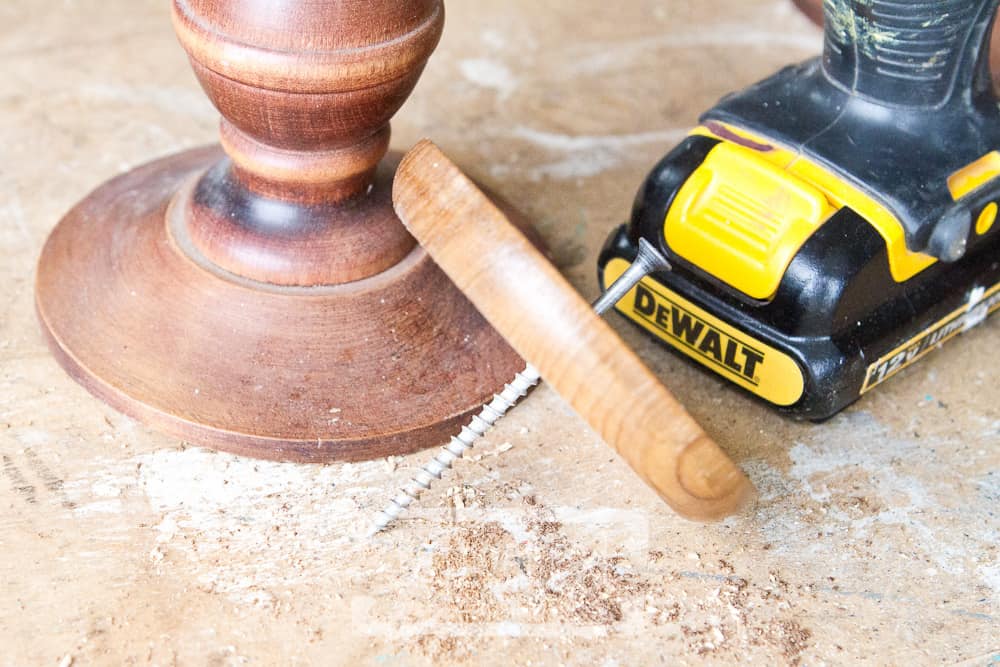
Holding the candlestick firmly or using a vice to hold it for you, drill into the center of the opening where the taper candle would go – a little guess work on centering should be just fine. You can see here I used a pretty long screw – 2 2/1″-3″ in length. Just be sure that the screw is long enough to go through the thickness of the coaster, the depth allowed of the taper candle and a bit more to secure it to the candlestick.
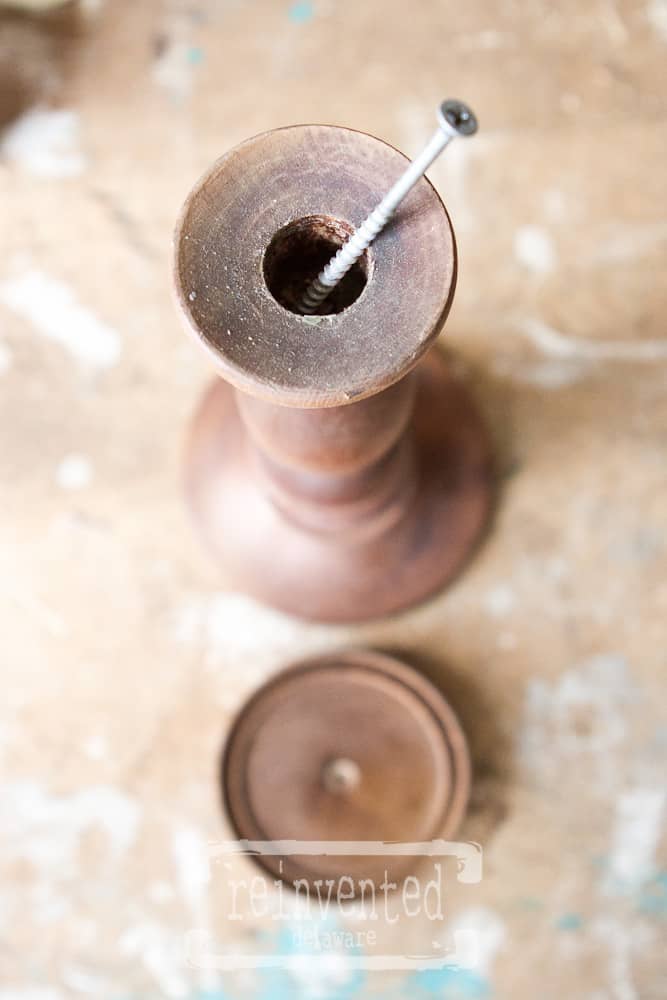
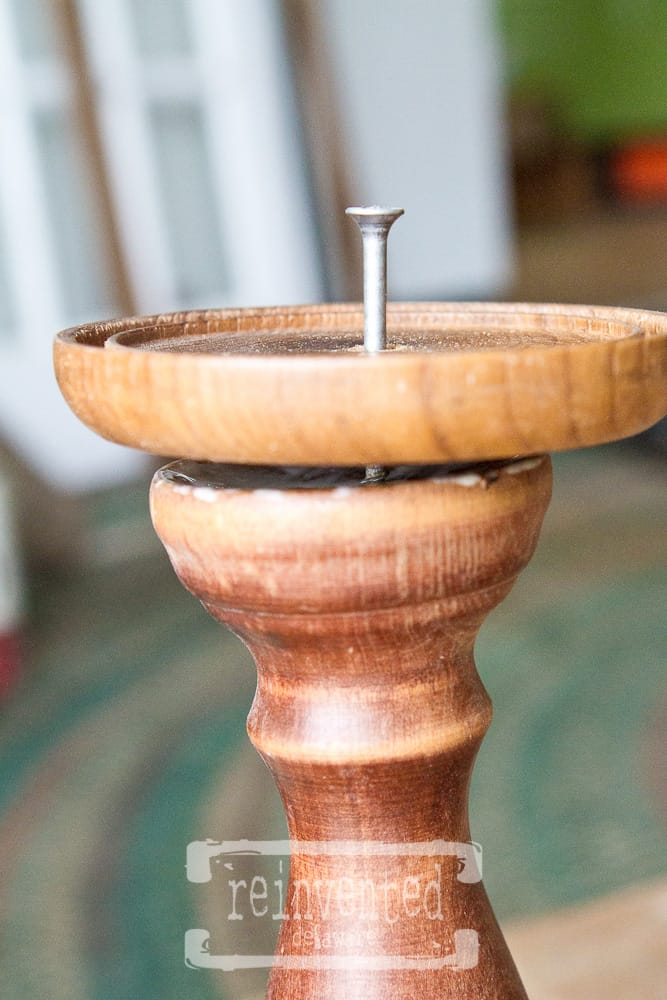
Insert the screw into the coaster far enough to reach into the deep part of the candlestick – you can use the point of the screw to line up with the pre-drilled hole from the last step. Little Miss DeWalt is always so helpful!
You can see here that I added a bead of wood glue around the rim of the candlestick just as an extra security measure. Next, tighten down the screw…..
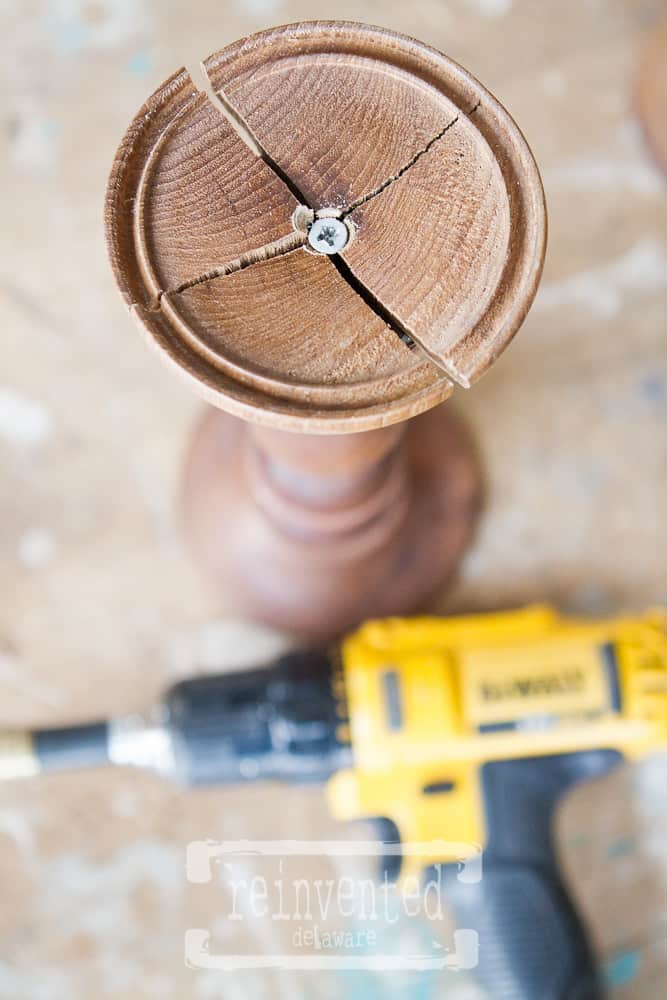
…..but not too much! This is what happens when you forget to let off the gas with the drill! Fortunately, I had purchased a whole bag of the the coasters! I simple unscrewed the coaster and pre-drilled another coaster. This time I used a bit more care when tightening down on the screw 😉
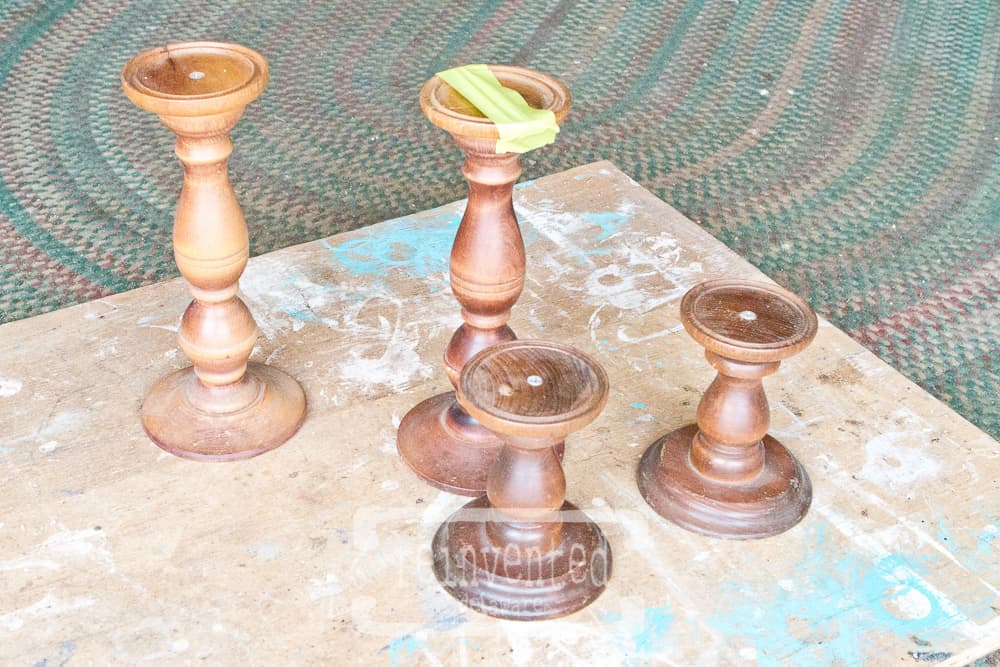
All four candlesticks are assembled! You will see green painters tape on one of the candlesticks – another one that I used too much power with the drill! I am a bit hardheaded and impatient at times. This one only cracked in one direction so I used some wood glue and then ‘clamped’ it with the painters tape. This tape works great when clamping odd shaped projects.
Next step – painting. Really you can use any color to match your decor, I just prefer neutrals. They are timeless colors that go with just about any decor. I distressed them with a knife and then applied a coat of Minwax Paste Finishing Wax in Special Dark. This adds a beautiful aging effect.
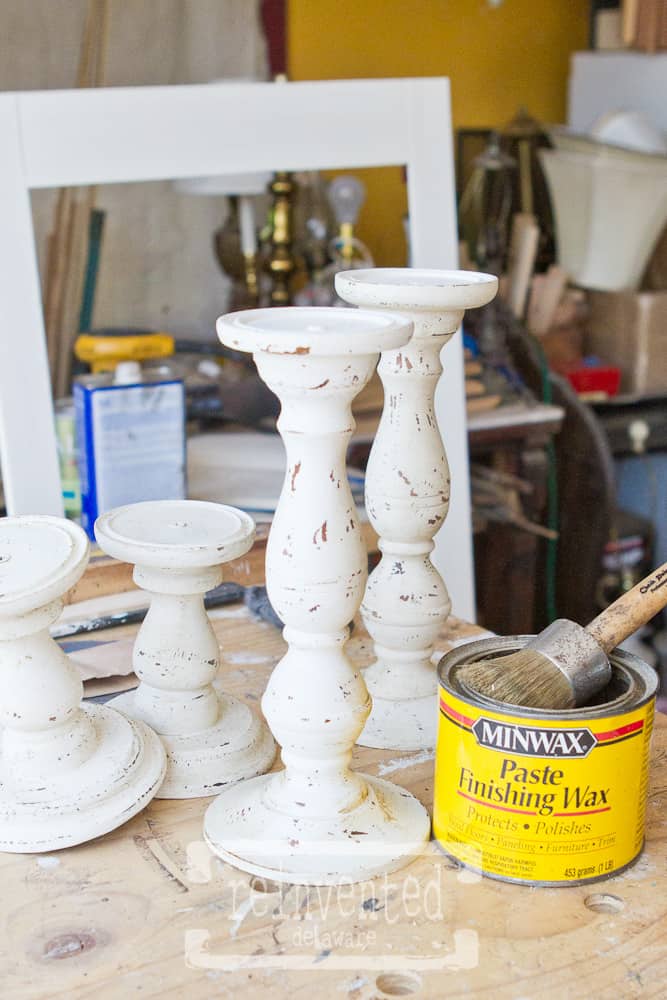
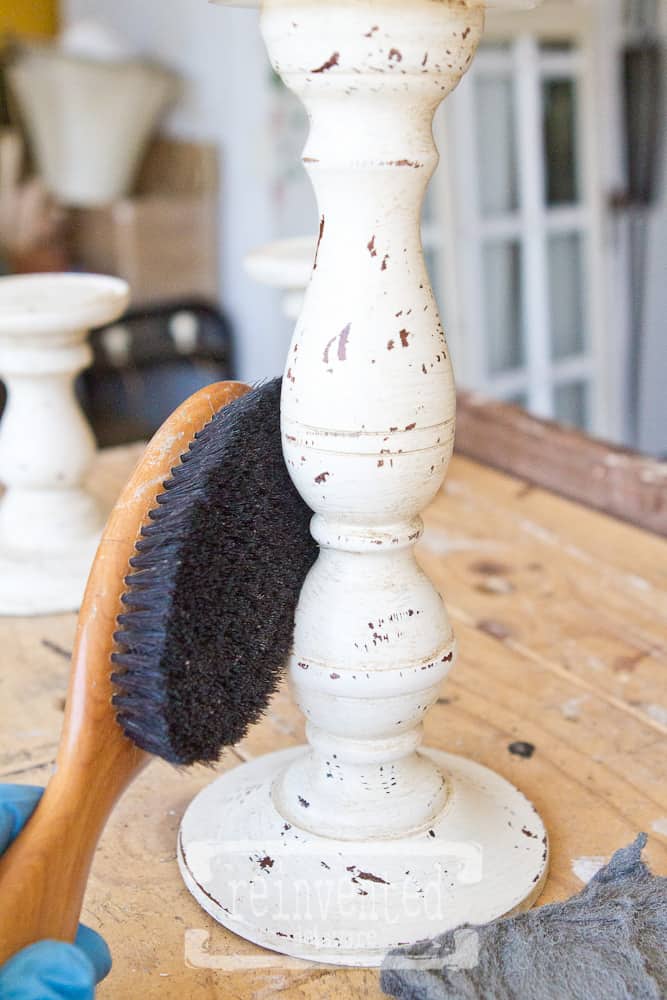
Buffing out the wax with steel wool and following up with a shoe polishing brush are my favorite methods to bring out the matte finish I love. The brush gets into all the tight spaces that the steel wool misses. You can also use a microfiber cloth instead of the steel wool. It is a little softer on your hands. Notice the crevices where the Special Dark settles into. It just really adds a nice patina!
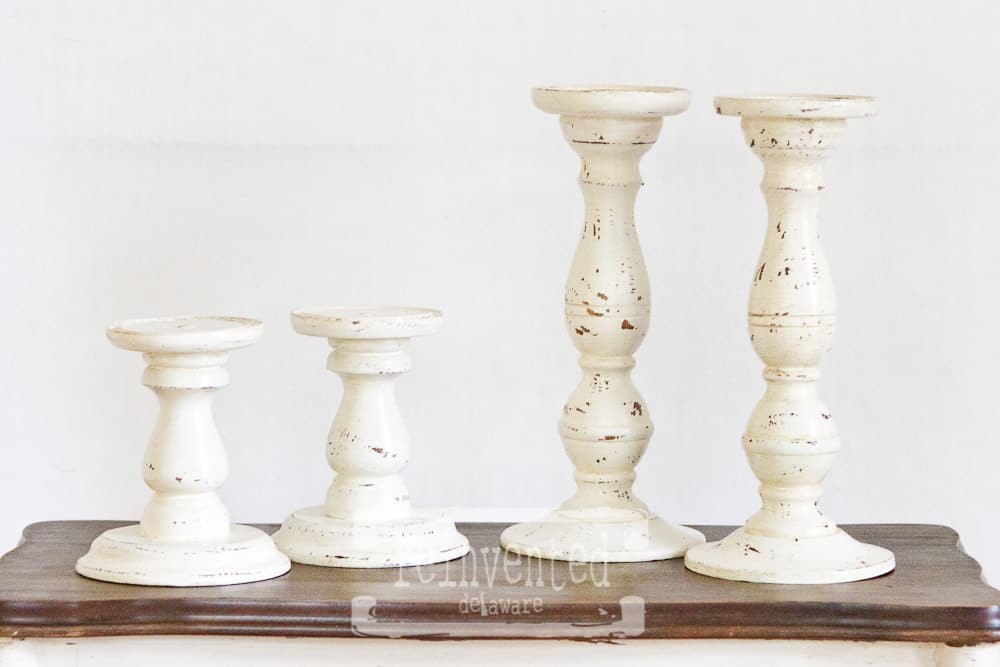
Here are both pair of taper candlesticks revamped into pillar candle holders! These would be beautiful on a mantel or table. Use varying heights of candles to add dimension. Enjoy!
Thanks for stopping by for this easy and inexpensive tutorial created to help you transform your home! Be sure to Pin the images to share with your family and friends! We can’t keep all of the good secrets to ourselves 😉