
Repairing Drawers on an Antique Dresser
Want to know how to repair wonky drawers on an anitique dresser? Keeping reading to see how we go about repairing drawers that have seen better days!
Inspection Time
I shared this antique dresser in my last post but I didn’t show you some of the repairs we needed to make so that this dresser is useable and a bit more pretty.
You remember how it started, right?
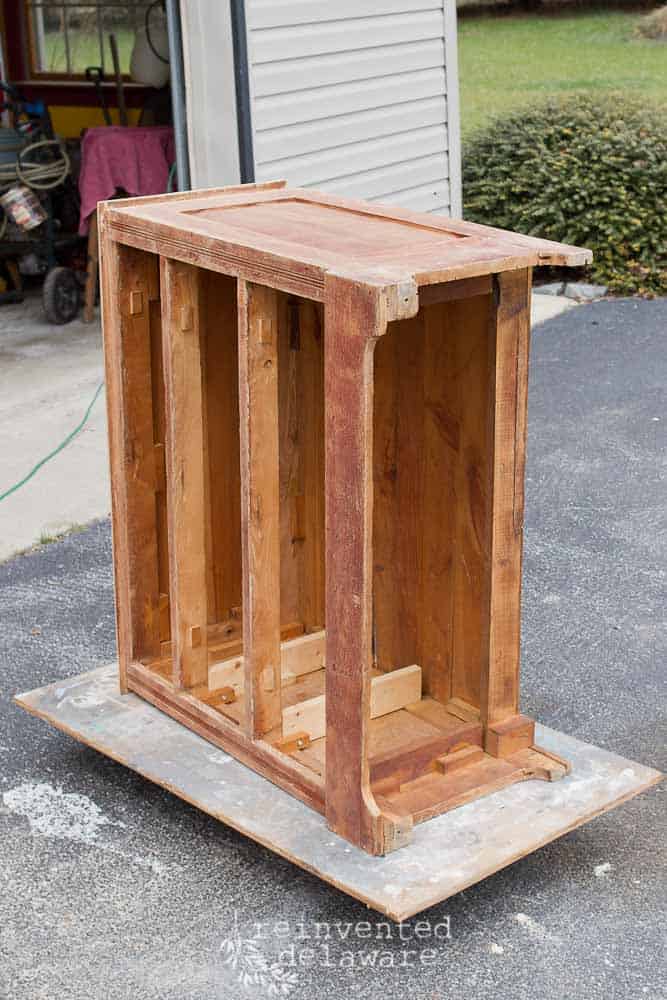
Well, it wasn’t exactly like this, the dresser did come with drawers! I just have them removed and the dresser on it’s side so I could give it a thorough vacuuming.
Anyway, this is the step I was at when I discovered that one of the drawer slides was broken.
Drawer Slides
See on the right side of the dresser? That piece laying towards the back of the dresser is the section that the drawer slides on.
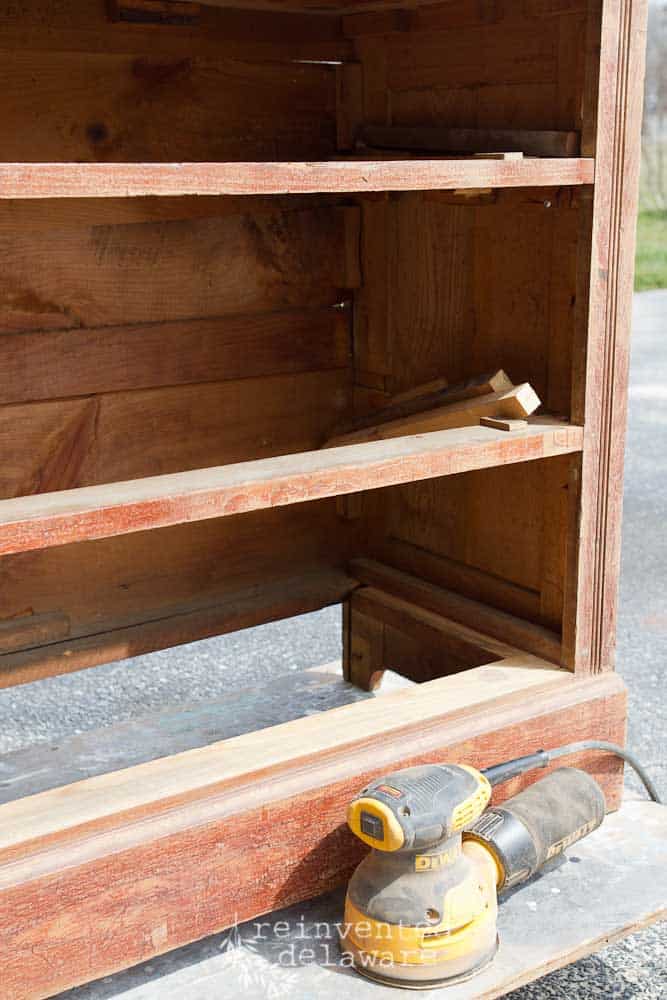
We have made this repair more than once. It seems each drawer slide is attached in a different way so I can’t give you a one-and-done kind of approach.
The best thing to do is to look at the other drawer slides that are still in tact and reattach the broken one in the same way.
This one was reattached with a small nail on each end and some wood glue in all the right places. The two small nails held it tight while it dried overnight.
Wonky Drawers
This next repair is a common one – missing drawer stops.
You know when you come across an adorable antique dresser and the drawers close kinda wonky?
That is usually because it has missing drawer stops. Who knew!
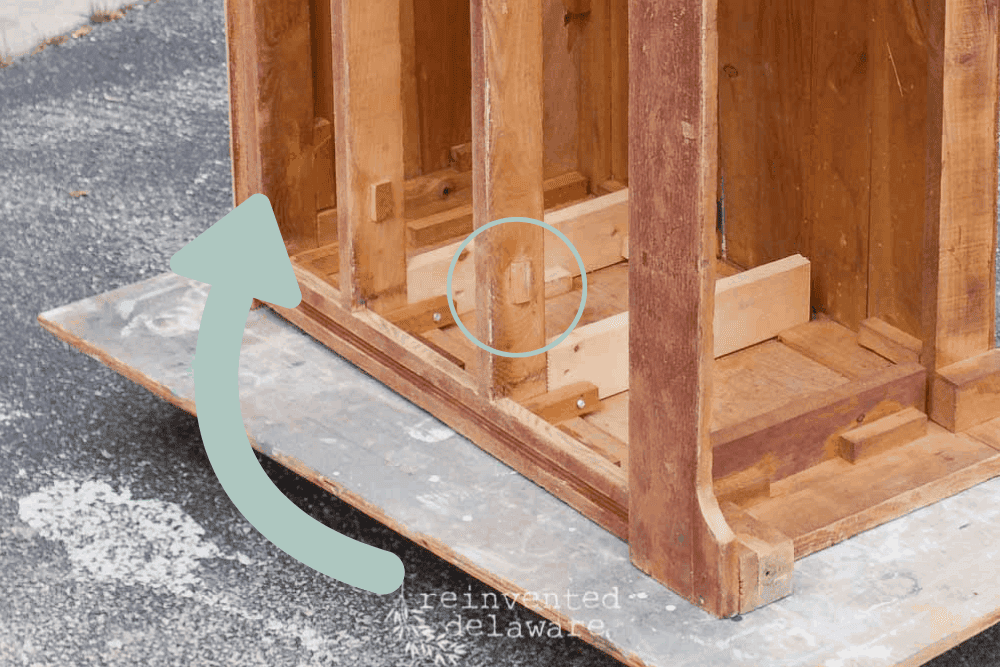
Look closely at the top of the dresser – see the arrow pointing to that spot?
You guessed it – missing drawer stop! I have one circled so you can see what it looks like.
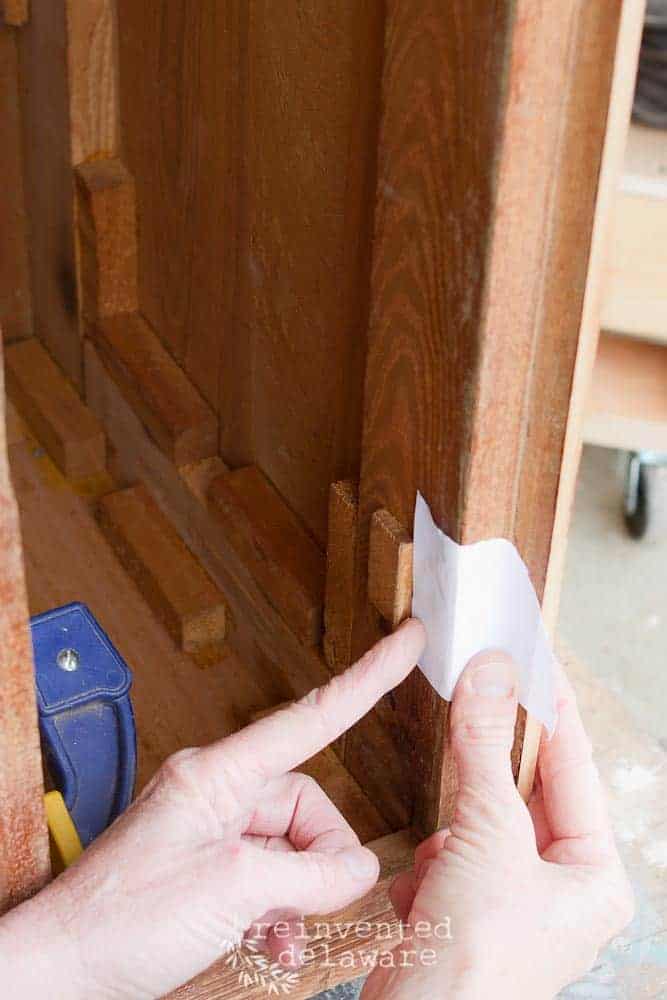
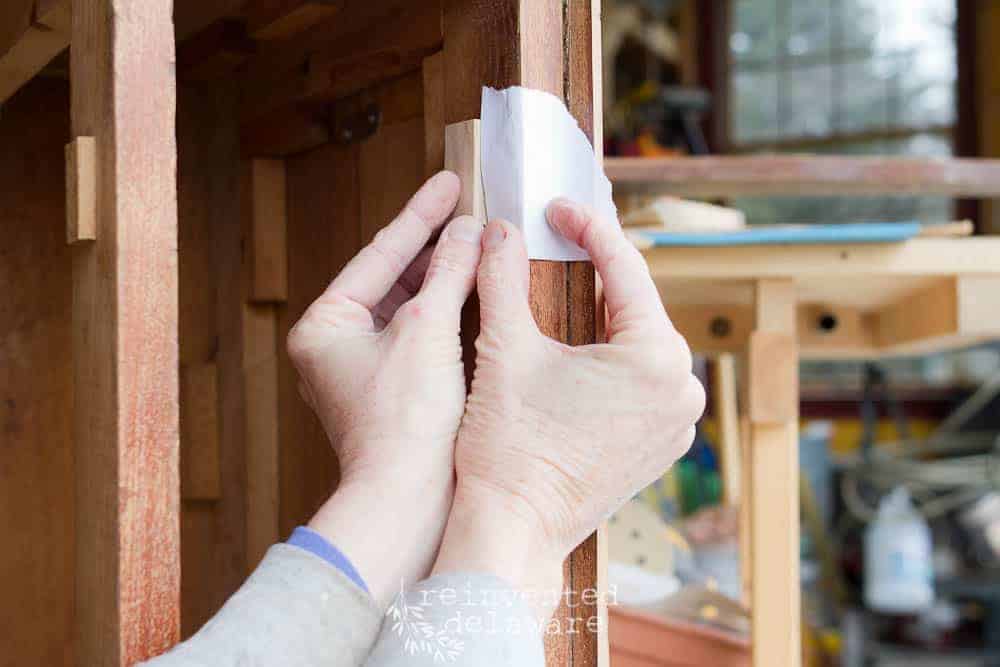
Here is another look at this type of drawer stop. They can look a bit different with each dresser but the wood piece style is fairly common.
I measured an existing drawer stop and marked it on a slip of paper.
I like using this method of measuring rather than a tape measure – I don’t have to remember any numbers 🙂
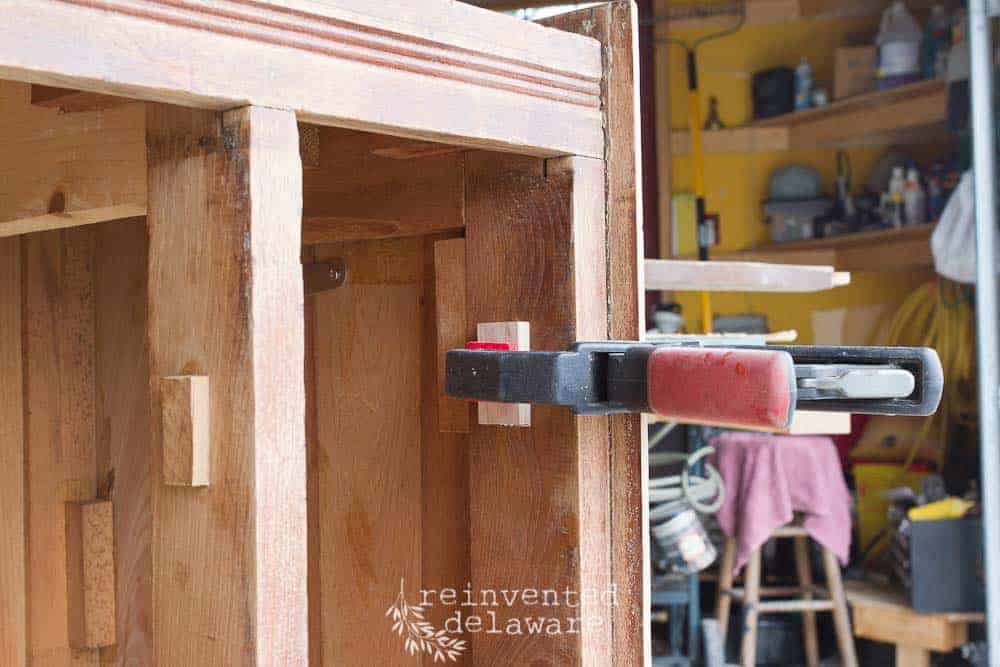
We keep scrap wood in our workshop so I found a little piece and cut it to size.
That piece of paper comes in handy when it’s time to glue on the new stop!
A squeeze clamp holds it snug in place while it dries!
Surprising Results
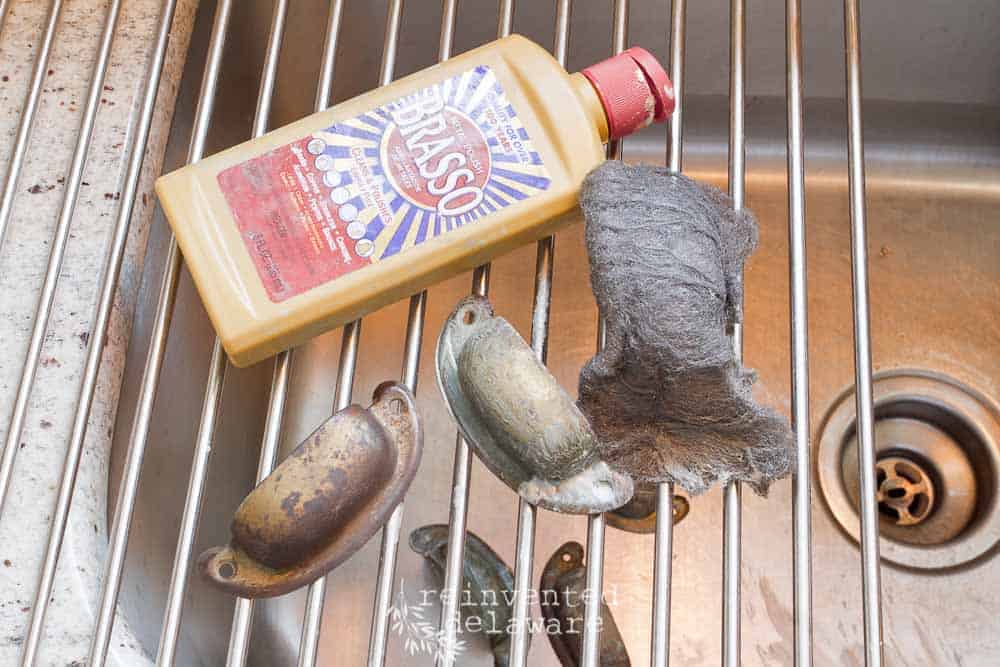
The last ‘repair’ is not really a true repair. The drawer pulls weren’t broken they were just dirty and rusty.
Usually, a good cleaning with Brasso or my other favorite cleaner, Bar Keepers Friend, does the trick.
But not this time. I even broke out the #0000 steel wool to help the Brasso. They were just too far gone.
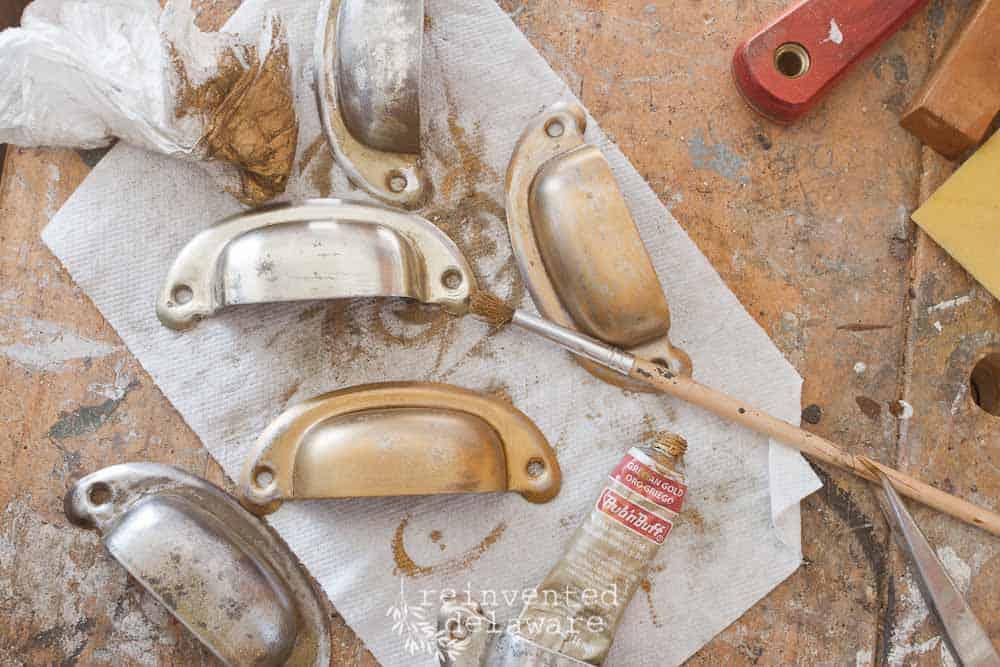
Hubby offered to polish them using the buffing tool in his workshop. Now mind you, I have never actually seen this particular buffing tool, but I trust that it exists because of the buffed hardware he returns to me!
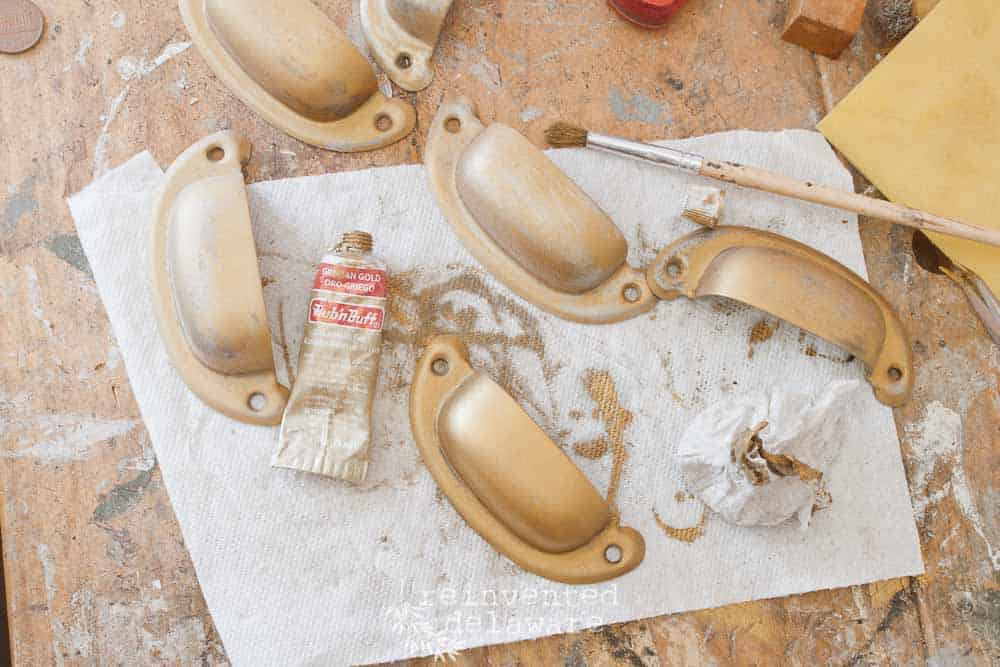
They came back a bit shiny for my liking (see the super shiny pull?) so I gave them a coat of Rub-n-Buff in Grecian Gold. The Rub-n-Buff had trouble adhering to the slick, polished surface. See how blotchy the drawer pull looks? Not what I wanted but at this point I thought that was the best I could do.
So I sealed each one with Valspar Project Perfect TopCoat in Flat. And guess what…..
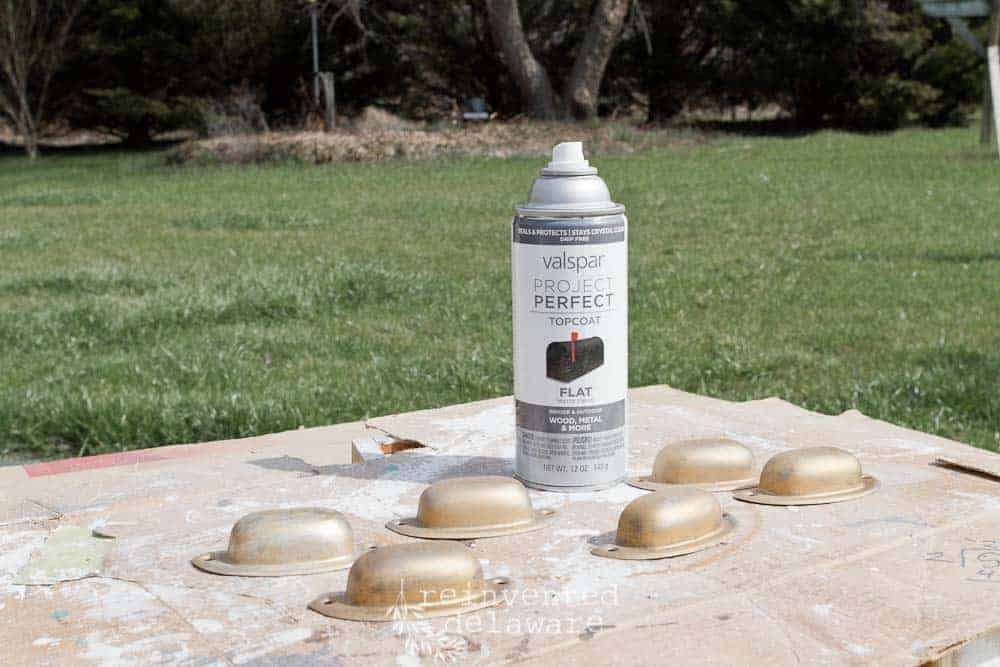
The clear coat gave the surface some tooth – a bit of roughness – so that the Rub-nBuff had something to grab onto! I applied another coat of the Grecian gold and wa-la! Gorgeous drawer pulls! One more coat of the same sealer and these pulls were looking polished but vintage-y!
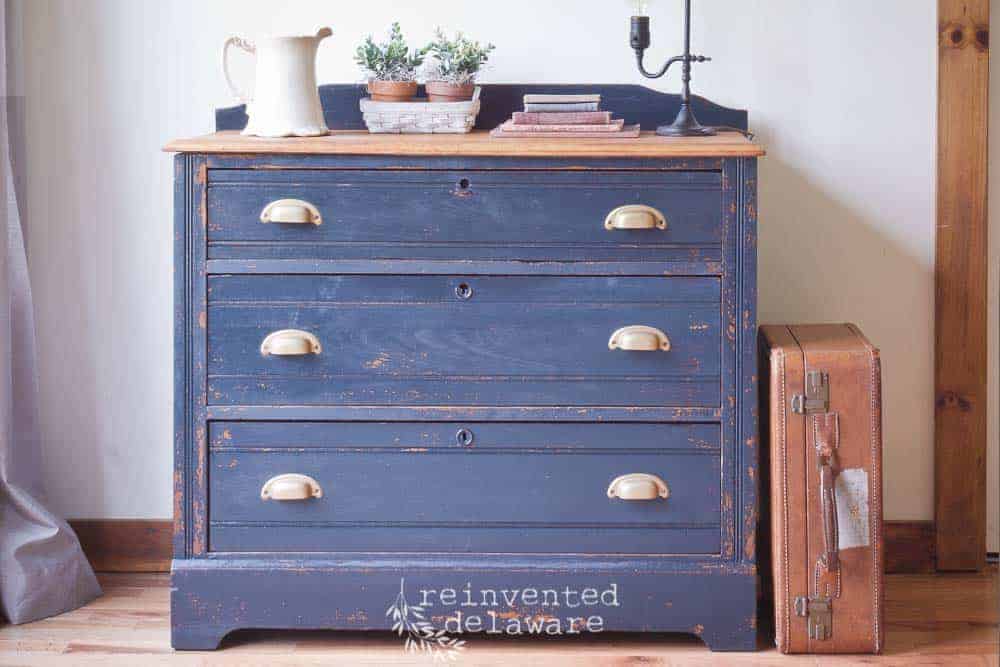
Working drawers and lovely drawer pulls are always a plus, wouldn’t you agree?
Join Our Journey!
Thanks for stopping by for this tutorial on repairing drawers in antique dressers! I hope it helps you with your own antique dressers!
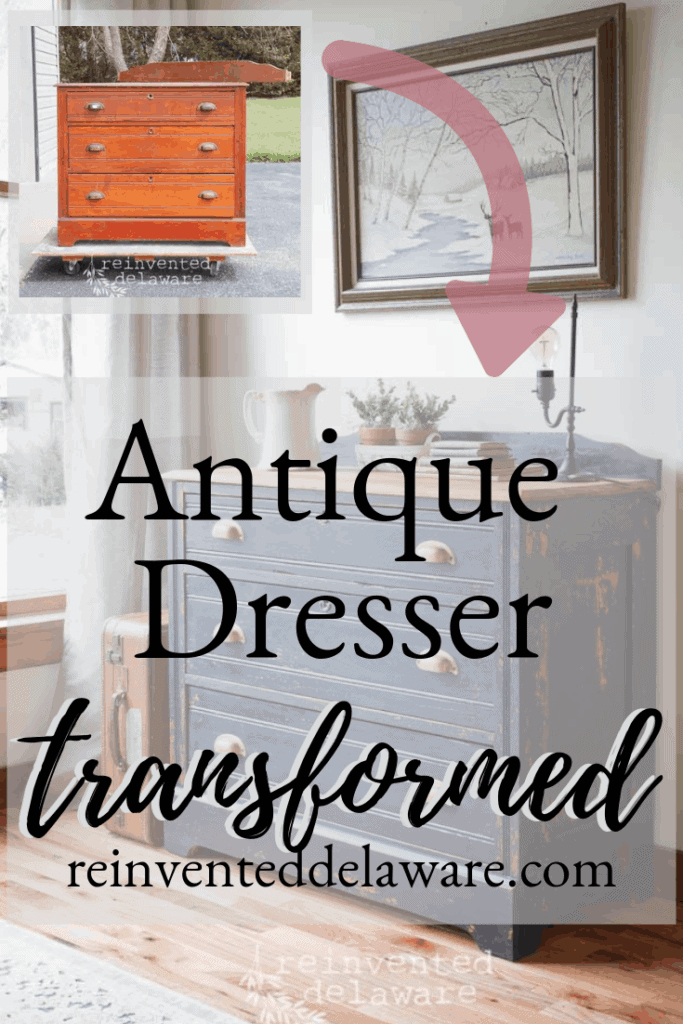
Feel free to pin this – you never know when you might have to make some repairs of your own!
Follow along our reinventing journey on Instagram, Facebook and Pinterest! We would love to chat with you on the socials!
Wow!!! What a creative mind
Thanks!
Very helpful tips! You can also use paint stir sticks as make shift drawer stops ?? Great transformation, Cindy! It’s really lovely ?
Great tip about the stir sticks Jenn!! Thanks for sharing it here??
Where are you located and how much is it?
Where are you located, and how much is it?
Hi Sona! We are located in the Milford Delaware area. The dresser you saw in the post has already sold and is happily living in it’s new home. We refinish all types of furniture. If you are in our area and are looking for a specific piece of furniture, maybe I can help! Are you close to Delaware?
what color is that blue dresser? From ann slone?
Hi Linda! The color I used to paint the dresser is Miss Mustard Seed Milk Paint in Artissimo. Isn’t it a gorgeous color?? Here is a link to the first part of that dresser makeover Hope you enjoy it! https://www.reinventeddelaware.com/antique-dresser-transformed-with-artissimo-milk-paint/