
Repair Damaged Furniture | Oval Coffee Table Part Two
Ya’ ever feel behind the eight ball?? That’s me today! This project has been finished for several weeks and I completely skipped the other repairs we made! You can read about the first repairs here.
Easy Fix
In this post, I will show you the next repair that needed to be made. This is a common repair and fairly easy to make – peeling/lifting veneer.
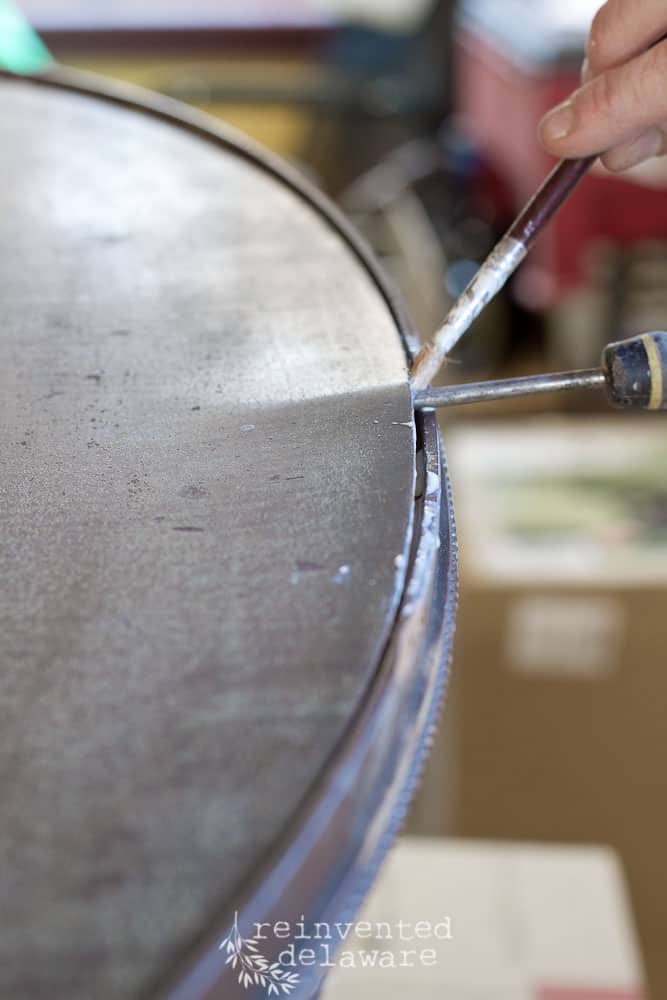
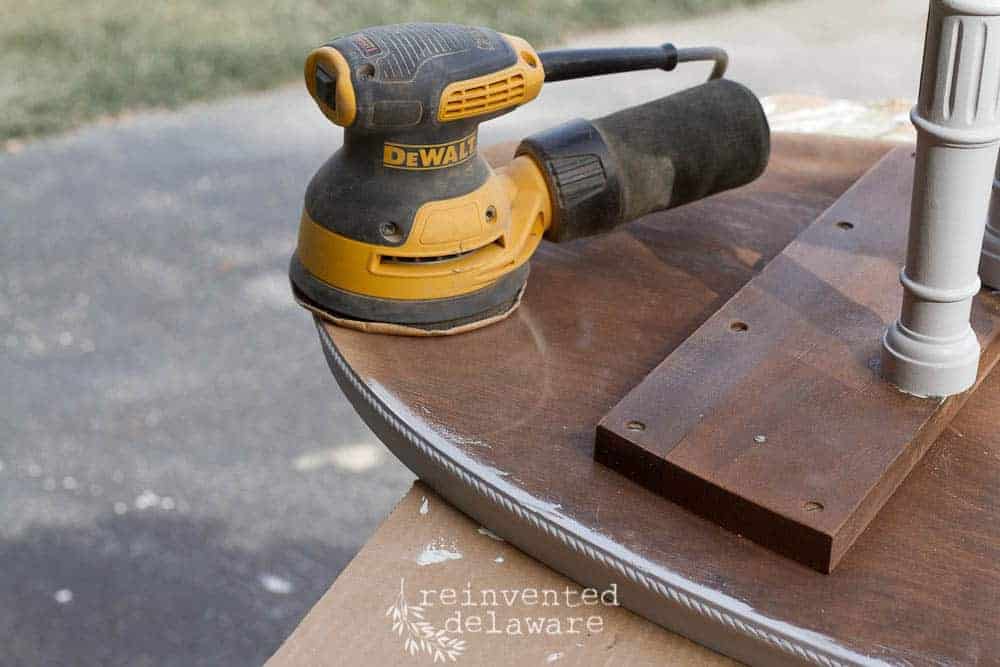
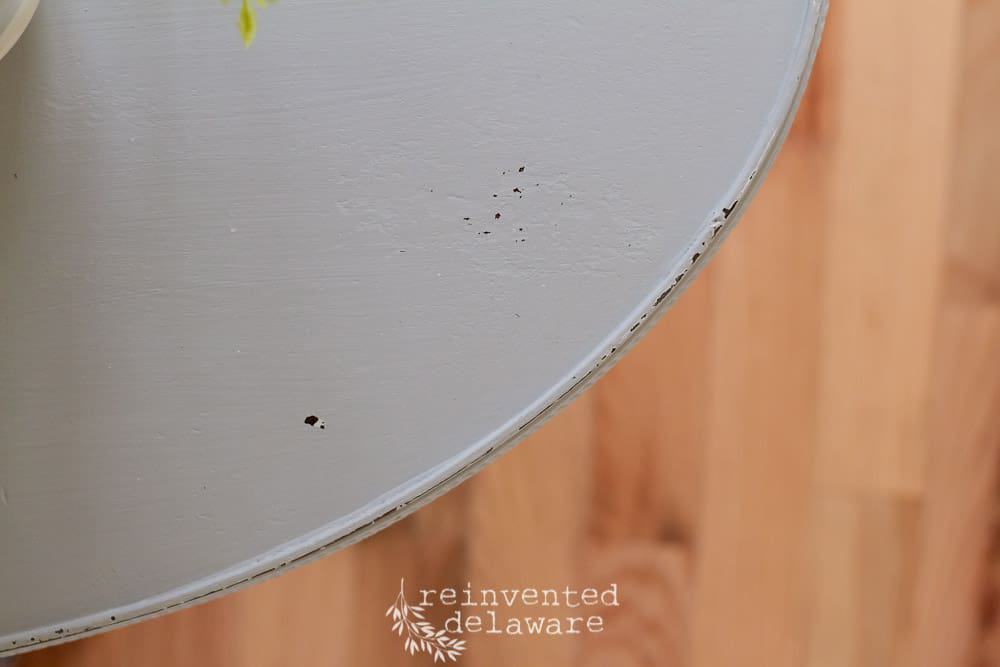
As I sanded the piece, I saw that the layer of veneer on the top of the coffee table was lifting a bit. It wasn’t to bad but of course I wanted to repair it. A flat head screw driver was used to slightly lift the veneer, then using a paint brush, I applied wood glue under the layer. I had to be very careful in lifting the veneer so that I wouldn’t damage it more. Also, I added more glue than I thought was necessary so that it would be squeezed into the areas the paint brush wouldn’t reach.
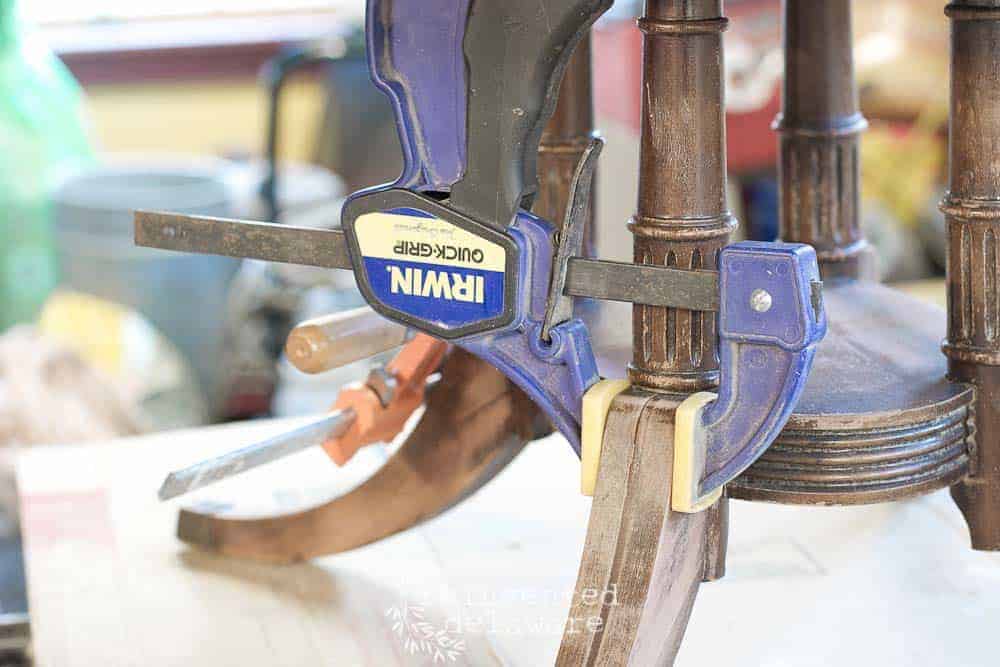
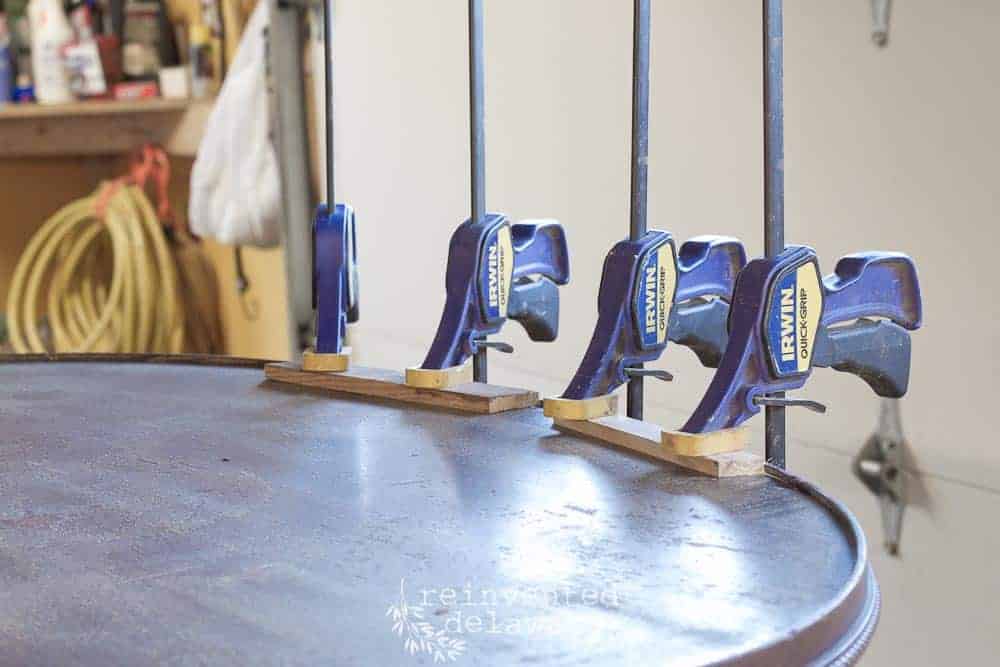
After the glue was completely applied, I used Irwin Quick Grip Clamps and pieces of scrap wood to hold down the layer. Wood glue works with pressure – the standard rule is to apply the pressure just enough to see a bit of glue squeeze out. The excess was wiped off with a damp paper towel and allowed to dry overnight.
Don’t these little fellas look like soldiers do their job?
Now for the fun part – painting
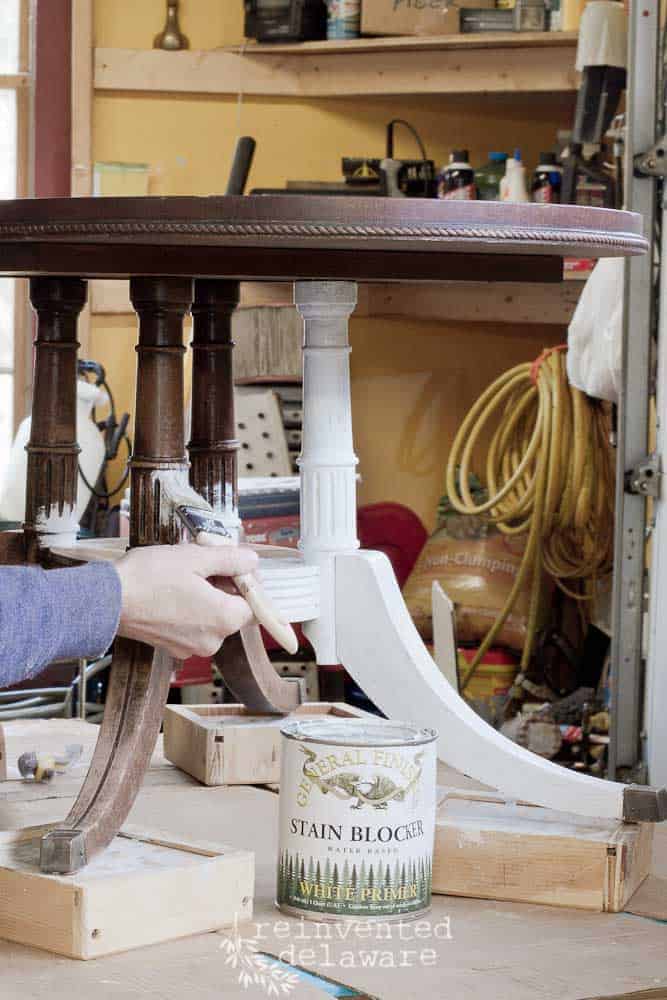
My order of General Finishes Stain Blocker had just arrived and I wanted to try it out. I only put on one coat because I wasn’t concerned about bleed through on this piece. If I was concerned, a second coat would have solved that problem!
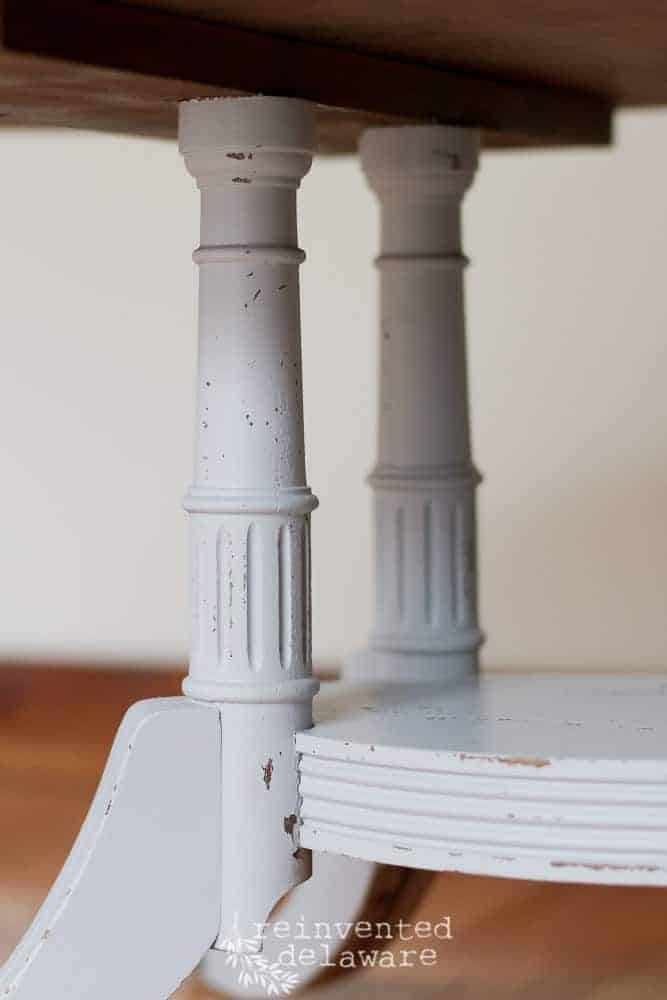
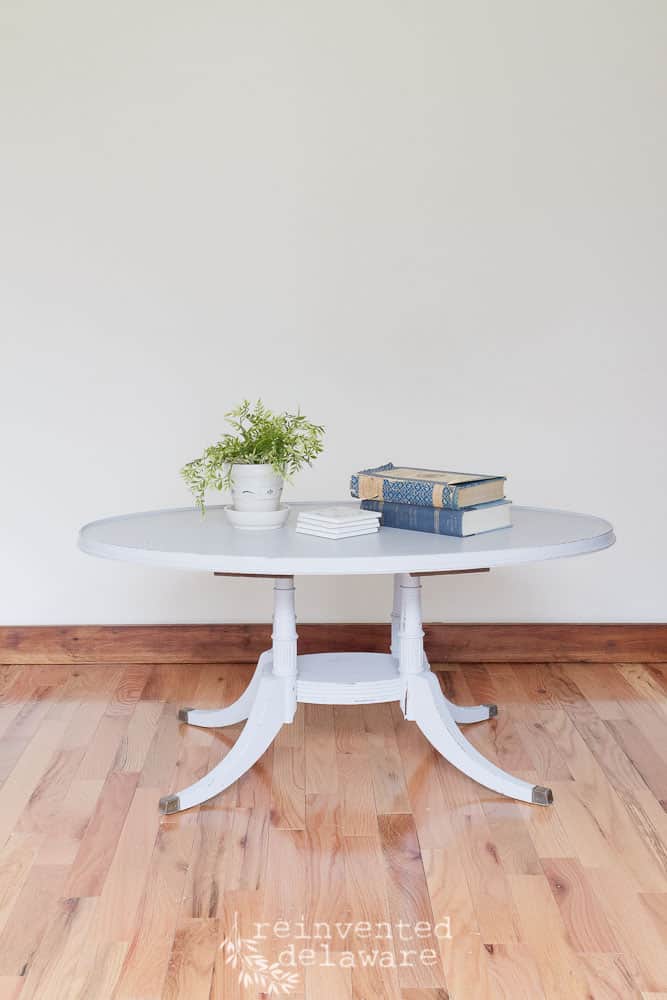
I chose to use a custom mix of General Finishes Milk Paint by combining Snow White, Linen and Driftwood. I used equal parts of the first two and eyeballed the Driftwood gray color. This combo makes a nice greige that goes with any color scheme.
Fun little video
Here is a little video showing the painting process. One full coat with a light, touch-up second coat covered the piece.
Clean up the underside
It is inevitable when painting that the paint brush will get into places where we don’t want paint. Personally, I don’t like paint on the underside of pieces like the top and the legs. I like to preserve a bit of the old along with the new. Let’s remember our roots 😉
So after the piece was painted, I sanded back the areas underneath the table top and legs where the paint brush ‘spills over.’ This is a little step that takes the piece to the next level of a professional finish.
The repairs are worth it!
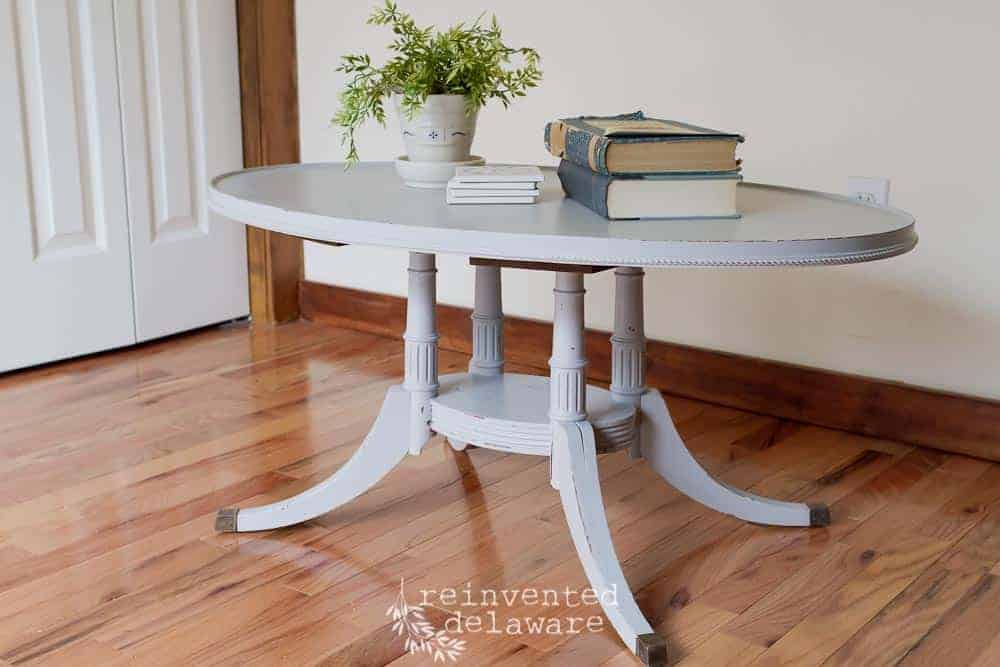
Here she is! I know, I know this table desperately needs a sofa!! Just work with me here peeps 🙂
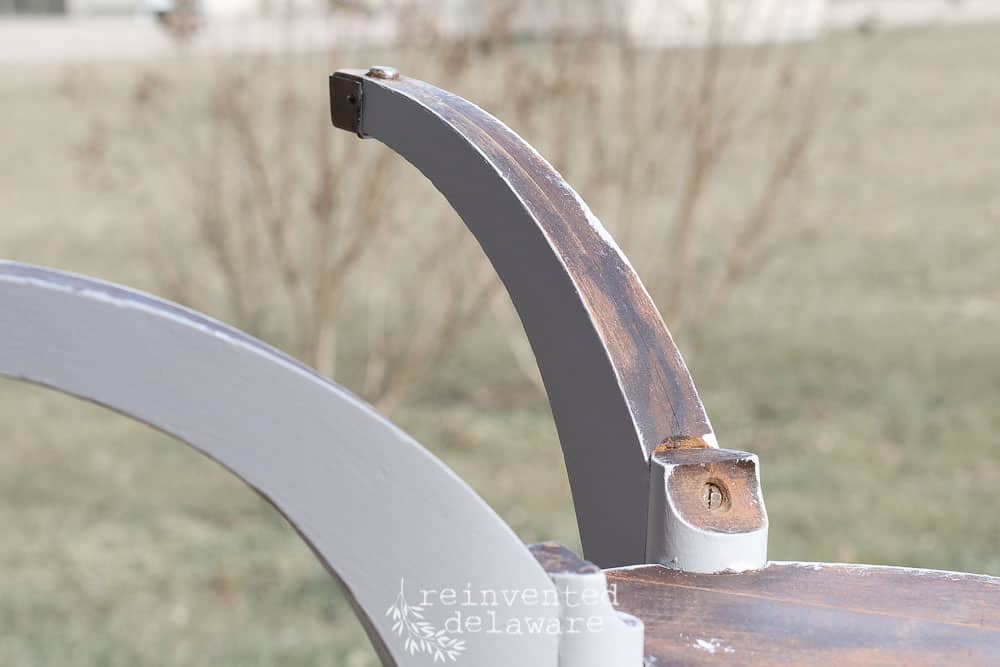
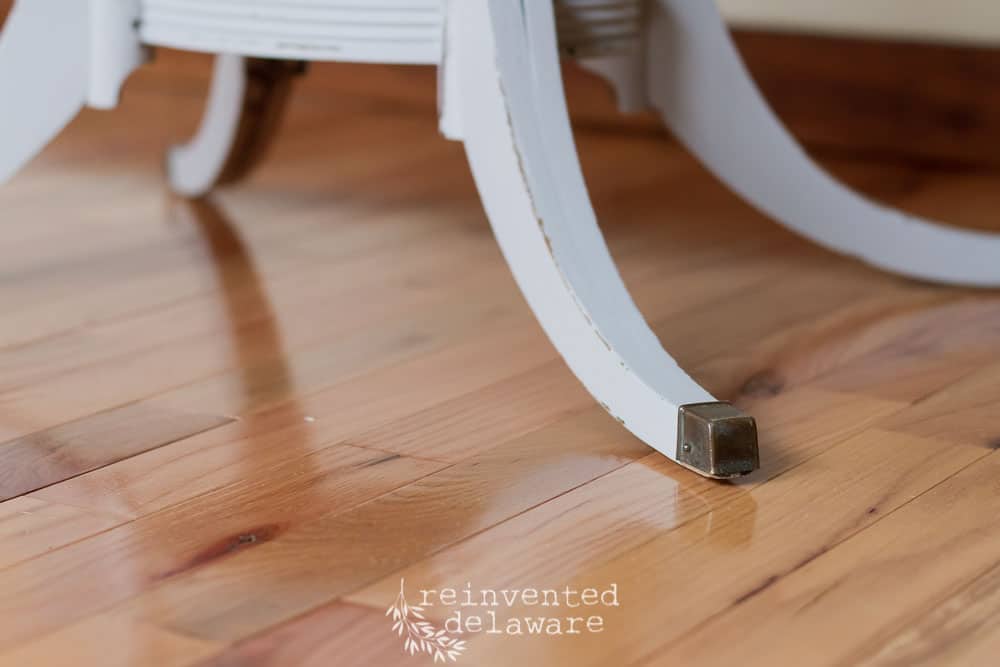
Just a bit of light distressing on the high places was enough to show off the details of this Duncan Phyfe style coffee table!
The little metal feet on the legs really stand out with the lighter colored painted legs!
And the repaired veneer top….well you can’t even tell it was repaired!
Too much furniture is thrown in the dumpster — all it needs is a little love and some wood glue 😉
Follow along!
I am so glad you stopped by! Hopefully, these furniture repairs are helpful to you. Be sure and pin this for your future reference. This is a series I plan on continuing so that I can teach you how to repair those thrift store finds!
Follow along on Instagram, Facebook and Pinterest for more repairs and projects!
Is this a repair you are willing to take on? You can do it!!

Beautiful work!!??
Thanks!! It was a team effort!