
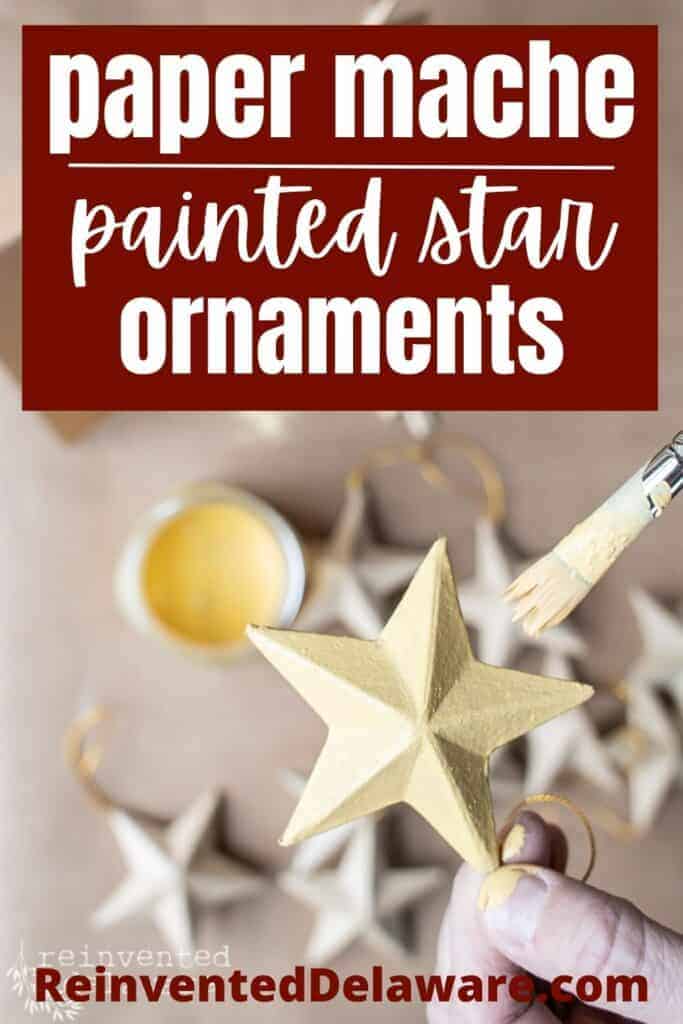
Paper Mache Ideas | Star Ornaments
Are you looking for paper mache ideas for Christmas? These painted star ornaments are just what you are looking for. Use them as ornaments for the Christmas tree or as a bow on a gift!.
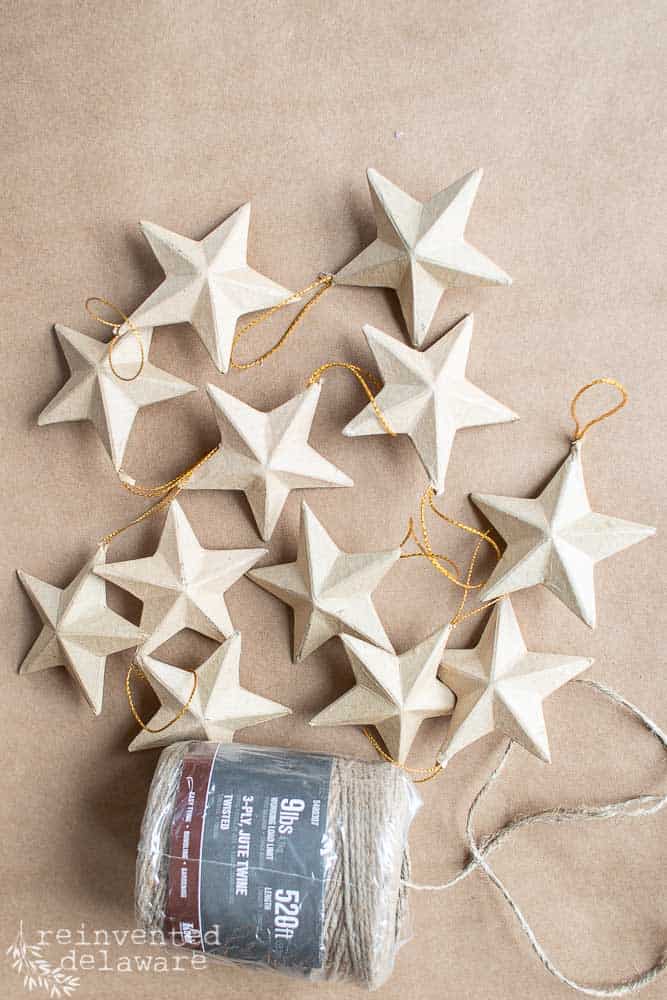
supplies:
- paper mache stars
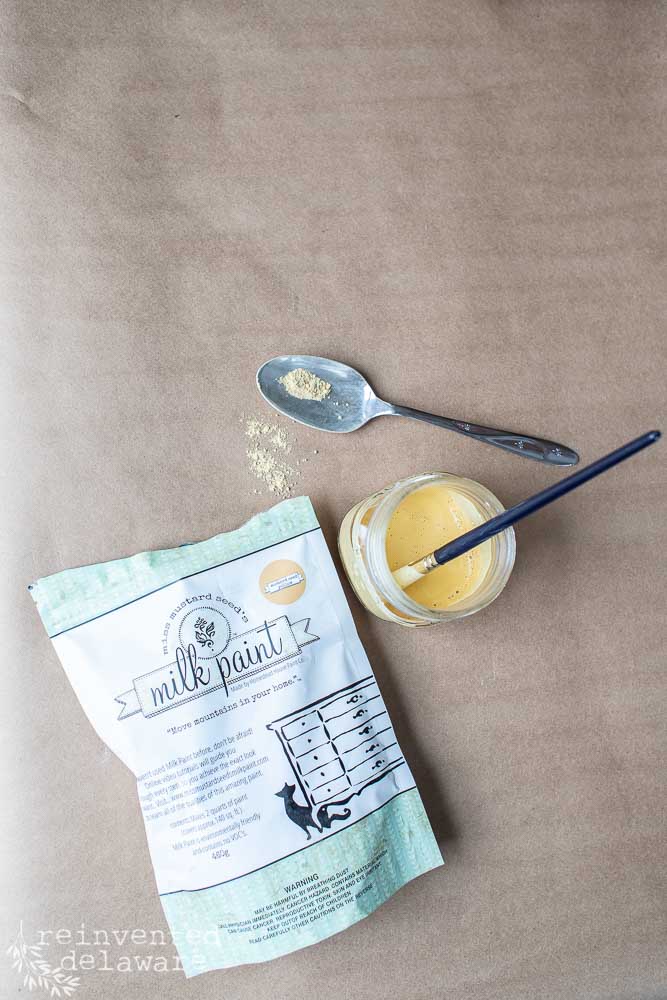
- MMS Milk Paint | Mustard Seed Yellow
- MMS Hemp Oil
- small artist paint brush
- jute twine
- hot glue gun and glue sticks
Optional paint supplies:
paper mache ideas | star ornaments
The idea is certainly not an original one. In fact, while scrolling through Instagram one day, I saw that Miss Mustard Seed herself had painted paper mache boxes. They were adorable! She added some beautiful ribbons and used them as Christmas decor.
This was one project I had to do but I wanted to paint something other than boxes. So the Amazon search began!
what kind of paint do you use on paper mache?
I have used three types of paint on paper mache projects: craft paint, milk paint, and chalk mineral paint.
For these paper mache stars, I used Miss Mustard Seed Milk Paint in Mustard Seed Yellow. It’s a lovely soft yellow.
***UPDATE***
If you are not able to find Miss Mustard Seed Milk Paint, Dixie Belle offers a lovely gold star color called Colonel Mustard Chalk Mineral Paint that would be perfect for these paper mache stars. Plus there is no need to seal the paint! Just click the graphic below for this color and many others!
how to mix milk paint
Milk paint is usually mixed with a one-to-one ratio: one part water and one part dry paint. Here is a video showing you how I mix milk paint:
One tablespoon of dry milk paint with one tablespoon of water was the perfect amount. In fact, it was a little too much so I am currently looking for something small to paint 😉
how many coats of paint for paper mache?
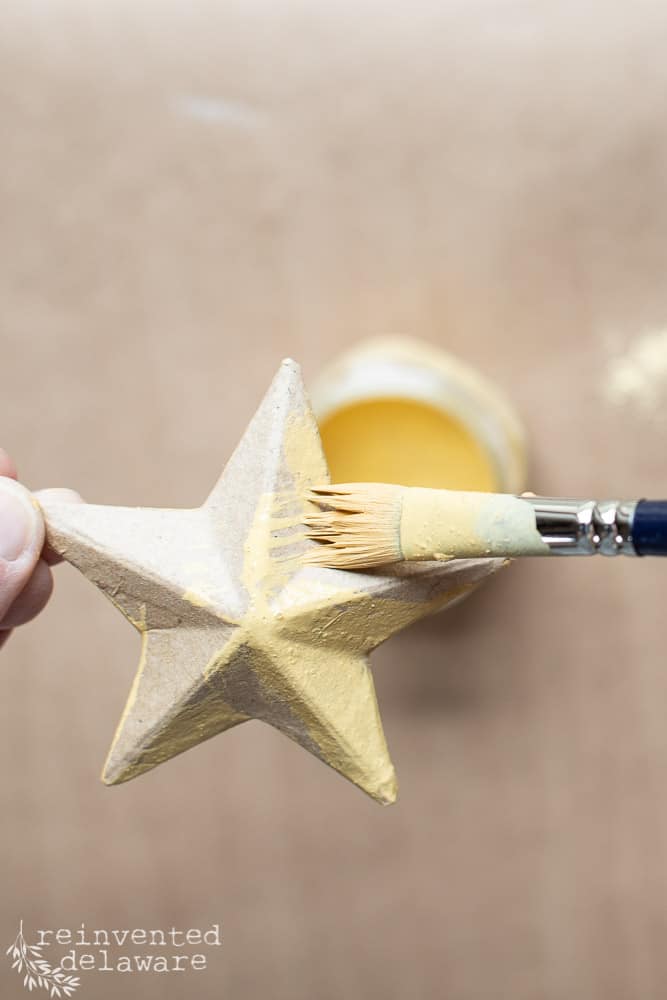
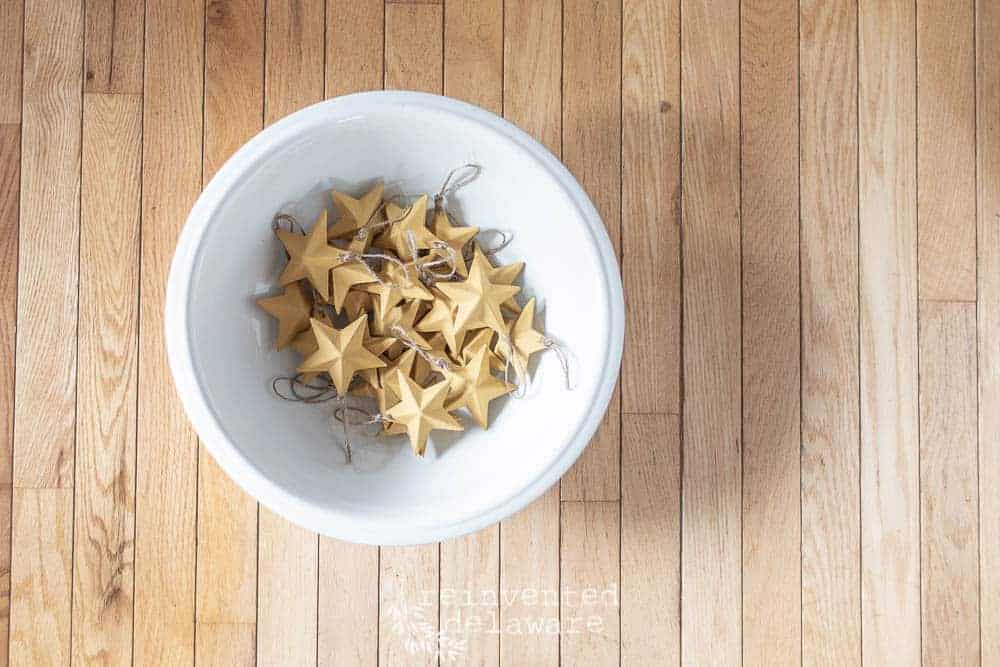
The paper mache stars soaked up the first coat. The color was still pretty intense but I knew a second coat would deepen the color even more.
If you are using Dixie Belle Chalk Mineral Paint, you will only need one coat.
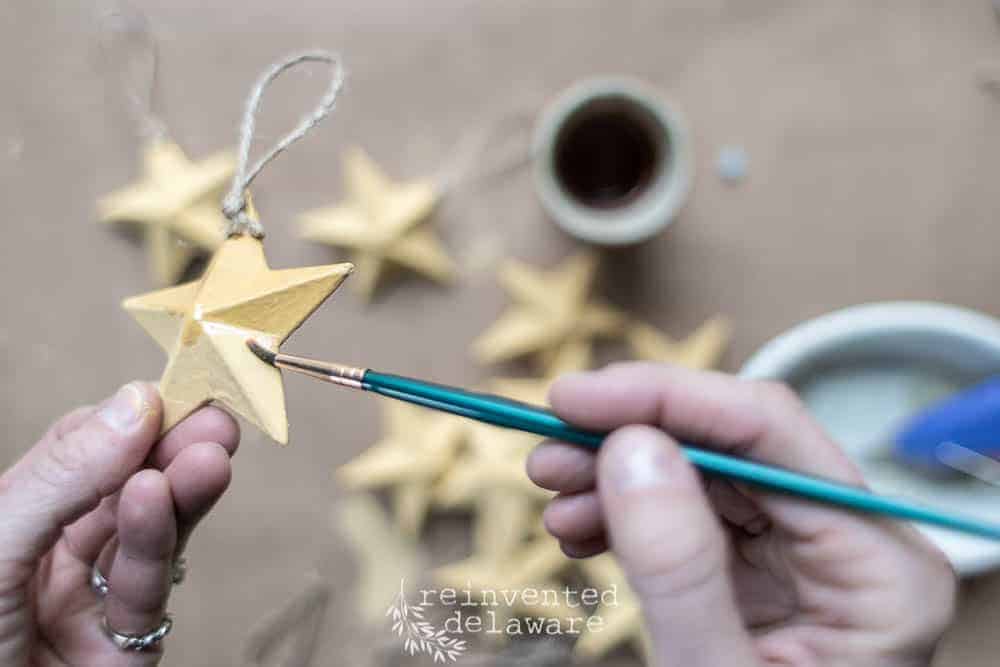
what size paint brush for paper mache?
Using a small artist’s brush, I painted the first side of each star. The small brush made it easy to control the paint on such a little star. Each star measures about 3″ so a larger brush would be overkill.
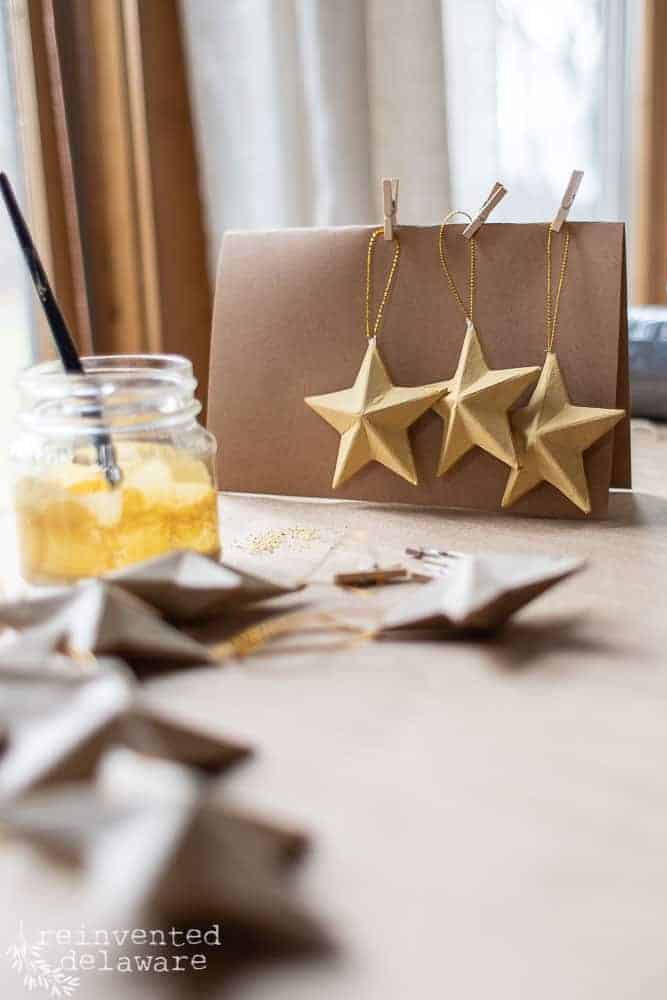
I used a folded piece of card stock to hang the stars on while they dried. The milk paint dries quickly so by the time I finished the first side on the last star, I could start at the beginning and paint the second side.
This is a good time to listen to an audiobook or podcast 😉
Aren’t these turning into the cutest ornaments? And so easy! If you need another easy handmade Christmas tree ornament, try my Orange Slice Ornaments. They are easy and will have your house smelling so good!
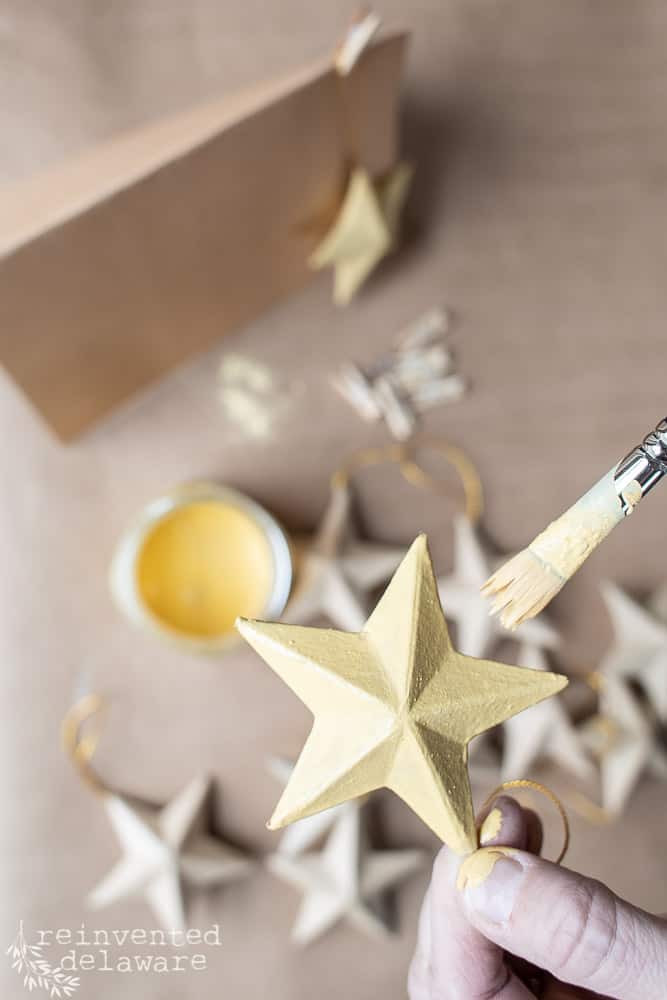
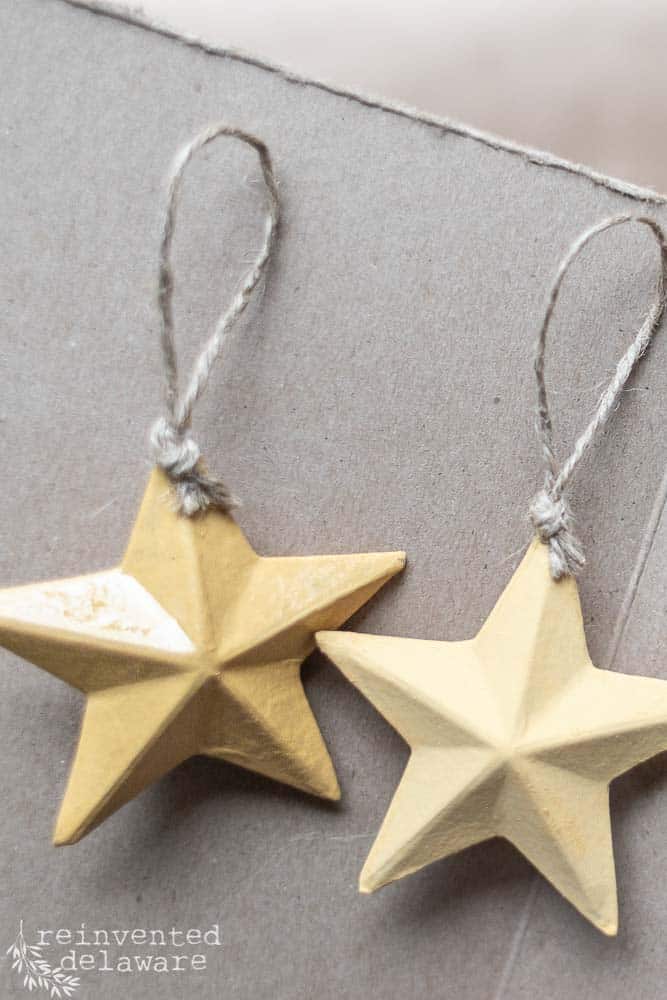
The second coat of paint really brought out the fullness of the Mustard Seed Yellow. This is such a pretty vintage shade of yellow!
how to tie a knot for crafts
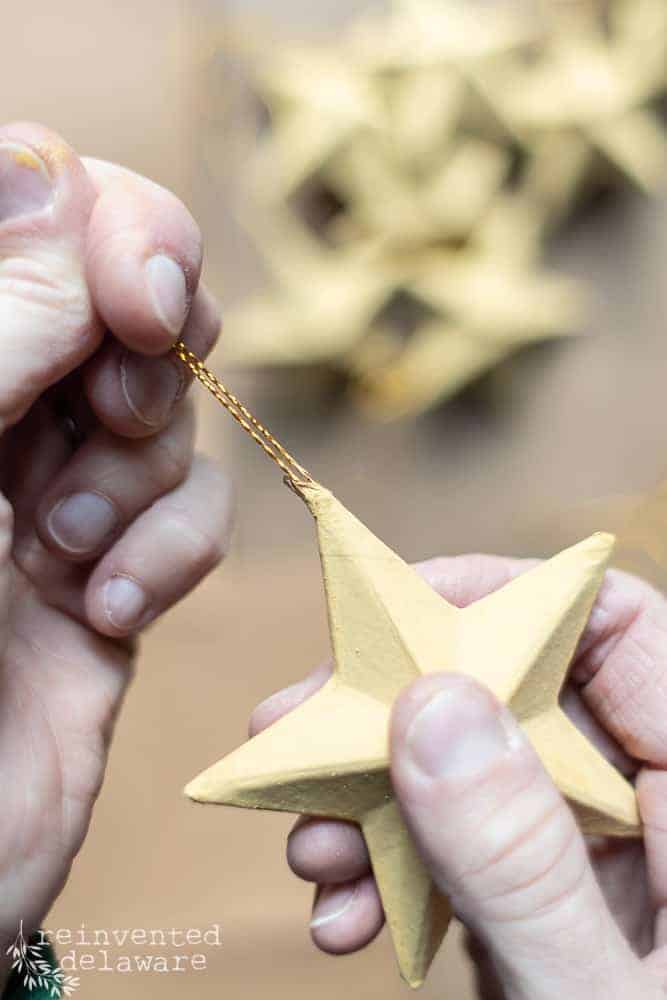
The gold string used as the paper mache star ornament hanger was just not my cup of tea. The shiny gold is just not my style. I’m more of a jute twine kinda girl 😉
It only took a couple of tugs to remove the bling.
I cut sections of jute twine the same length as the gold string that came with the stars, only just a bit longer to allow for the knot.
Tieing a knot is simple but I thought I would show you how I get the knot close to the ends of the twine.
Start by bringing the two ends together then make a loop and pull the ends through it.
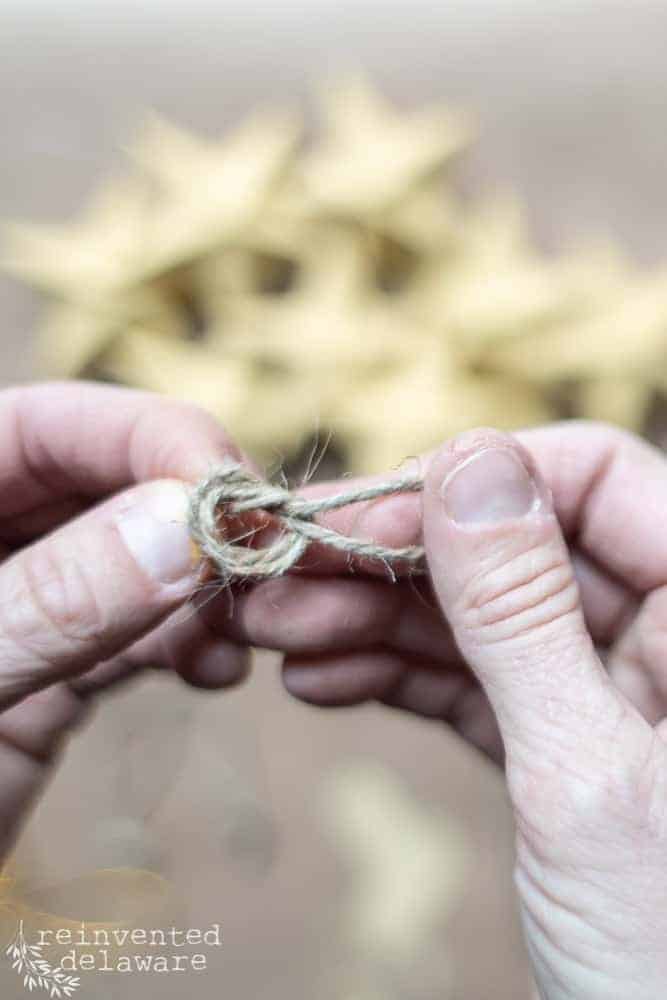
Begin to pull the knot tighter while holding onto the cut ends. The ends are being held by my left hand so you can’t see them.
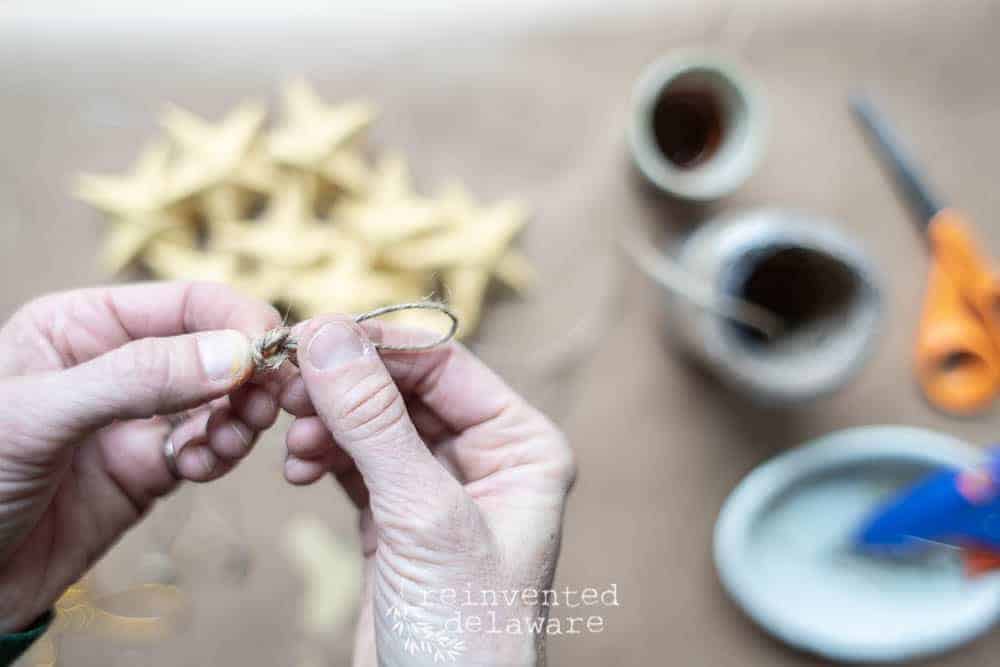
Pull the knot and skooch the knot towards the ends slowly moving the knot downward.
Once the knot is close enough to the ends, pull it tighter.
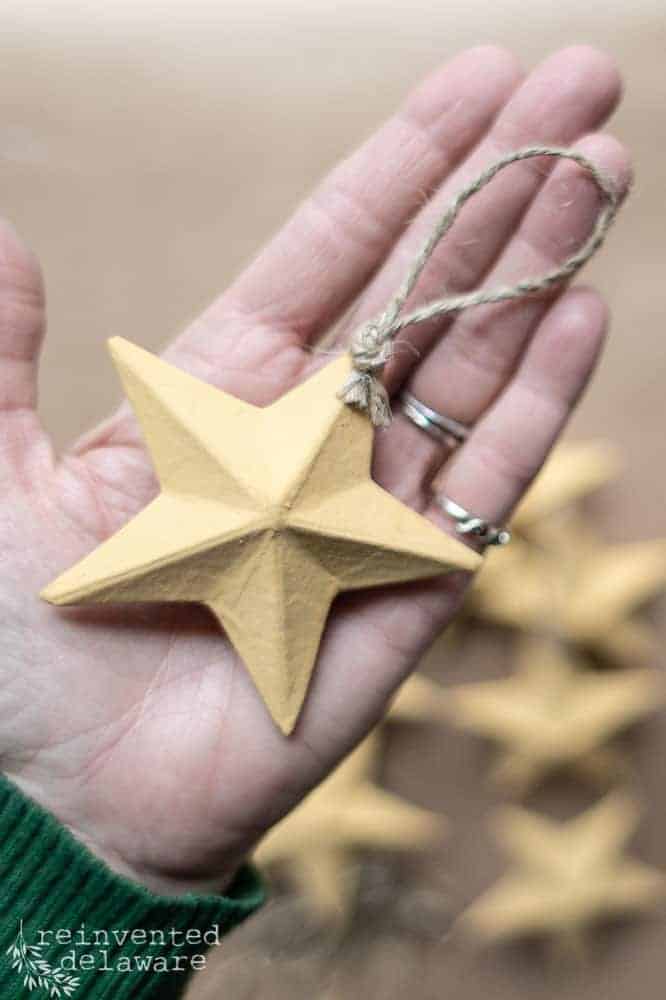
I used hot glue to secure the knotted twine to the star. Doesn’t the twine look better than the gold string???
YouTube video
Just in case you want to watch this whole knot tying process, I have a short video for you! Sorry for some of the blurry shots in the video!
seal the milk paint
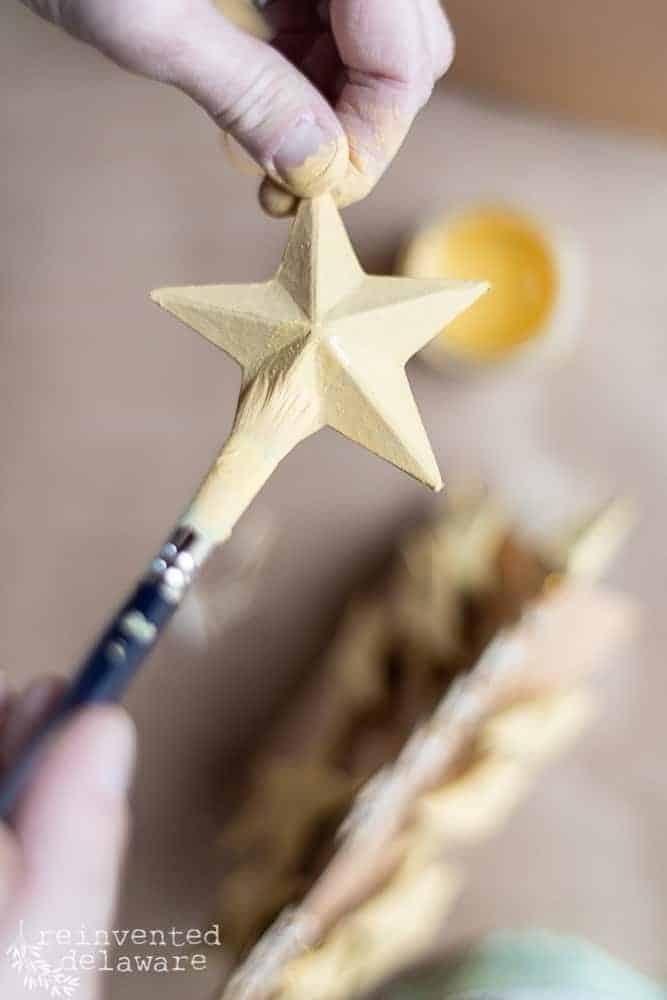
The last step is to apply Miss Mustard Seed Hemp Oil to both sides of each star. The Hemp Oil seals and enhances the milk paint.
No Need to Seal Dixie Belle!
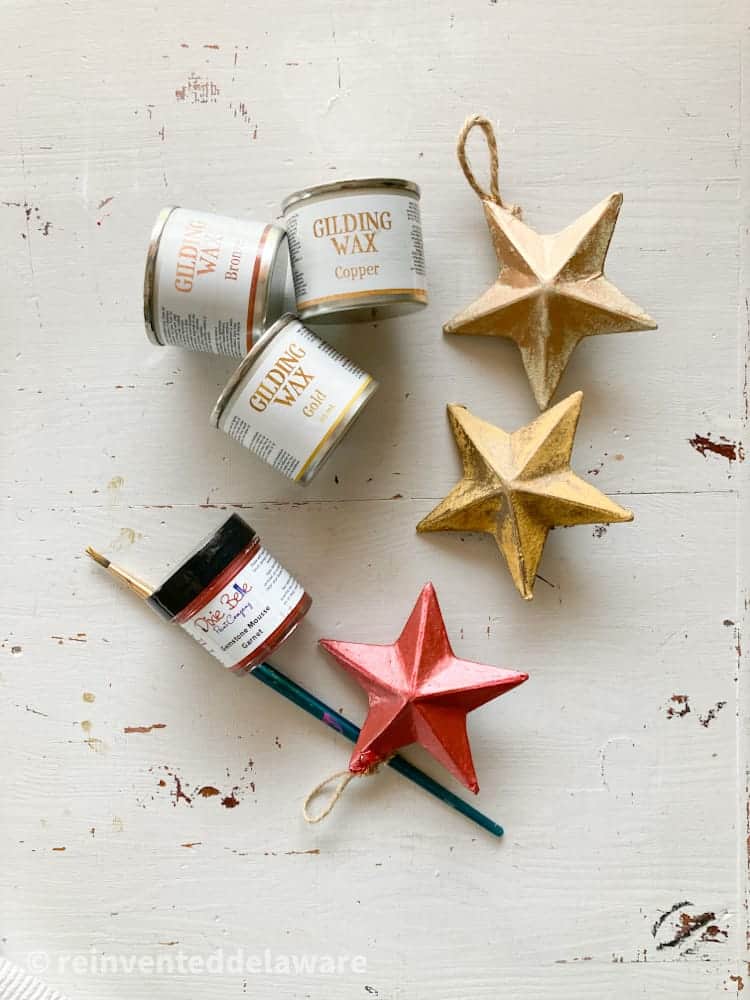
Remember, if you use Dixie Belle Chalk Mineral Paint, there is no need to seal. You can apply Dixie Belle’s Gilding Wax in Gold to add a bit of glimmer to the paper mache stars! (sorry I don’t have a picture of this idea! I might give this a try for another Christmas!)
I mean, look at the difference the hemp oil makes! The color takes on a deeper tone and the hemp oil really brings out the color!
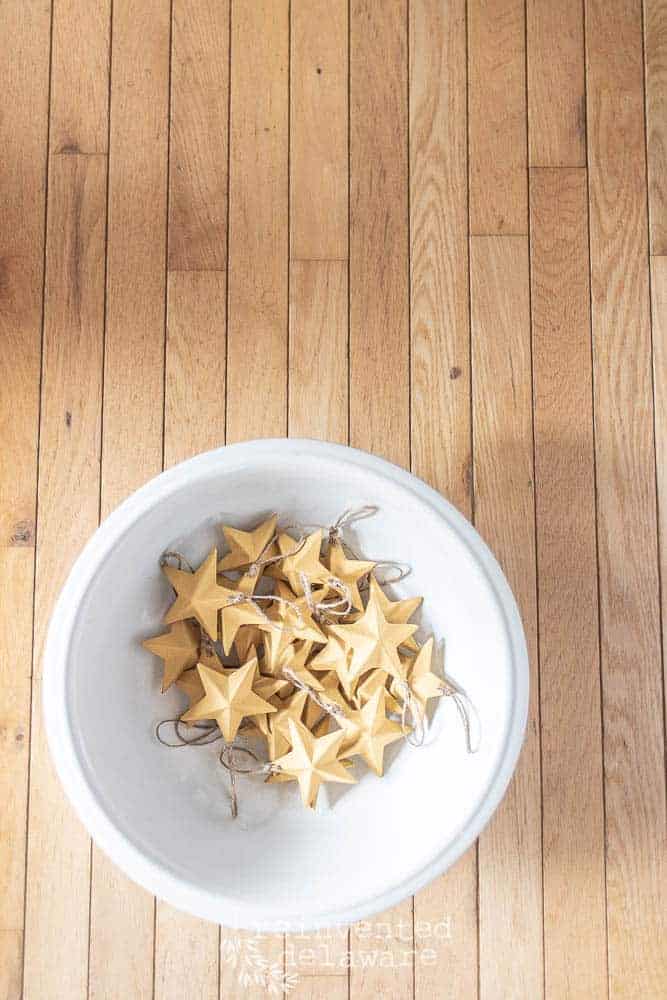
paper mache ideas for tree ornaments
All that’s left to do is hang them on the tree! But my tree isn’t even up yet so I’ll save that for another day!
These painted paper mache stars could also be used for gift wrapping. Just skip the bow and use the star with some ribbon!
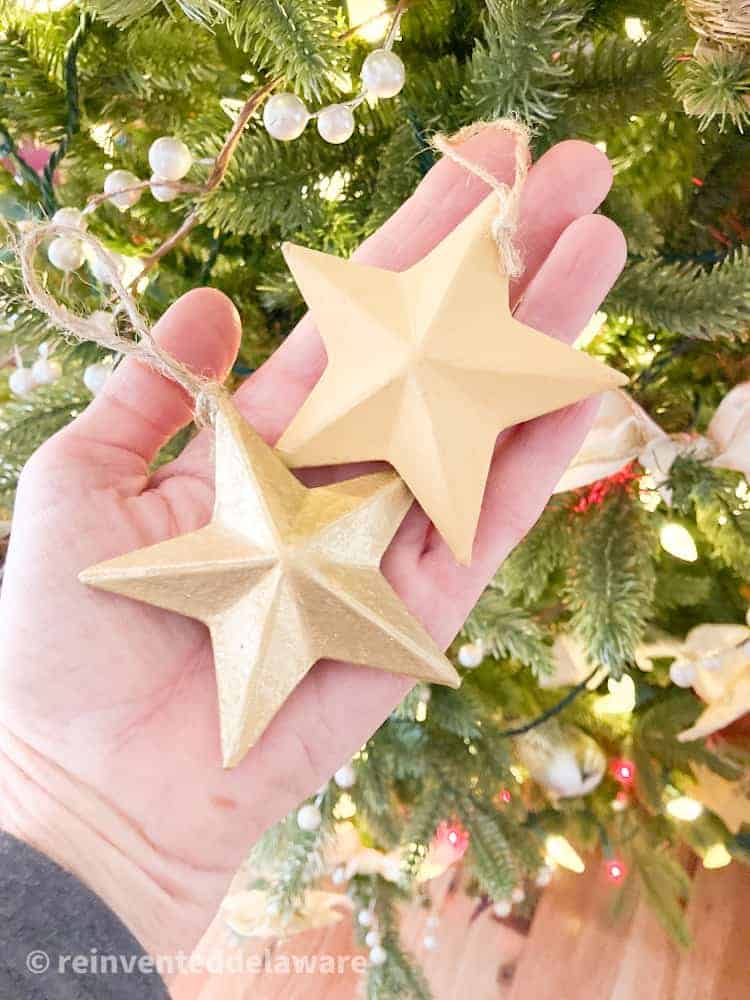
Dixie Belle Gilding Wax
I decided to add a bit of Dixie Belle Gilding Wax to some of the stars and I love how they look! The wax is easy to apply and adds just the right amount of shine and age to the stars. They take on a vintage metal look, don’t you think?
creative paper mache crafts
Wasn’t this a quick and easy project? It would be a fun time to gather friends around the table, each with their own supplies, and have a little star painting party! Along with some warm cider and fresh-baked cookies and you would have a great time!! Omgoodness, that sounds like fun!
Let me know if you do that! I would love to hear about it!
Shop our Amazon Storefront for more crafting supplies!
more Christmas inspiration
Click the images below for more handmade Christmas inspiration!
join our journey
Thanks for stopping by for this fun and creative paper mache craft tutorial! If you make these star ornaments, tag me over on Instagram – I would love to see you paint paper mache star ornaments! You can find me at @reinventeddelaware
Thanks so much for joining us for this post! Join our journey so you don’t miss any fun projects, tutorials, and inspiration we share with you each week! You can follow us on Instagram, Facebook, and YouTube. We share even more inspiration on Pinterest!


Until next time…
These are so pretty, Cindy! I pinned!
Thanks so much Julie!! ?
I’m definitely going to make these, they look like they’ll make a great addition to Christmas gifts. Thanks for the easy tutorial!
Your welcome Patti!! Thanks for commenting and I hope you enjoy painting these little stars!
I got my stars and Miss Mustard Seed’s paint (mustard seed yellow) today! Stars painted and dried. So far they look like yours! Getting ready to seal with hemp oil and make the twine loops-I love your idea of using twine! V
Yay!!! So glad you have enjoyed this project!! Tag me on Instagram, I would love to see them!!??
Adorable!
Thank you!
What a cute idea. These can be used in so many ways. Pinned.
Aren’t they so cute?? Thanks for pinning!
I love stars Cindy, and the paint color is perfect! Featuring you today at the Tuesday Turn About Link Party and hope you will come back to share more!
Thank you for featuring the stars! I’m excited to link up this week! 😊
These are so pretty! And such a doable DIY project! I like the idea of a little shimmer to reflect the tree lights. The orange slice ornaments sound fun – heading over to look at that post now 🙂
Making simple handmade ornaments is part of the season that I really enjoy. So glad you enjoyed the post Janet!
I’ve never seen paper mache stars like those, they are so adorable! I can think of so many ways to use those during the holidays! So excited to start Christmas crafting! Thanks for the inspiration! Blessings, Donna
Aren’t they cute? They add a nice touch to the tree each year!