
DIY Easy and Cheap Small Bathroom Floor Makeover
An easy and cheap bathroom floor makeover that any beginner DIYer can do in one weekend!
Our home is over 20 years old and well beyond the life expectancy for floor covering. Unless you choose hardwood, ceramic tiles, porcelain tiles, or concrete, your floors will probably be ready for replacement well before 20 years.
If, unlike us, you don’t have children, pets, or a spouse with work boots (Just kidding 😁), your floor coverings may last a lifetime. Twenty years is a long, time and most of us, even if we love our decor, will be ready for an upgrade well before 20 years!
We were more than ready for a bathroom remodel. Let’s start replacing our bathroom floor!

Small Bathroom Makeover on a Budget
In the process of building our house, we were given a few choices for floor coverings. There’s a great story about that for another time, but, like most first-time home builders, we were more interested in the public rooms.
Since we were on a tight budget, we went with a mid-grade linoleum for our bathrooms. Linoleum floors are a great choice for a room where your flooring needs to be water resistant. Standard vinyl flooring is a great option for many who are looking for budget bathroom flooring ideas.
We were looking for a budget-friendly way to change our bathroom floor, but we wanted to get away from the older form of resilient flooring we had chosen during the home build. The bathroom is one of those high-traffic areas in your home so be careful when choosing an inexpensive option for your entire bathroom floor.
Replacing Bathroom Flooring
My husband’s fishing & hunting partner is also a handyman! He had recently installed Shaw VersaLock Vinyl Plank Flooring which required simple tools and told us it was an easy bathroom flooring to install.
For those of you thinking of replacing your flooring, educate yourself before you buy! Many flooring products require specialized installation tools which are purchased separately. This adds to the overall cost.
YouTube is full of tutorials on flooring options such as sheet vinyl, stone tiles, natural stone tile, stick vinyl tile, and many other budget-friendly options. Proper preparation will ensure great success giving your room a new look. We took the simple route and chose vinyl plank flooring for our small bathroom makeover.
DIY Bathroom Flooring Options
Here are some considerations for your DIY bathroom flooring.
Laminate flooring comes in a variety of textures, different types and designs. We chose a style that resembled hardwood and added a timeless look. Shaw luxury vinyl flooring is a floating tile floor meaning it sits on the subfloor without glue or nails.
For some flooring, you will want to install a vapor barrier which is a material that prevents water damage by blocking moisture from seeping up through the floor and damaging your flooring material. Fortunately, the Shaw flooring we chose comes with a built-in vapor barrier that prevents water penetration.
For rooms where pets have left a “lasting impression”, floor paint might be a good idea. It will block the stain and add some water resistance.
When we built our home, we installed Bruce hardwood floors. The flooring is a “tavern grade” oak. It is cheaper per square foot due to the knots, wormholes, and dark streaks throughout the planks. This is just the look we adore in wood!
Solid wood is a natural material and susceptible to moisture so it wasn’t an option for a bathroom so we headed to the big blue box store to look at Shaw flooring. The color we chose was Resort Teak. We had already calculated the square footage we needed for our room.
thanks for being here!
I hope you are enjoying this project! Let me know if you have any questions. Or leave me a comment to tell me about your project and ideas!
thanks, Cindy 😀

Calculate Flooring Materials
There are many online tools to help you calculate the amount of flooring you will need to cover your entire space. Remember to add a percentage to account for waste and the inevitable mistake. We made our purchase and headed home. We allowed the flooring a little time to acclimate overnight. The planks need to get used to the temps and humidity levels in our home before we start laying them down.
DIY Bathroom Floor Step-by-Step
Let’s go over the steps we took when replacing our bathroom flooring. After gathering our supplies, we started the demo the next day.
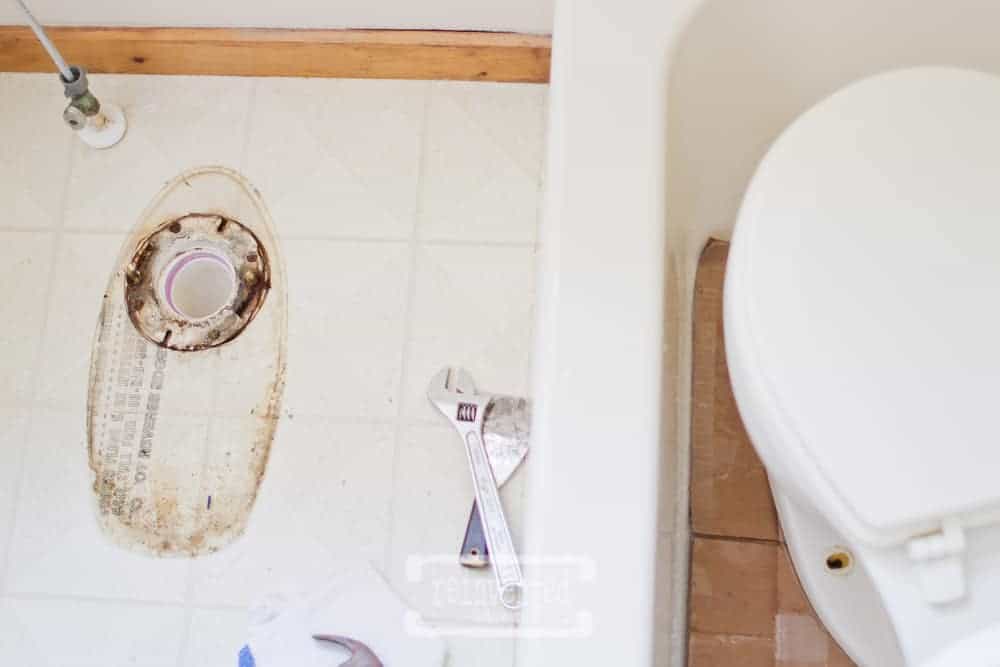
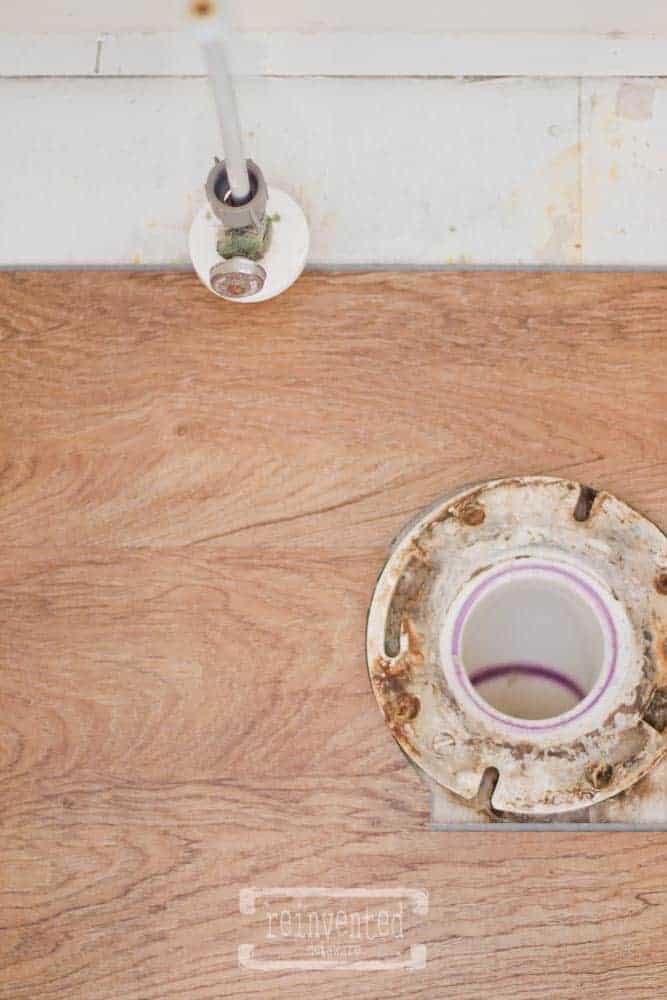
Step One Remove the Toilet
Next up was to remove the toilet. Honestly, my husband did that part. The room is pretty small as you can see, so we both could not fit much less my camera and tripod! Fortunately, he knows how to remove a toilet. He placed it on top of a cardboard box in the tub. The underside of the toilet has a wax seal and is pretty gooey. Thank the Lord for hubby’s!!
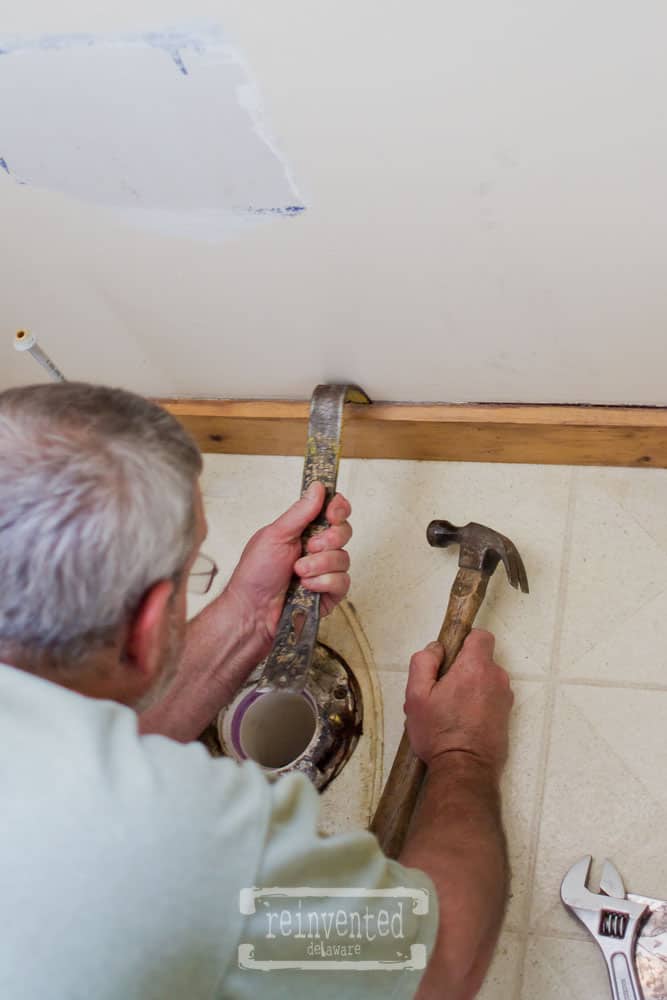
Step Two Remove the Baseboard Trim
The baseboard trim had to be removed. We use a wide putty knife and drive it behind the baseboard first thing. Using a small prybar, pry against the putty knife to keep from damaging the wall surface.
This method is a good idea but you have to be careful not to crack the baseboard near nails. Hubby says the metal putty knife method is one of the best ways he has found to remove baseboards.
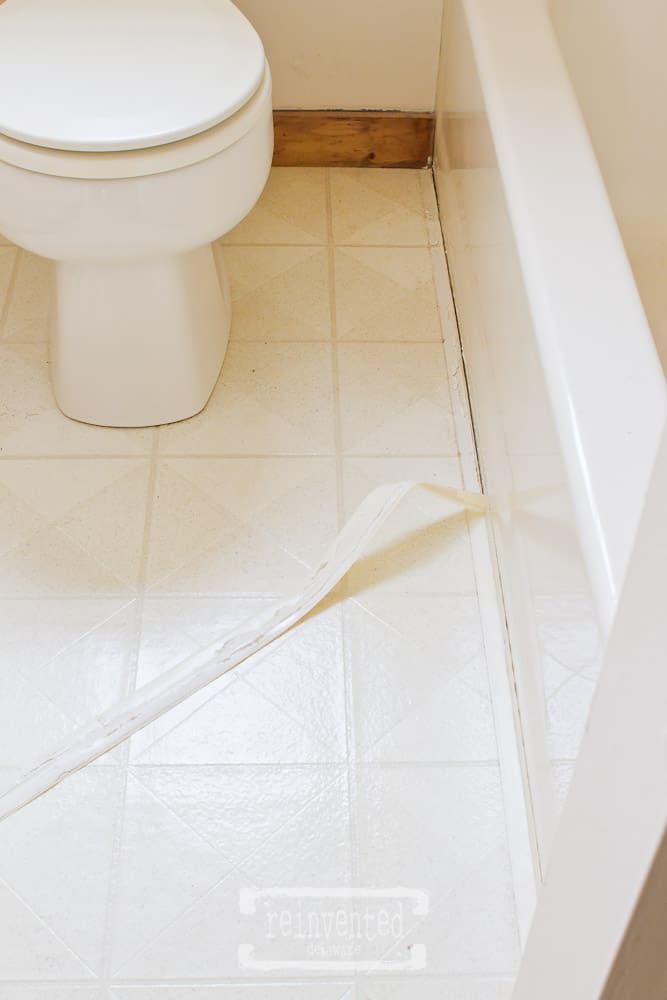
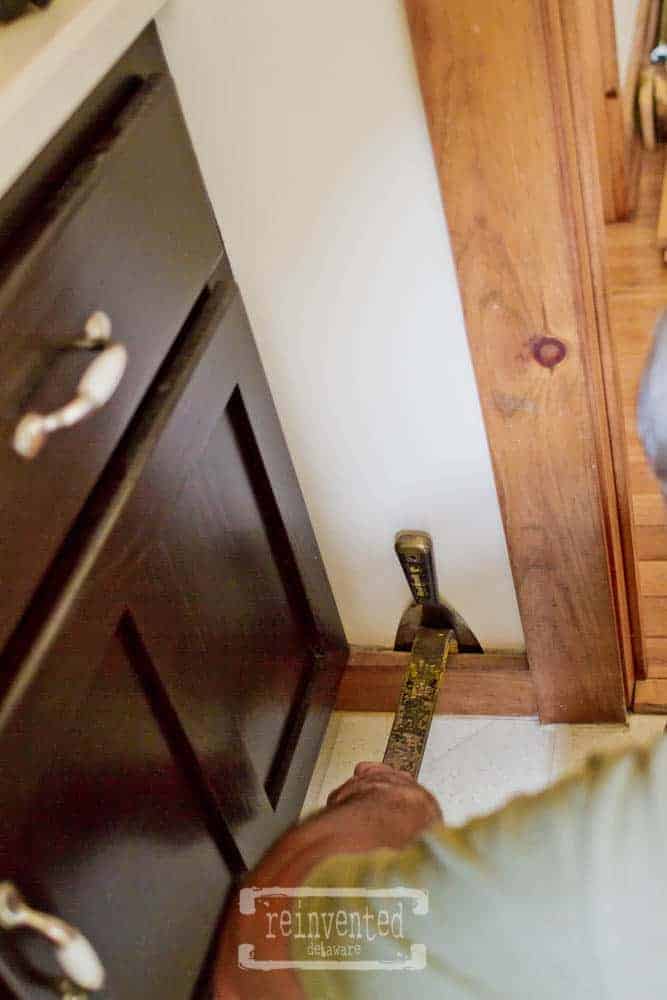
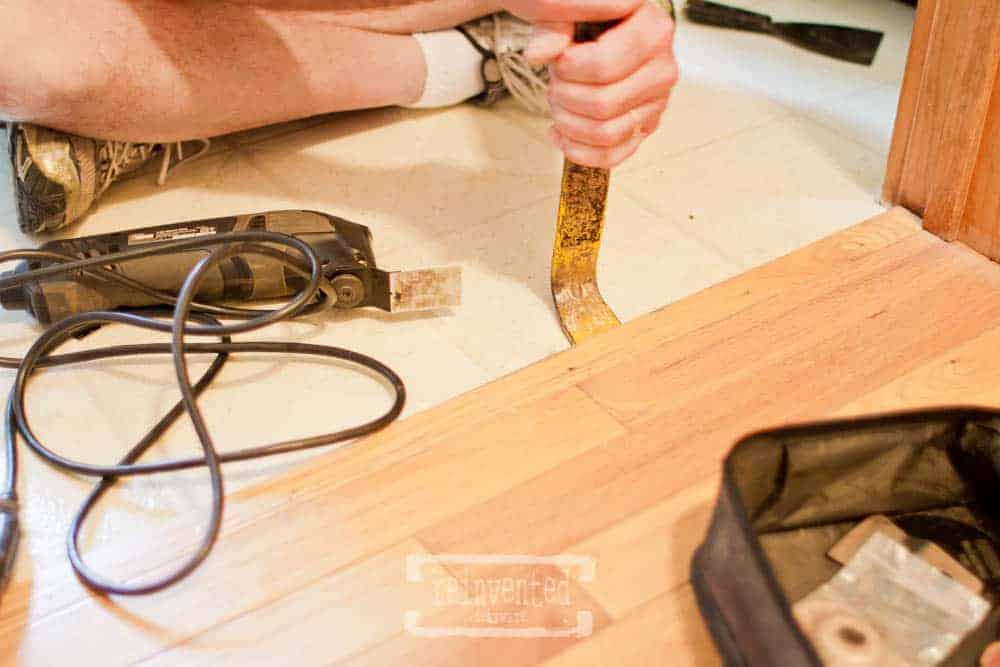
The threshold area was challenging because it was handmade when we installed the wooden floor and had to match it to the bathroom. The old linoleum needed to be removed so the new vinyl planks could fit underneath. This is a solid oak piece so pulling out the nails would be difficult.
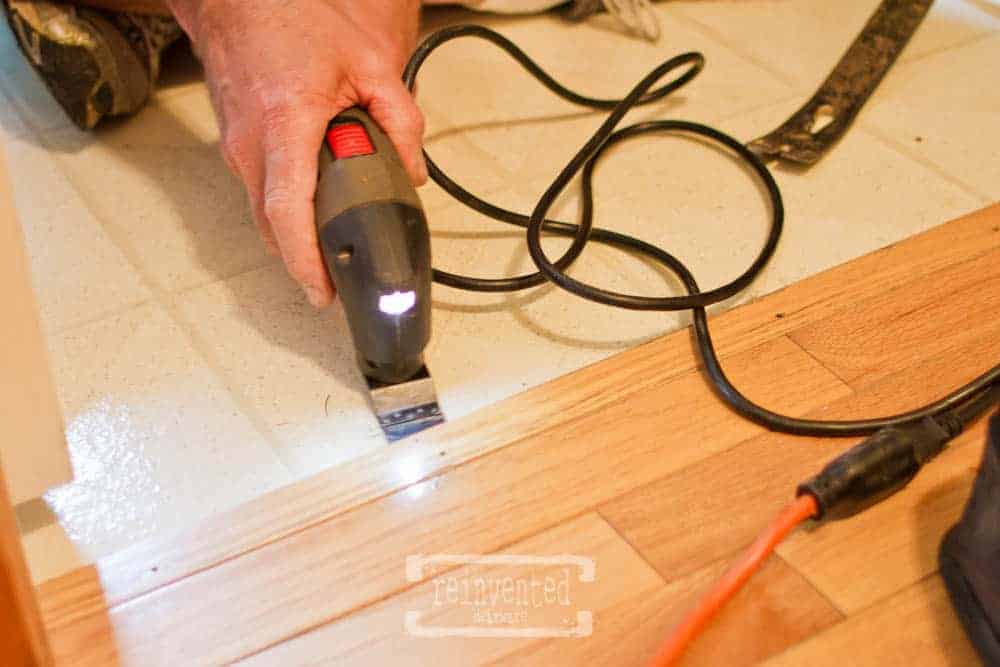
We chose to loosen the threshold slightly so we could pull out the old flooring and slide the new flooring underneath. A small crowbar along with my Craftsmen Multi-Tool made a big difference.
Step Three Remove the Old Flooring
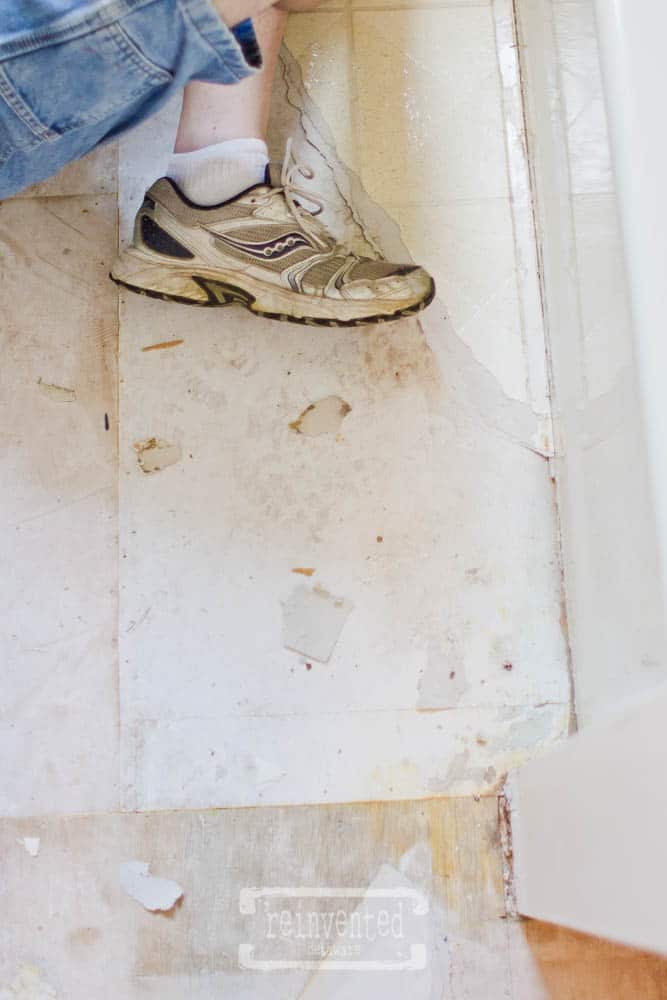
Here you can see the old flooring coming up. We used a variety of scrapers to remove the old linoleum. A leak had loosened some of the glue but in a few spots, removing the linoleum was hard work.
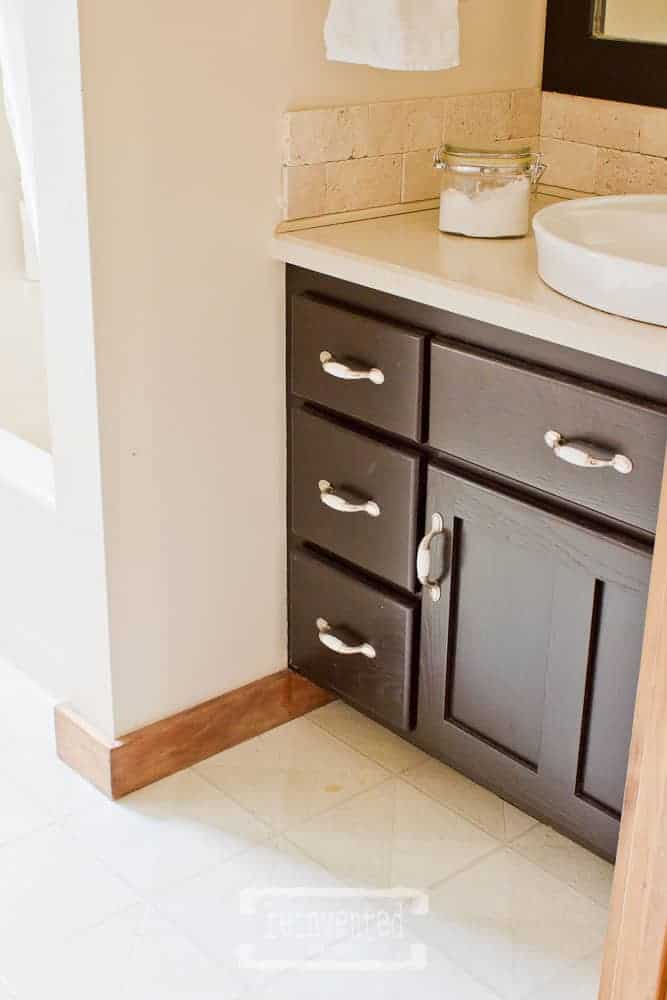
BTW, see the little dark spot on the floor near the base of the vanity? Yep, that’s hair color from one of our teen daughters 😉A few patches of adhesive had to be scraped off to make a smooth surface and a good vacuuming afterward cleaned up all the bits!
Step Four Measure and Cut the New Flooring
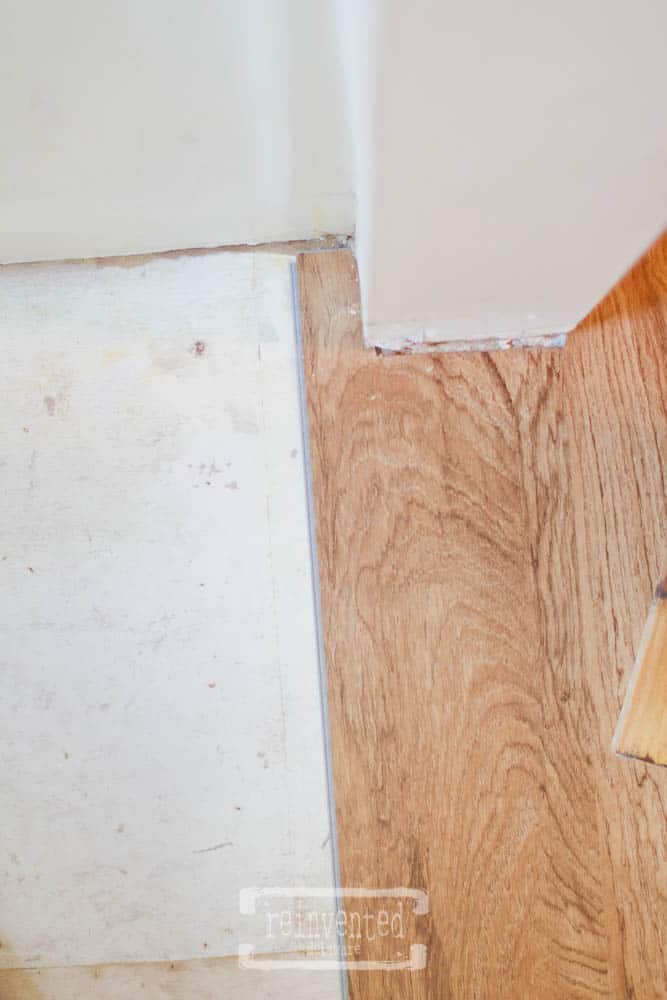
The first piece was measured and cut using the multi-tool with the blade attachment. The vinyl planks cut easily, in fact, we just had to score it with the multi-tool, snap it, and cut the backing with a utility knife. It slid under the threshold and the door trimmed perfectly! You will also see that we ran the planks in the same direction as our existing oak flooring.
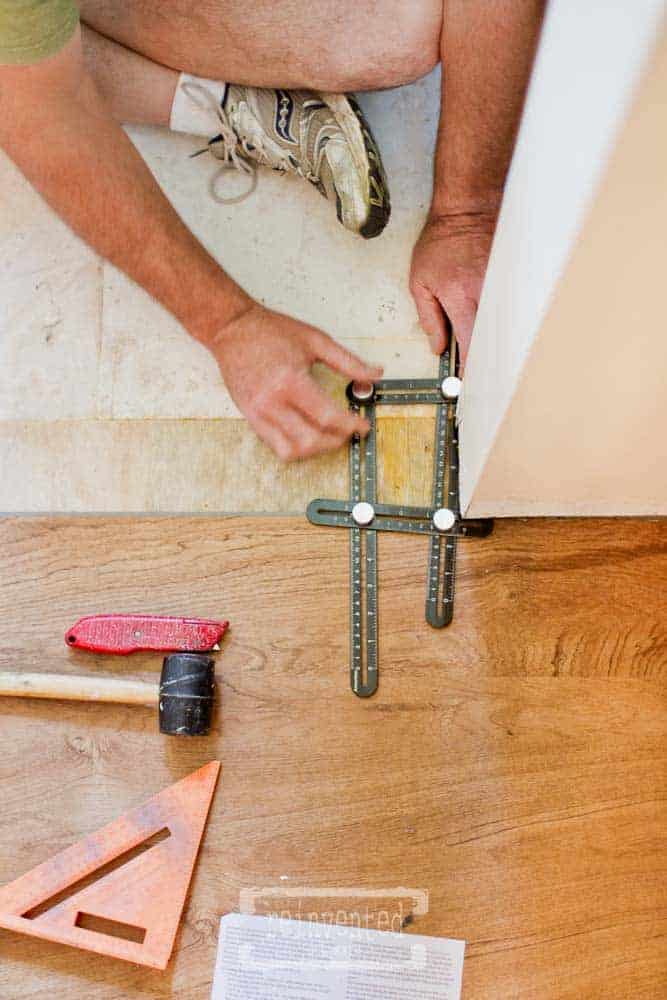
This adjustable angle ruler was handy for working around areas that needed special measurements. It is used by making the needed adjustments around the corner of a wall, tightening the screws, and then transferring the tool markings to the plank that will go in that spot. Remember, measure twice and cut once!
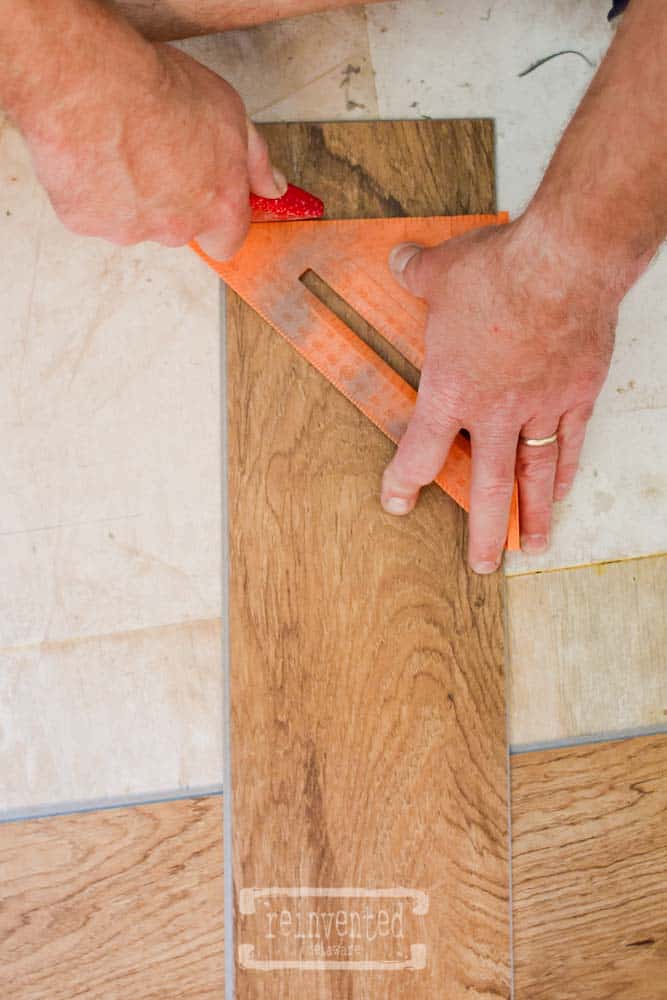
A straight edge like this orange one will ensure a straight cut.
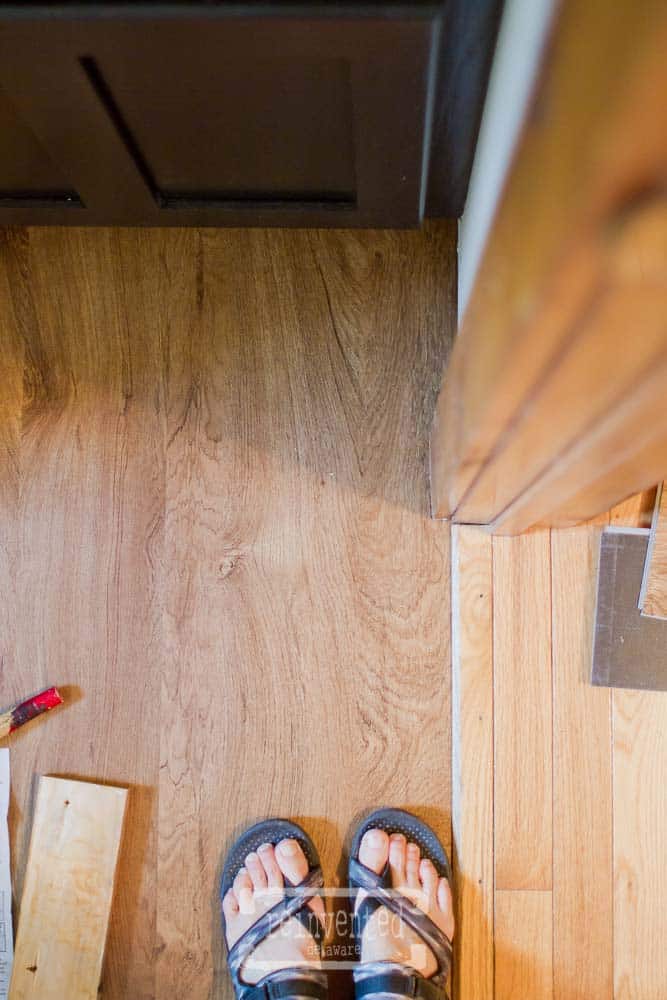
Perfect fit! You can also see the long end with a lip – that will lock in the opposing side of the next plank.
We continued all the way to the exterior wall of the bathroom where the toilet connection meets the floor. Hubby was creative and marked the planks with a pencil, making a pattern to cut the planks. The water connection was easier to navigate but you want to be careful since PVC and CPVC pipes will break! and this will cause a flood similar to what Noah encountered!
Step Five Reinstall the Baseboard Trim and Toilet
After completing the entire floor, hubby reinstalled the baseboard trim after I lightly sanded and re-stained it. For some natural trim, linseed oil can provide a like-new appearance. Doing this simple step made the trim look new again!
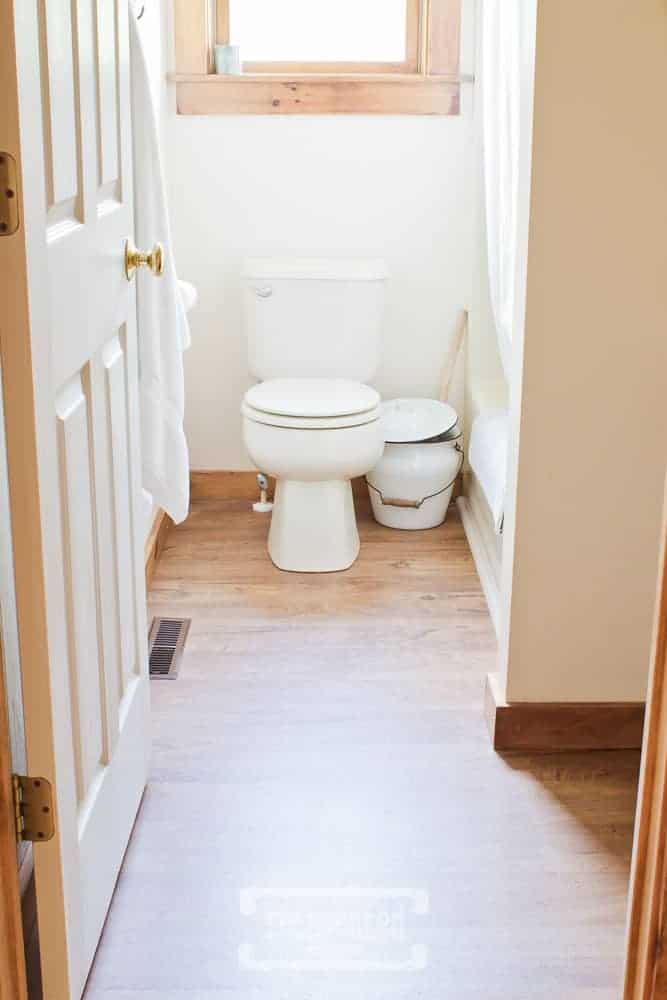
He also installed a vinyl quarter-round trim at the base of the tub using Gorilla Glue Sealant which is waterproof and has adhesive qualities. I spray-painted the quarter-round in almond to match the tub and wallah, and our small bathroom floor makeover was complete.
Cheap Bathroom Flooring
It is amazing how a couple of hours of work and only about $50 can change the look of a room and add resale value to your home! We are so happy with this small space and the ease of installation of the Shaw flooring. This was the perfect training for the master bathroom which is our next project. For now, it’s off to get nice rugs to finish off this small bathroom makeover.

Helpful DIY Flooring Tips
Here are some “Hubby Helpful Tips” included to help you add modern style to your unique space.
- There are many options for flooring. The most important thing is to consider your ability and tools on hand. Don’t buy new tools. Try to borrow what you need from friends and family. If you have to buy, check out thrift stores, auctions, and yard sales first.
- If you are adding a fresh coat of paint, do that after you remove the old flooring and before installing new luxury vinyl planks, tile floors, or stone tile flooring. Nothing ruins a great place like paint spots of a different color.
- Consider the base flooring material. Some synthetic materials do not do well when placed over concrete. Some natural materials require a top coat to keep them stain and mildew-resistant.
- Do you want to deal with grout lines? They need cleaning and if the answer is no, you may want to consider flooring with a groove system that eliminates grout. Stick Tile and tile stickers are great but when it comes time to remove or replace, there will be adhesive to clean up.
- Purchase a few extra tiles for mishaps in cutting and measuring. Bathroom tile can get damaged and finding a replacement might be challenging. Having a few tiles stuck away will solve this problem.
- If this is your dream home and you’re never moving, consider heat under your floor surface. This is a bit costly, but it adds comfort under real tiles, stone floor tiles, and even luxury vinyl tiles. It is also a great option for a kid’s bathroom or powder room.
- Wondering what to do with the old tile? Some bathroom floor tiles can be recycled into crushed material used in driveways, landscaping, and even planters.
DIY Bathroom Floor Project
Whether you are replacing floors in a new laundry room, dining room, or new home, there are easy-to-install materials that will make your room feel special. Be sure to check out the website of the flooring manufacturer. They often offer exclusive content that gives helpful tips and tricks.
Also, if you need to call a pro, consider a small business. Small businesses are the backbone of our economy and they are usually less expensive options. Many will do small jobs such as plumbing or electricity and allow you to complete most of the work yourself.
Thanks for stopping by for this cheap bathroom floor makeover! I hope it was helpful for you. Feel free to pin this post for your future floor projects! I would love to know if you are looking for cheap flooring ideas. Please leave your questions and comments in the comment box below. Have a blessed day!


Cindy Rust
Cindy has been decorating her home with thrift store finds for 40 years. She is an avid thrift store shopper who loves to makeover the items she finds into vintage-inspired home decor and furniture. When she isn’t thrift shopping or painting a piece of furniture, you can find her making homemade butter, working in her garden, or painting with watercolors.
DIY Cheap Bathroom Floor Makeover
Equipment
- vinyl plank flooring
- small crowbar
- metal putty knife
- adjustable angle ruler
- utility knife and blades
- power multi tool (optional)
Instructions
- Remove the toilet. Turn off the water supply. Loosen floor bolts. Lift the toilet and set on a cardboard box in the tub if possible.
- Remove the baseboard trim using metal putty knife to protect the wall and a small crowbar to loosen the board at each nail point.
- Remove the old flooring using a metal putty knife to remove adhesive and other scrapers to remove torn linoleum flooring as needed. Vacuum when finished to remove debris.
- Measure and cut the vinyl planks to size for the floor space. Cut one plank at a time. Use an adjustable angle ruler to work around corners.
- Reinstall the toilet and baseboards
What a quality, beautifully done job! Laughed aloud at the hair dye stain, and was tickled with the tool tip for measuring tricky pieces. So pretty!
Thanks so much! And thanks for commenting!