
How to Remove Layers of Paint
Need to remove layers of paint? Let me show you how I remove those layers that have been in the making for years and years!
Auction Day!
One of my favorite places to purchase home decor items to reinvent is auctions. In particular, the Amish Auction held twice a year – spring and fall. The goodness at these two auctions is overwhelming to say the least! But we are not afraid!
This is what it can look like after a good haul from an auction!
The local community gathers their home goods and donates them to support the local Amish school and community. There is such an abundance of the good stuff including furniture pieces.
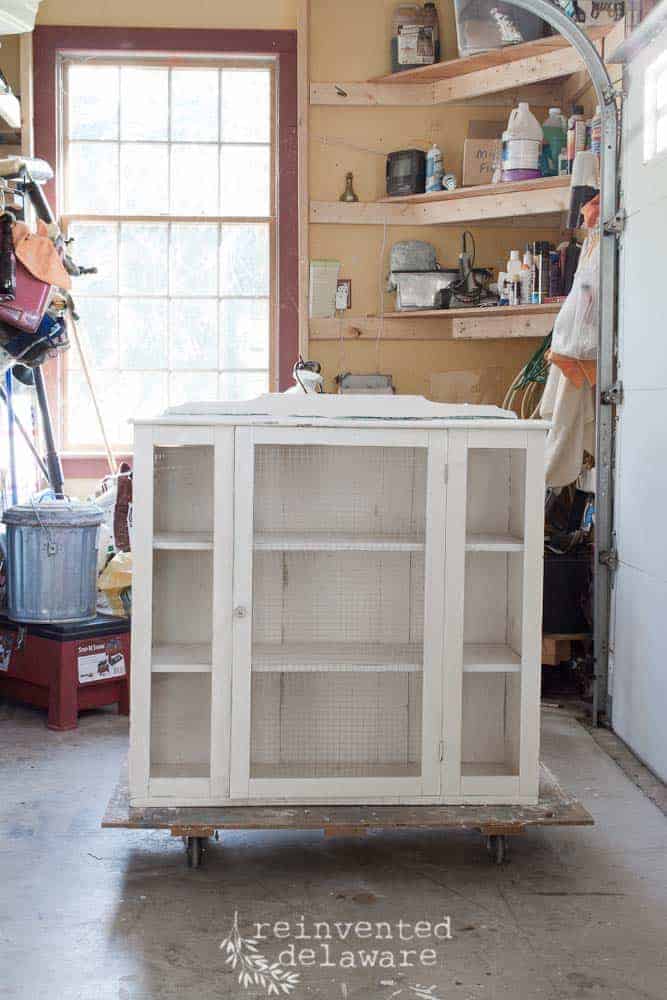
1930’s Era Kitchen Hutch
Like this kitchen hutch. Original paint and hardware it was just missing the glass in the door. It got a nice bath and a couple of coats of General Finishes High Performance sealed it beautifully. In the shop it went!

The hutch was in our spot at Wilderlove Handmade and Vintage for some time. Too long in my opinion, so I decided to bring it home and give it a makeover. BTW, I had purchased another hutch just 2 weeks later that was almost identical to this one and it sold quickly. This is a funny business, you just don’t always know what will sell and what won’t!
The hutch comes in two pieces – this is the top section.
Hindsight is 20/20
In order to completely make this kitchen hutch over, I knew I would have to remove the layers of paint . You can’t really be sure what kind of paint you might be dealing with on antique furniture. Hindsight, I should have tested this paint to see if it contained lead. Previously painted furniture is not something I usually purchase and I still have a lot to learn about handling these pieces.
If you are concerned about a piece of furniture that you might want to remove the paint from, I recommend you do some research on this site.
There have been some of my own pieces that I have wanted to remove the paint from and I like to use Ready Strip. It is easy to use, no odor and cleans up with soap and water. I do wear gloves when applying it and when removing it.
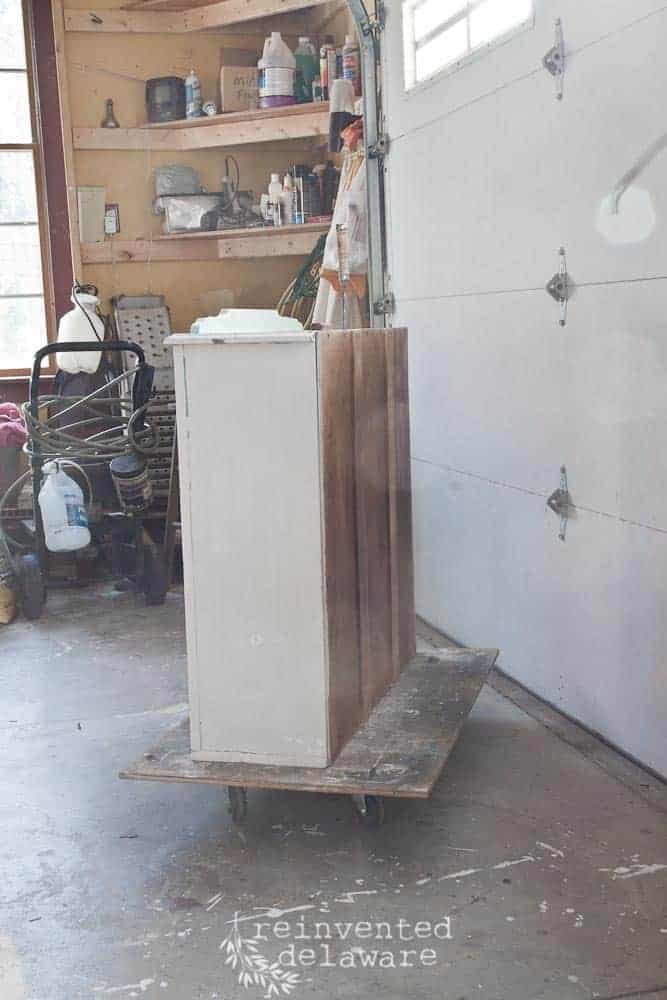
Removing the Back
Before I started the process to remove the layers of paint, I decided to take the back off of the piece. It would be easier to remove the shelves and to access the interior of the hutch. I love the back on this piece – it is three separate pieces of wood joined together. The type of joinery used is called a mortise and tenon joint. My hubby had to fill me in on that tidbit of info — all I only know is I wanted to preserve it!
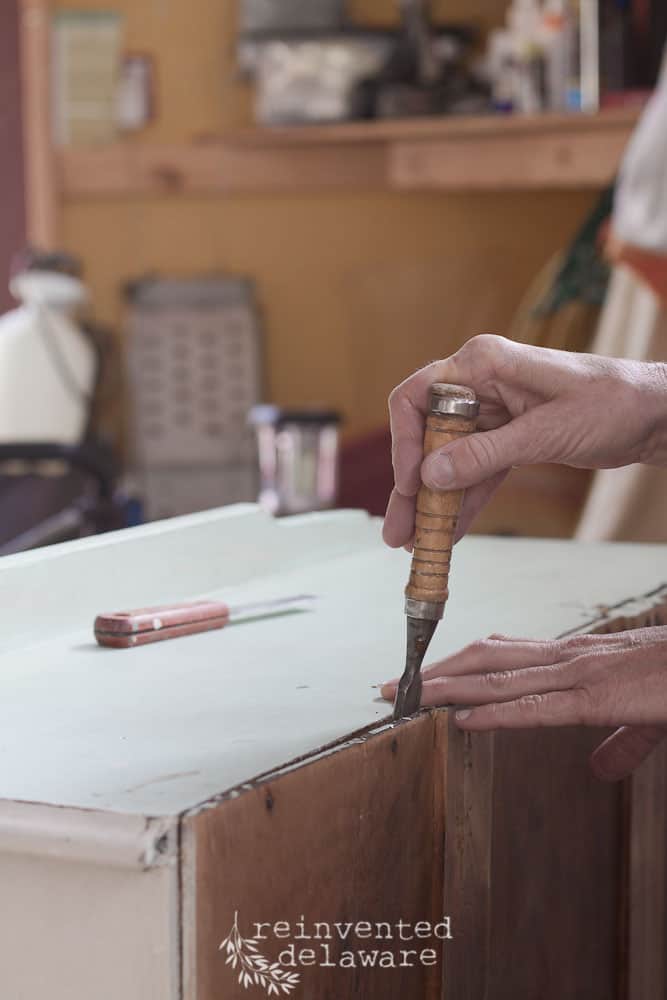
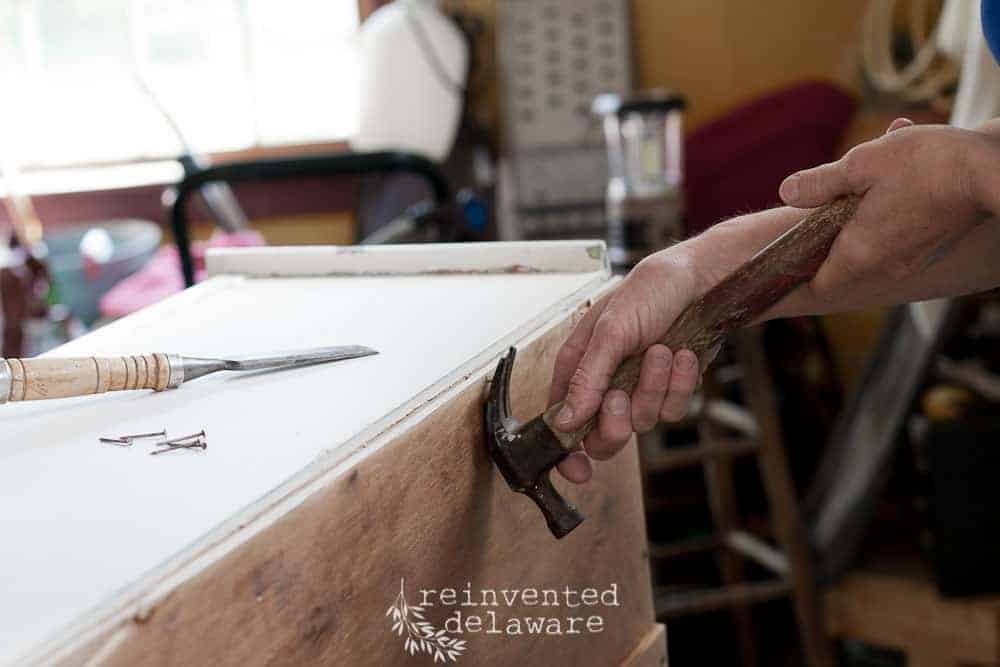
A chisel has a beveled edge that allows the tool to be carefully nudged between the two sections. Using a rubber mallet, I gently tapped down on the chisel. That started to loosen the nails that attached the back to the body of the piece.
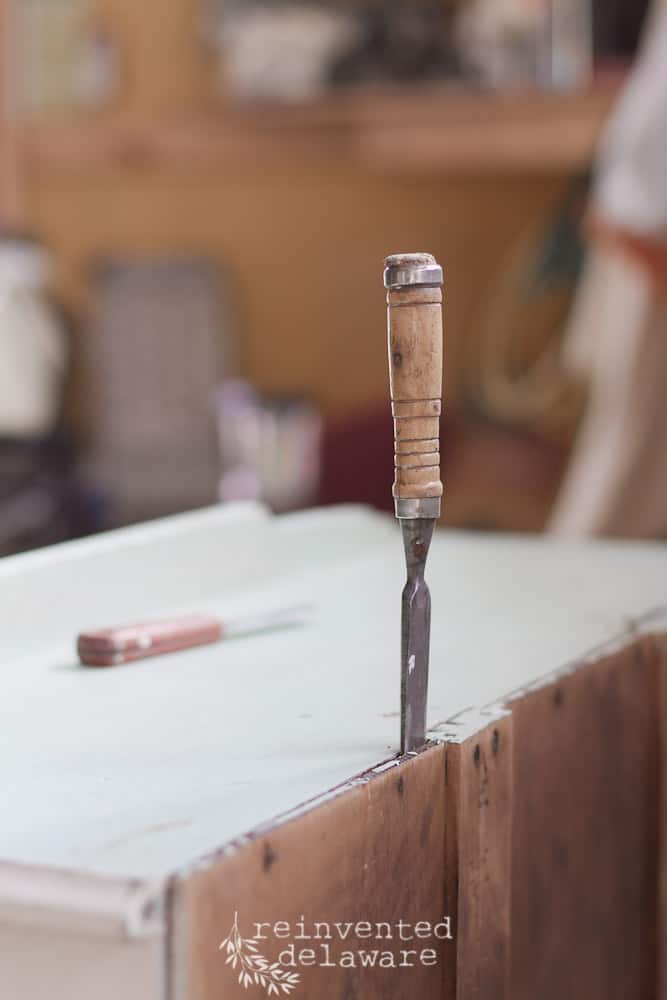
Once the chisel is in far enough, a slight pressing of it will loosen those nails even more. Be careful when doing this so that the wood is not damaged. A slow, steady hand is the best approach. Also, place the chisel as close the the nails holding it on as possible. This helps to not compromise the old wood.
I decided some extra tapping with the rubber mallet from the front of the piece would help to loosen those stubborn nails. Again, be gentle on this old piece.

The claw end of a small hammer helped to remove nails as well. To remove the back probably took me thirty minutes. I didn’t want to rush this step because I wanted to preserve the integrity of this 1930’s era kitchen hutch.
Remove the Layers of Paint!
Once the back was off, I started to apply the Ready Strip. I used a small chip brush to apply it. These brushes are great – they can be tossed away when they have served their time! I used the same chip brush for the whole removal process and kept it in a plastic baggie in between coats of Ready Strip.
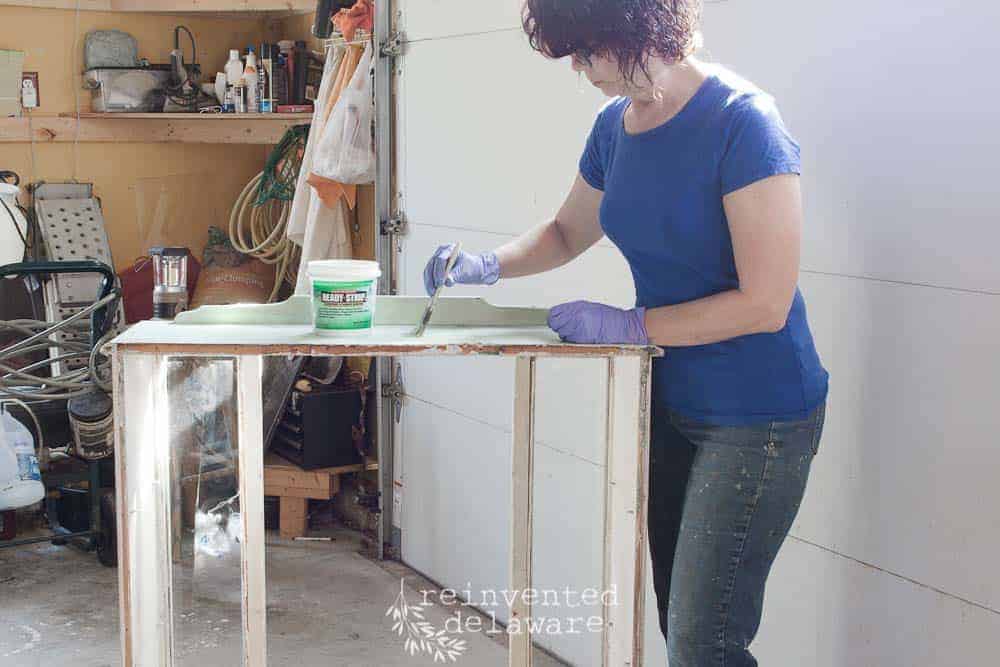
A heavy coat of Ready Strip is best. I have made the mistake of being too conservative in applying it. Mistake – I just ended up applying more. I am learning to be more liberal with this stuff!
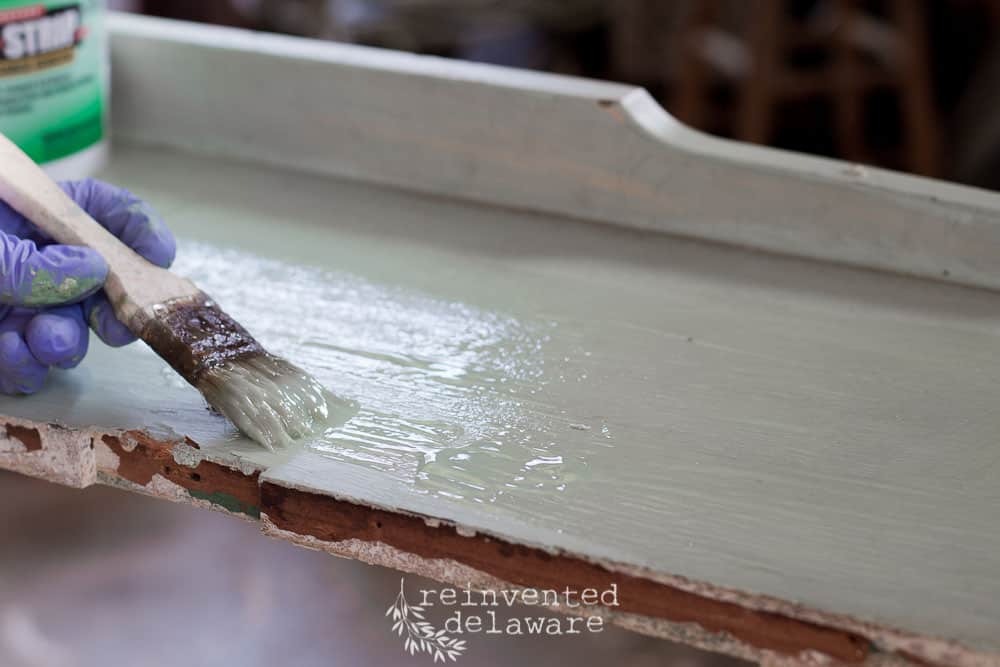
Bubbling Action
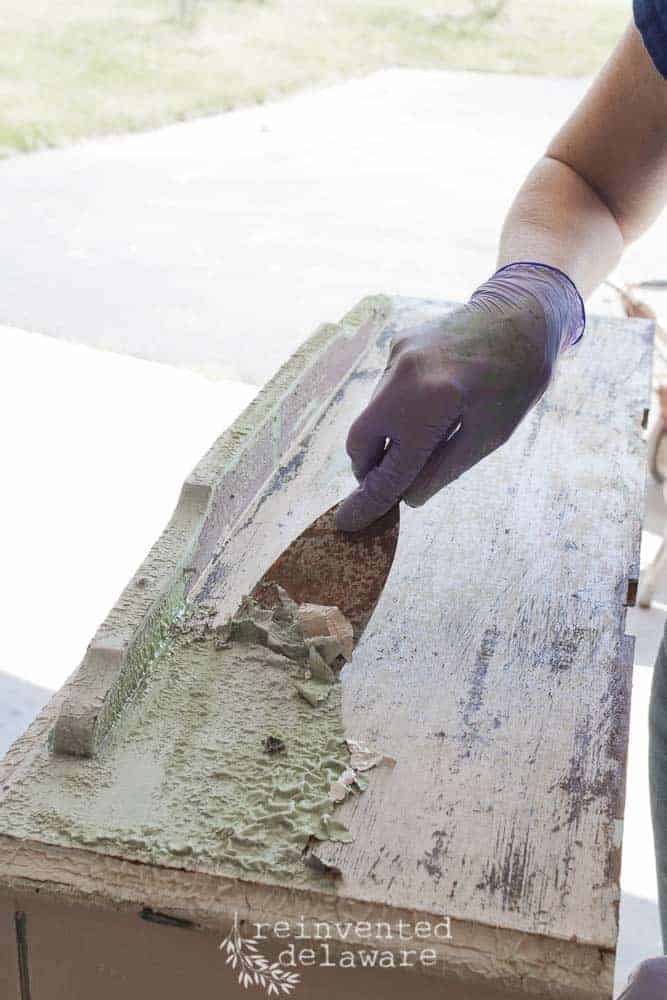
Reaction time varies with this product depending on the temperature and conditions of the work area. Today was a pretty warm day – low 70’s – so it was ready to scrap in no time! The product changes color and sheen when it’s ready to strip. You can also see the bubbling action that it causes! That paint just wants to get off of that hutch!!
Using several sizes of scrapers, I scraped and scraped. This is a good time for an audio book or podcast!
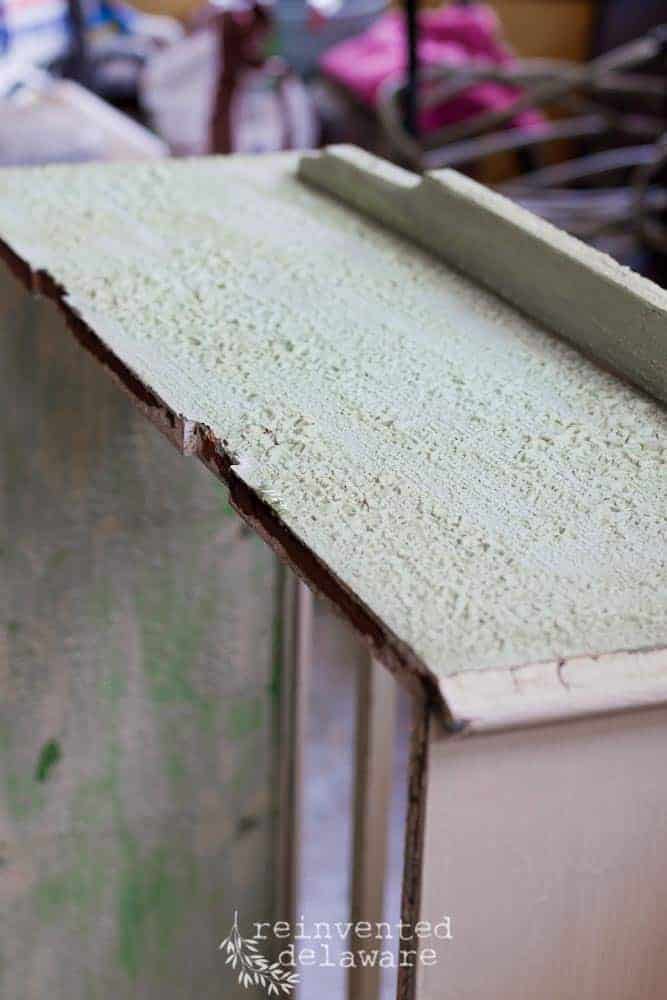
Just look at it come off! Ready Strip is not as goopy as some other products. It creates a sort of dry chalky texture. The white layer of paint was very chalky but the greenish under coat was a bit more wet. I probably could have let it sit on the paint a bit longer. Never said I was patient 😉
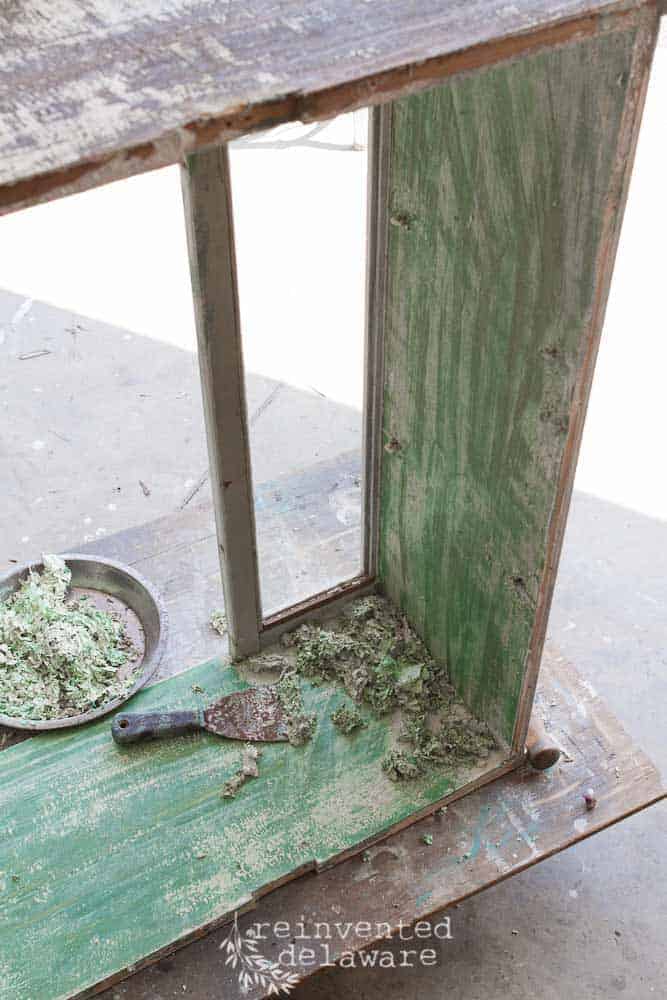
I kept a trash can close by so that I could scoop the mess right into it. An old pie pan came in handy for the scrapings too!
See the green paint that is still on the piece after scraping off the top layer of white? This hutch had been painted in several colors – white, purple, black, red and two shades of green! I couldn’t believe how many colors I was seeing during the scraping!
I did have to apply another layer of Ready Strip. It was a challenge getting those six layers of paint off! In the end, the first layer of paint that had been applied (which was a green) actually soaked into the wood like stain and would not come off completely.
So Glad You Stopped In!
That’s it for today! I need to head out to the workshop and get the rest of that paint off! This little lady wants a fresh coat of paint on!
Thanks for dropping by and stay tuned for the final look at this beauty! I would love to know your thoughts about what color to paint this hutch. The color green seems to be calling my name for this piece – what do you think?
You can always follow along on Instagram and Facebook to see tidbits of the process! We would love for you to chat with us there!
Sharing is Caring – Feel free to pin for your future reference! Follow along on Pinterest while you’re there!