
Easy Small Gun Cabinet Upcycle Project
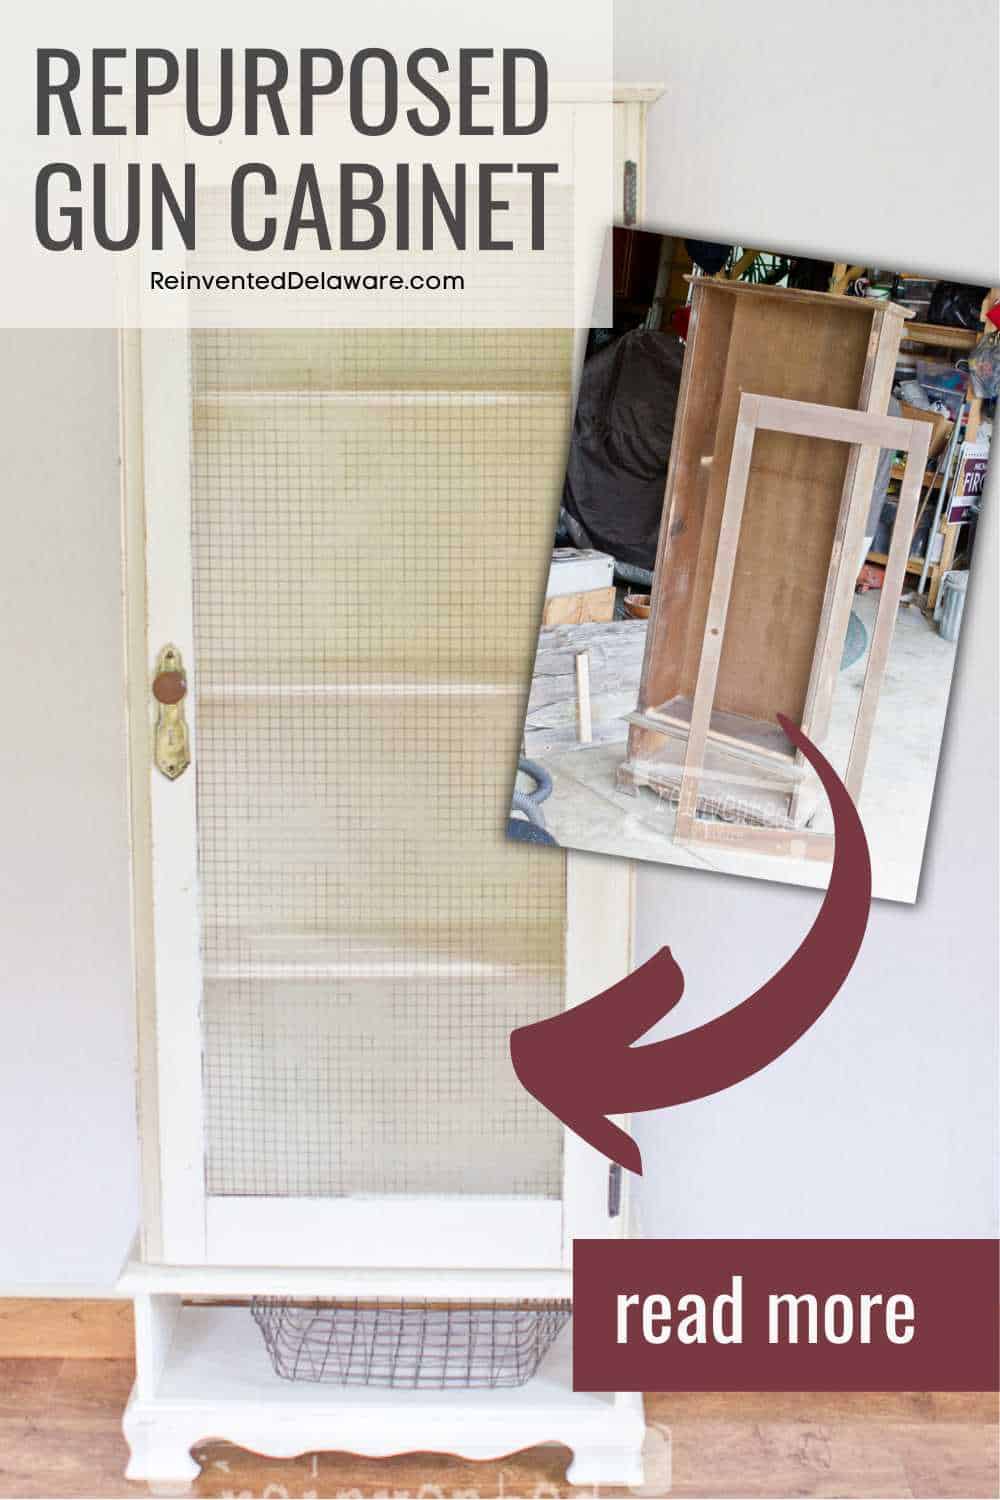
This easy small gun cabinet upcycle project is a great way to get the storage you need in small spaces. Use it in a living room, in a bedroom, or in a bathroom. This repurposed gun cabinet is a small storage solution for any room!
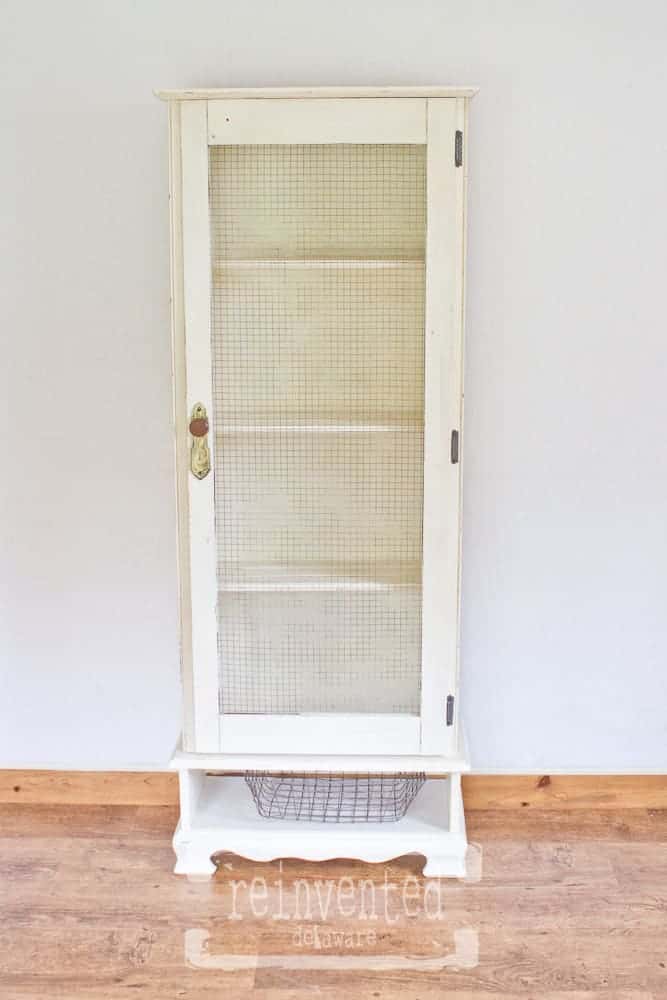
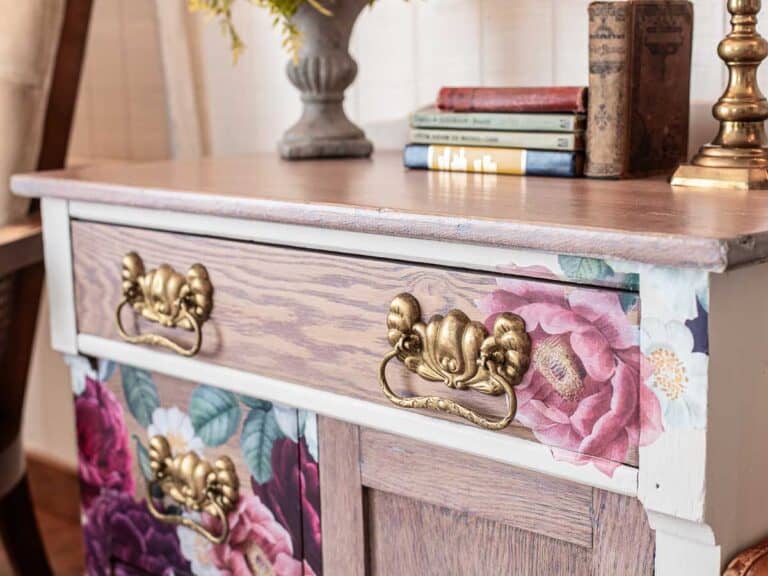
gun cabinet upcycle
I have said it before – when I am out thrifting or at flea markets, I come across all sorts of old furniture. Many of the solid wood items we find would not necessarily be used in our home. So when I came across this piece of furniture, I moved on. My hubby keeps his gun collection locked up and in a safe place.
But then, I got about three feet away from it when I realized it was the right size for storage space in a small area. For instance, it would be the perfect addition next to a back door to hold beach towels and sunscreen at a beach house. Another use for these old cabinets could be in a guest bedroom to hold supplies for overnight guests. It would be the perfect place to store fresh towels, soaps, and reading materials for guests!
We could go on and on about the amazing ways to use a wooden gun rack, but for now, let’s get on with this easy project!
The cost was so minimal it is not even worth mentioning. It was pretty dirty, had a missing drawer at the bottom of the cabinet, and had some broken wood boards including the glass in the door but I didn’t see that as a problem 🙂
The following post may contain affiliate links. That means if you click and then buy something, I will make a small commission at no additional cost to you! Thank you for supporting my blog. full disclosure here.
supplies and tools:
- gun cabinet from a thrift store, yard sale, or flea market
- handheld saw
- clamps
- battery-powered circular saw
- carpenters square
- hardware cloth (at your local hardware store)
- pneumatic nail gun
- compressor
- staples (check the depth of your furniture piece)
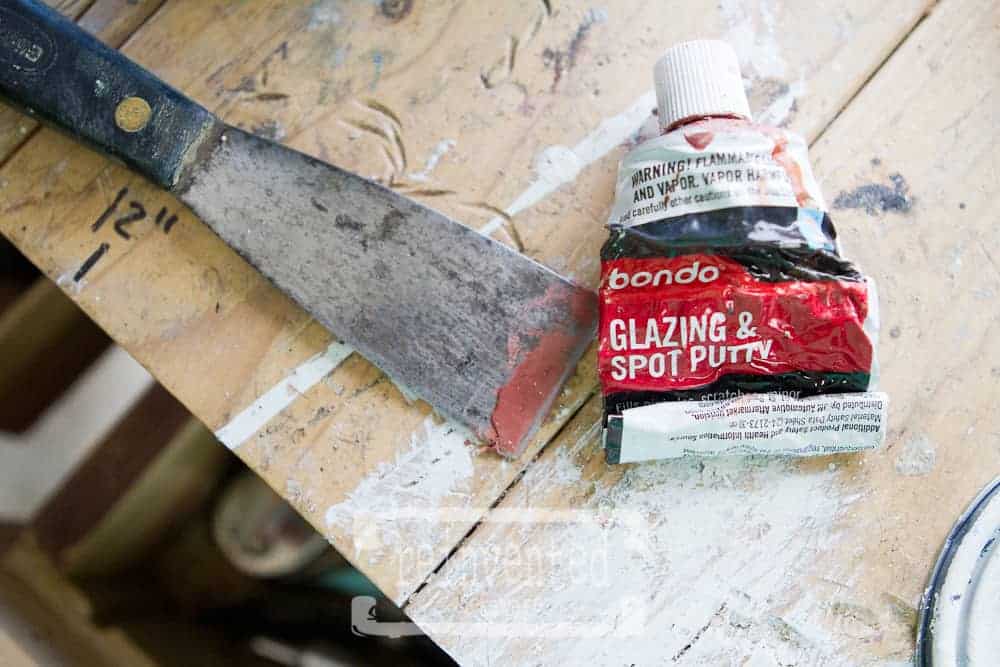
- Bondo (option: wood filler)
- dark bronze spray paint
upcycling ideas
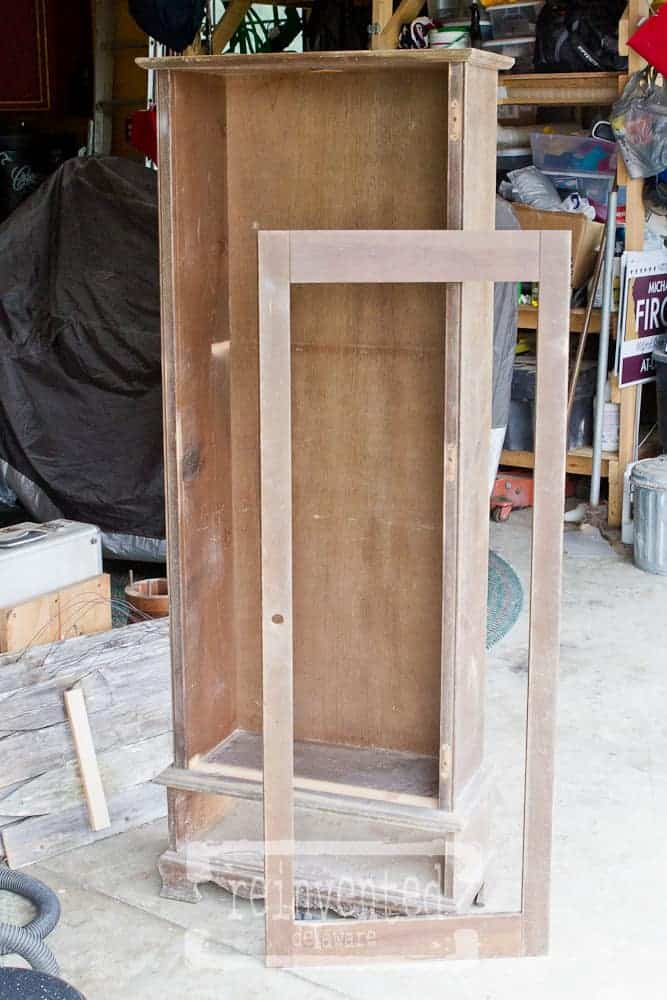
These old gun cabinets usually have glass doors to display the collection in plain sight. The glass was missing from this old gun cabinet. So I decided the first thing to come off was the door. Removing it would be the easiest way to make the changes I wanted to do to the cabinet.
It would be the best way to clean without the swinging door. I also removed the small, thin, long strips of wood inside the door that would have held the glass in place. I carefully removed these – they will be used later!
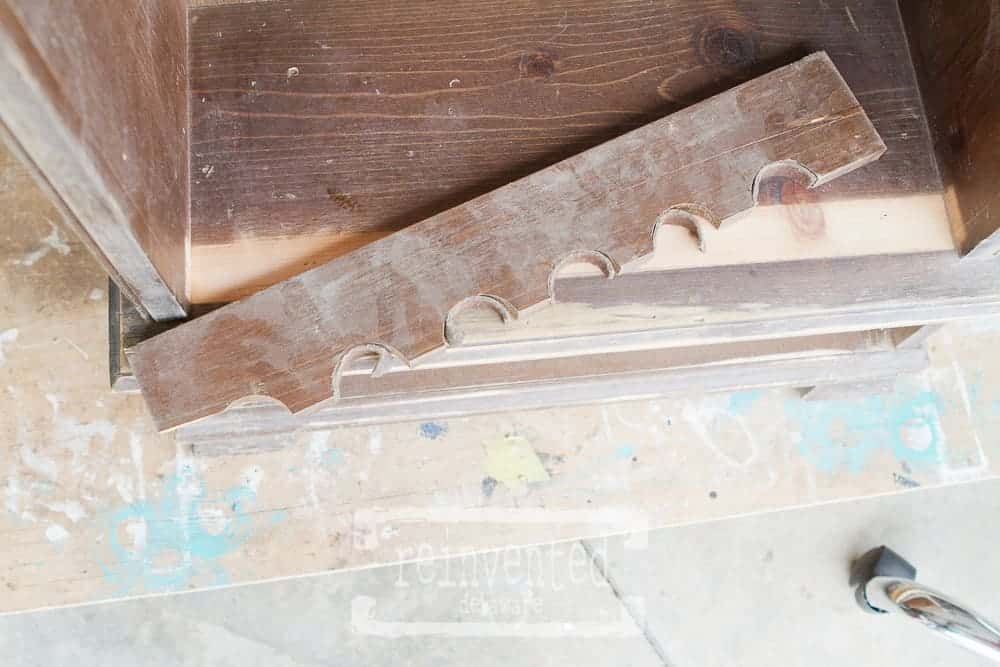
As I said, the cabinet was dirty! It had seen better days. I also removed the holder that would have held the hunting rifles. One section of the holder was already gone. I used a wooden mallet to tap it and loosen it. Then my chisel to pry it completely off. It was only attached with a couple of nails so it was pretty easy!
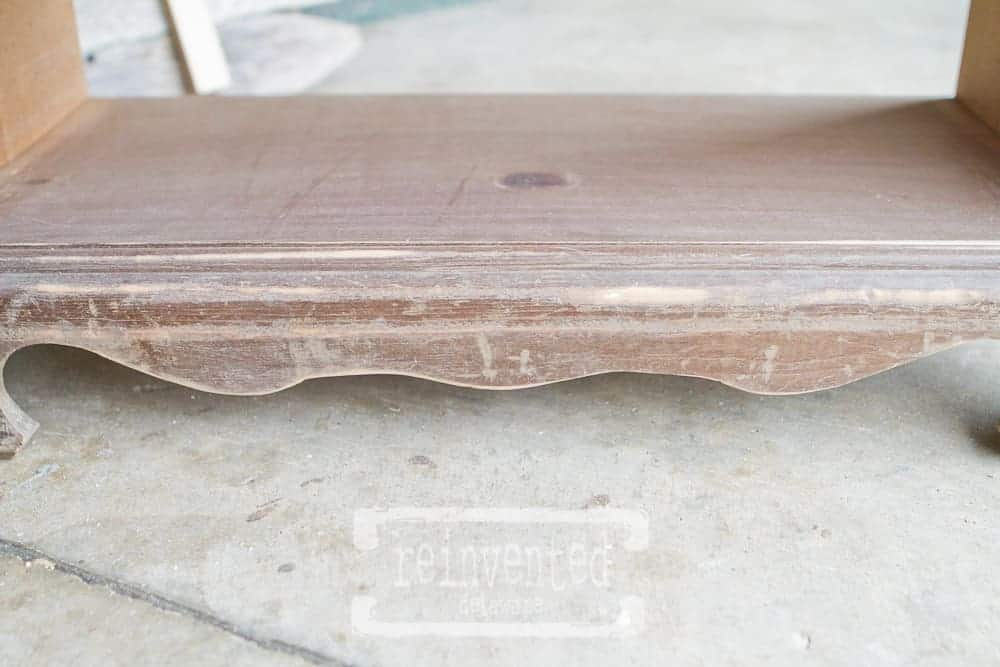
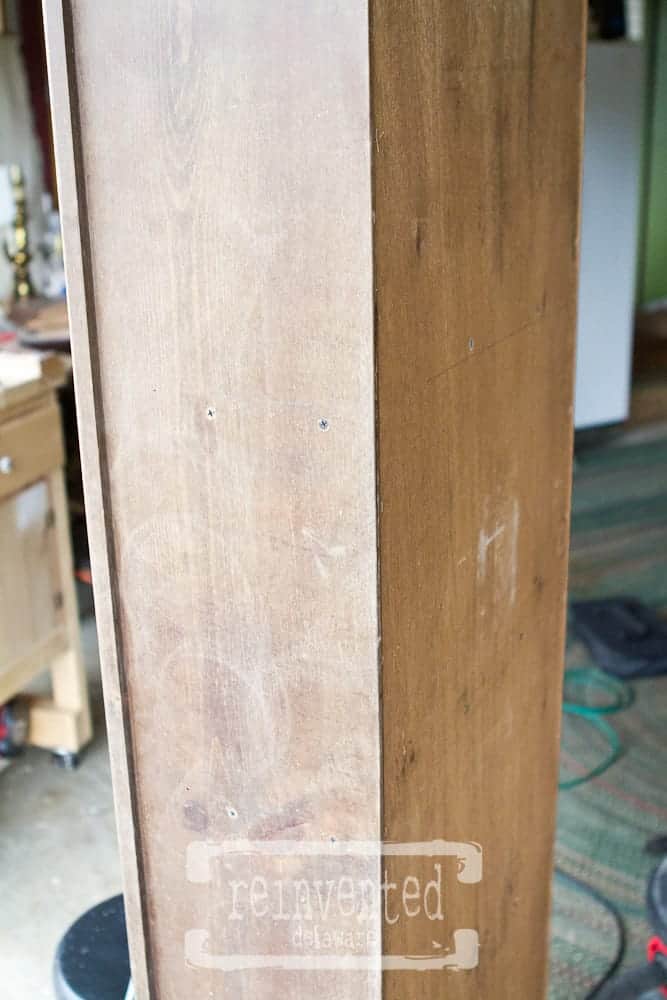
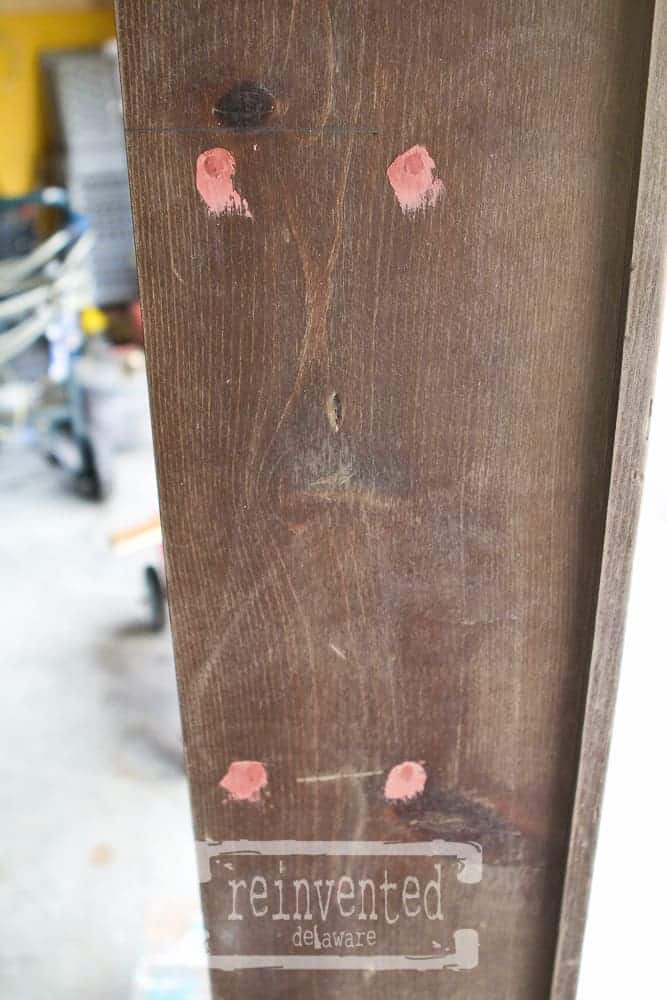
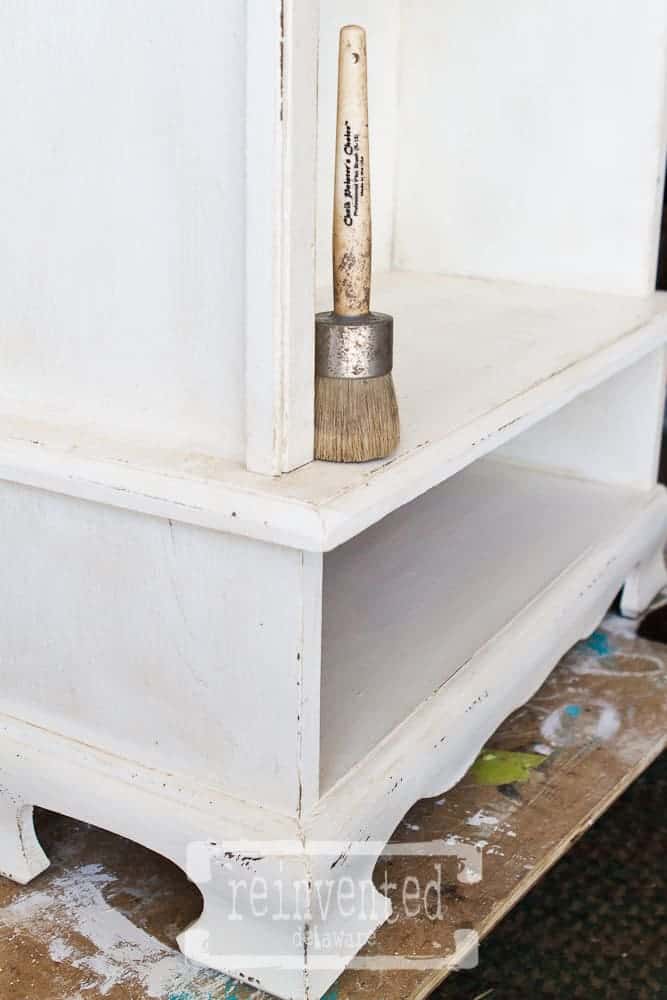
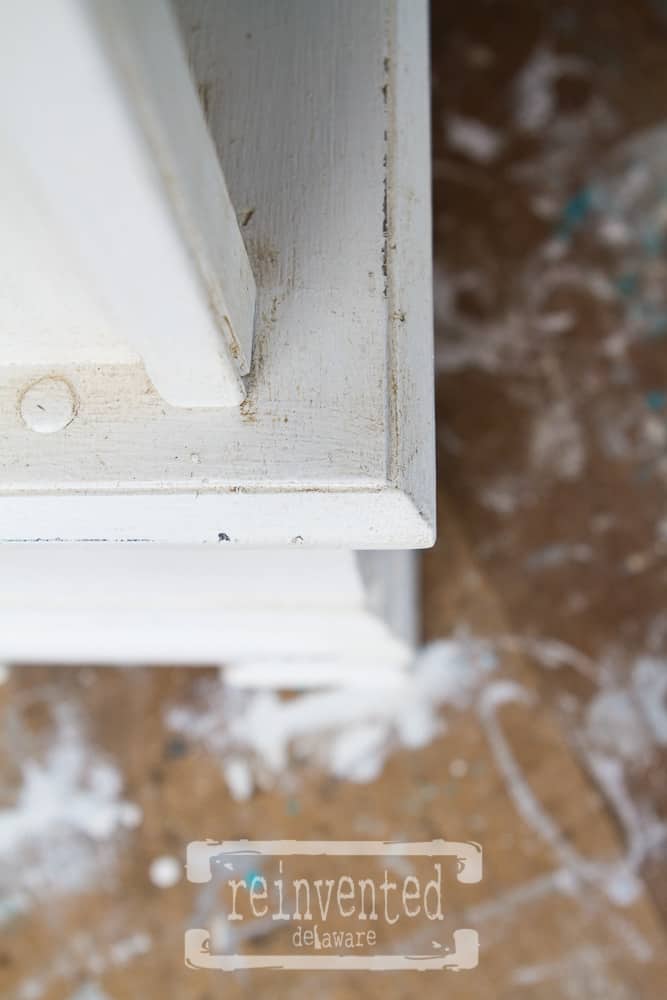
The bottom decorative edge of the cabinet was missing a detail – you can compare the two sides in the photo below (the cabinet is laying on its side so I could do the repair 🙂
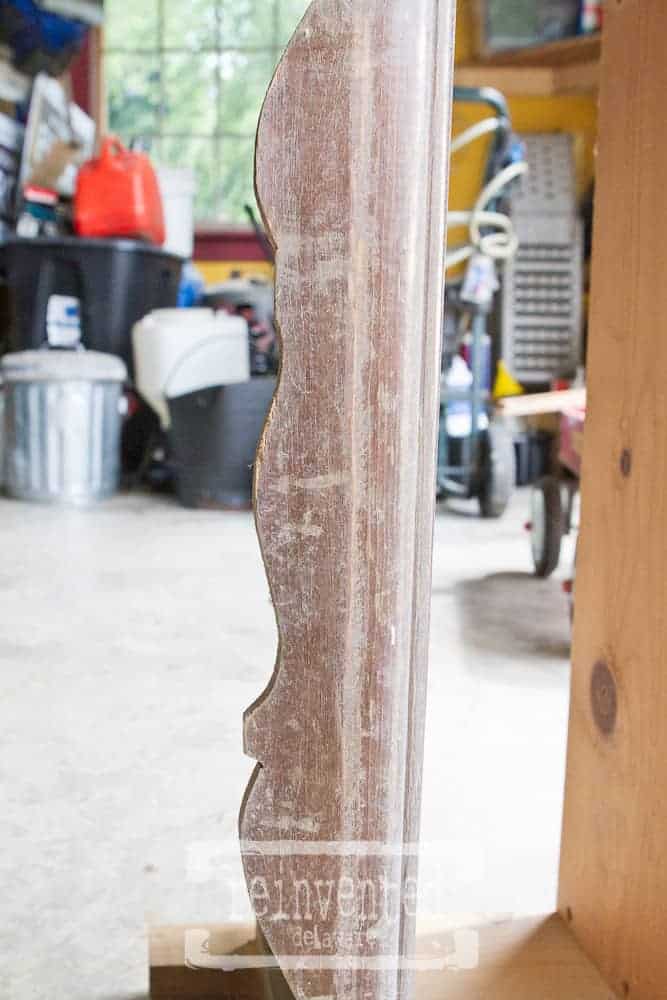
This little saw came out to work! I love this little Irwin saw. It is a pull saw with a flexible blade and I have used it on previous projects. Very easy to handle and maneuver around curves on a small piece of furniture. It was the perfect tool to remove the little notch on the bottom of the DIY gun cabinet makeover so both sides would match.
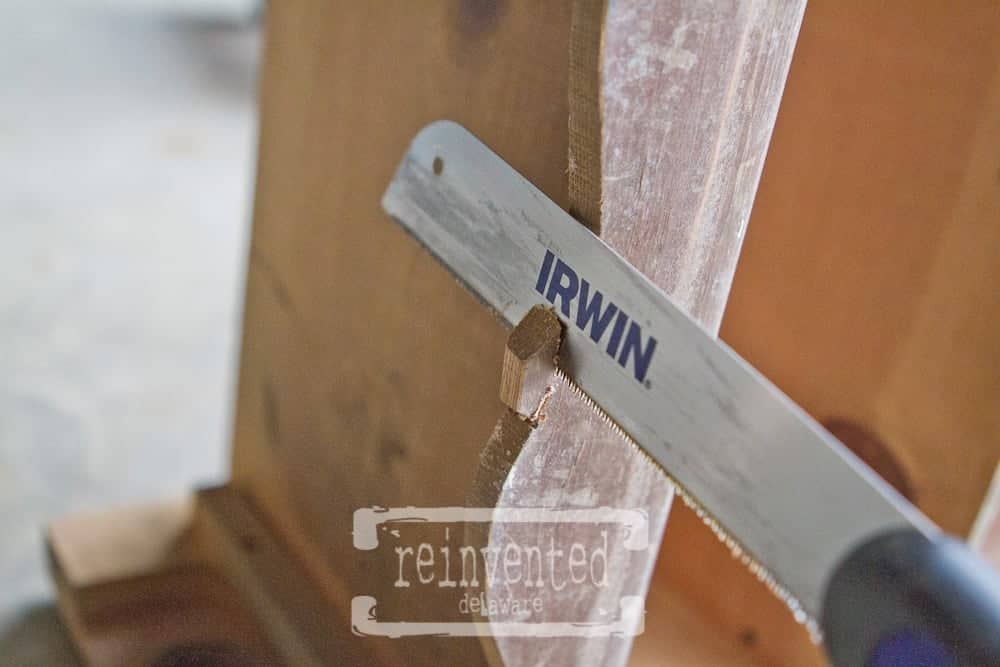
A little bit of sanding with 220 grit and the two sides match! Easy fix!
easy upcycled furniture storage
The next change I wanted to make was to make this little cabinet useful by giving extra space for storage. That would require adding shelves. I decided how many shelves the entire cabinet needed – keeping in mind to leave enough room in between each shelf to hold items. Three additional shelves plus the bottom of the inside of the cabinet would suffice.
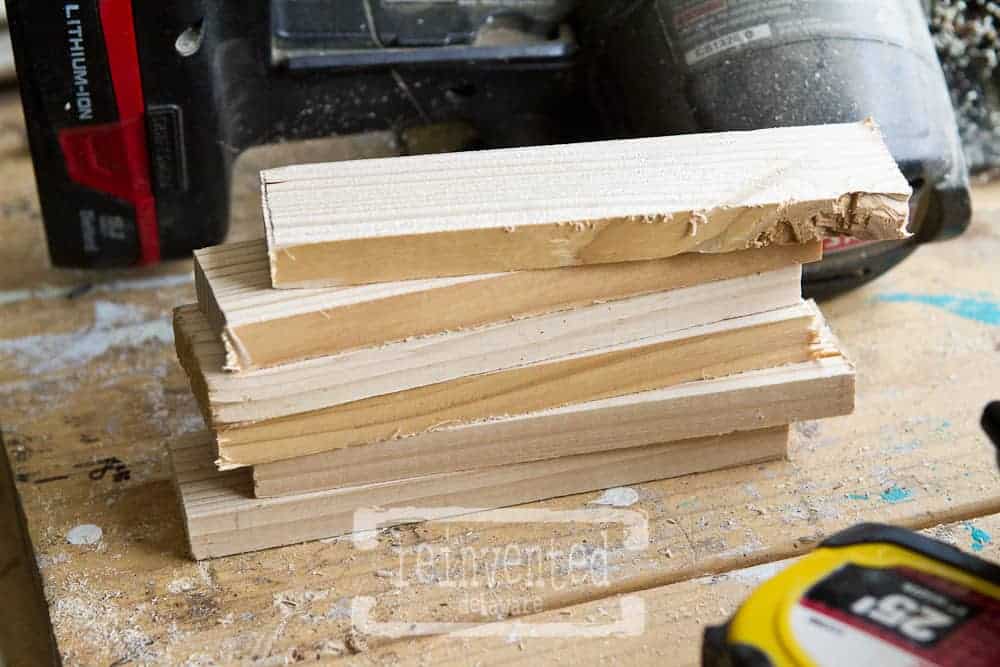
Now to make the shelves! We keep a supply of lumber around so we didn’t need to make a trip to our local home improvement store. The scrap wood we keep are discarded pieces from other easy DIY projects. Putting the scrap wood to good use in this way is much better than throwing it in the trash heap!
I was able to use this tongue and groove bead board for the shelves. It was already primed but very dirty. I measured the inside of the cabinet from side to side and marked it on my bead board. The width of the boards was about six inches so I need two boards per shelf to make it deep enough. I used my measuring tape to mark the spot and a speed square to make a straight line.
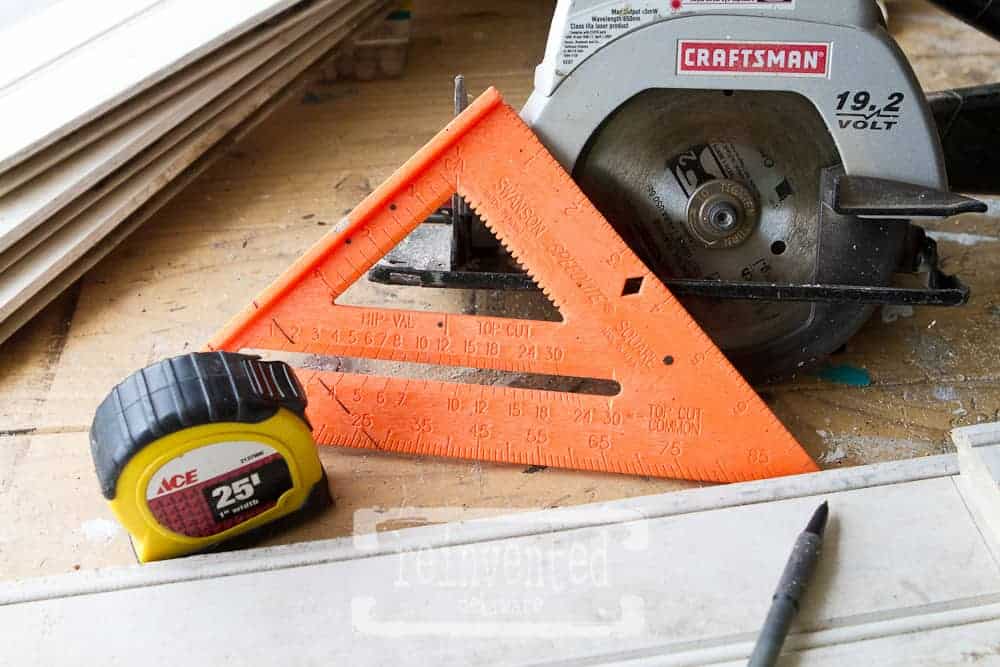
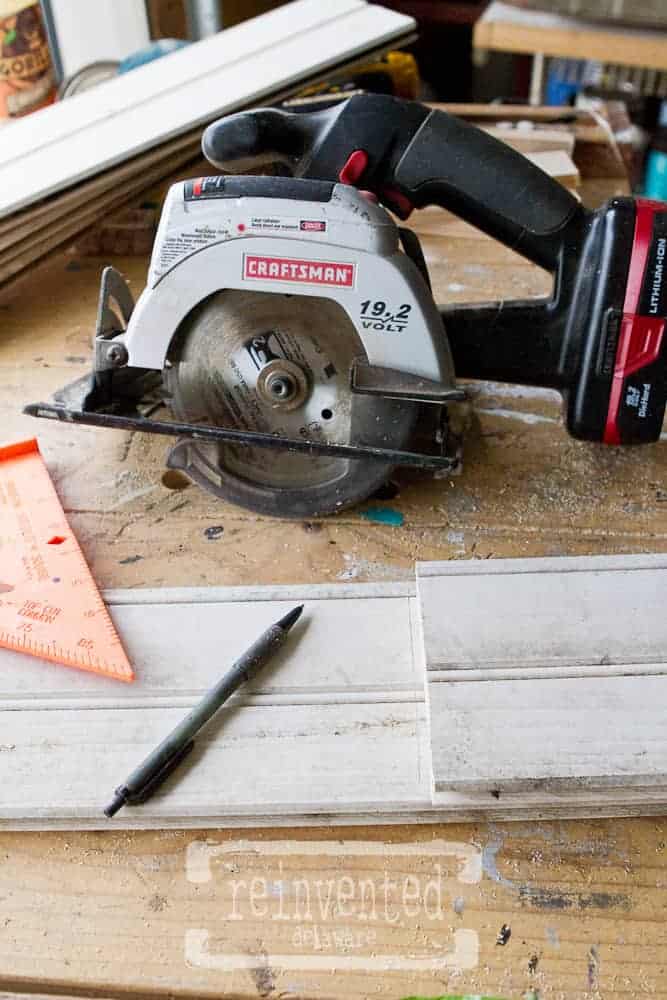
I marked and cut a total of six boards the same measurement with my Craftsman circular saw. One of the good things about this little saw is that is not too heavy. The best thing about this saw is that it is rechargeable so I don’t have another cord to contend with. Someday I will have to write about my little work area – with only one extension cord 😉
repurposed furniture shelving idea
The shelves would need brackets to rest on so I cut small 1×3 pine boards about 2/3 ‘rds the depth of the two bead boards. I didn’t want the support brackets to show from the front too much so I cut them shorter than the depth of the shelf itself. Everything got a good sanding and vacuuming. Doing this step before installation is a lot less frustrating 🙂
To measure the placement of the shelves, I first found the center of the inside of the cabinet from the top to bottom and marked it. From there, I divided each of the two ‘sections’ in half and made a mark at each halfway point. It might not be a perfect way to measure but it saves on math 🙂
Next, I had to attach the brackets. This can be tricky with only two hands so I pulled out my Irwin Quick Grip clamps. These are so easy to use – just squeeze the handle to adjust to hold the brackets. I actually used a piece of extra board to hold the brackets in place and I lined up the bracket with the measurements I made for the shelf placement.
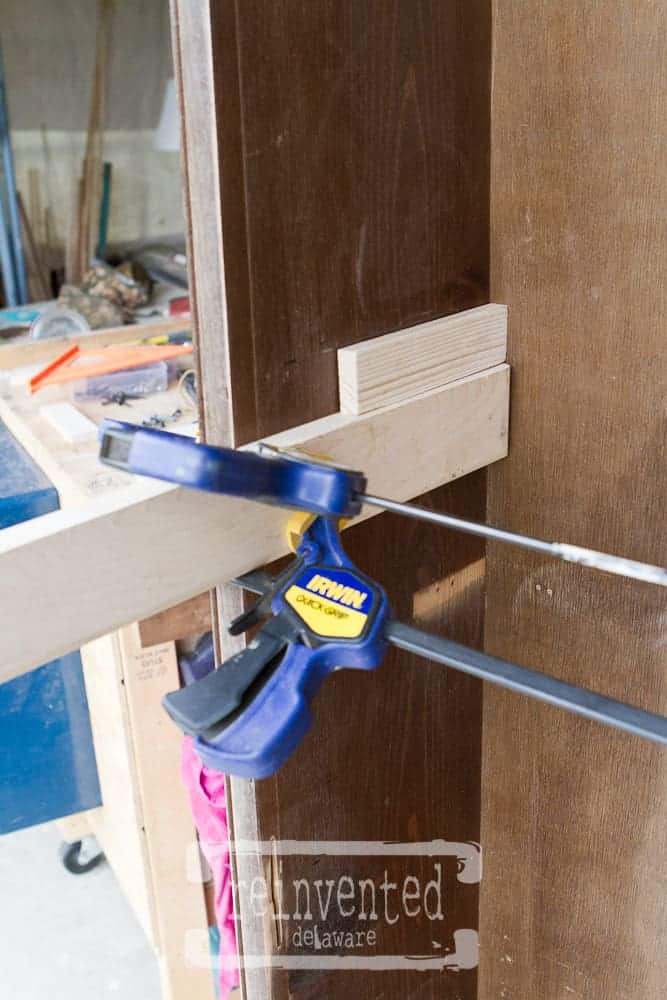
Here you can see that I attached the brackets with screws. I predrilled the holes to make sure the wood didn’t split (thanks to my husband for drilling that into my head over and over “pre-drill, pre-drill!!”) I also used wood glue for extra security! By the way, I could have used my pneumatic nail gun, but for whatever reason, I used screws. If you have a nail gun, use it!
You can see here that I extended the line I used to mark the screw placement to the back of the cabinet as well. I wanted to use screws in the back of the shelves also. These shelves aren’t going anywhere!
DIY shelf unit
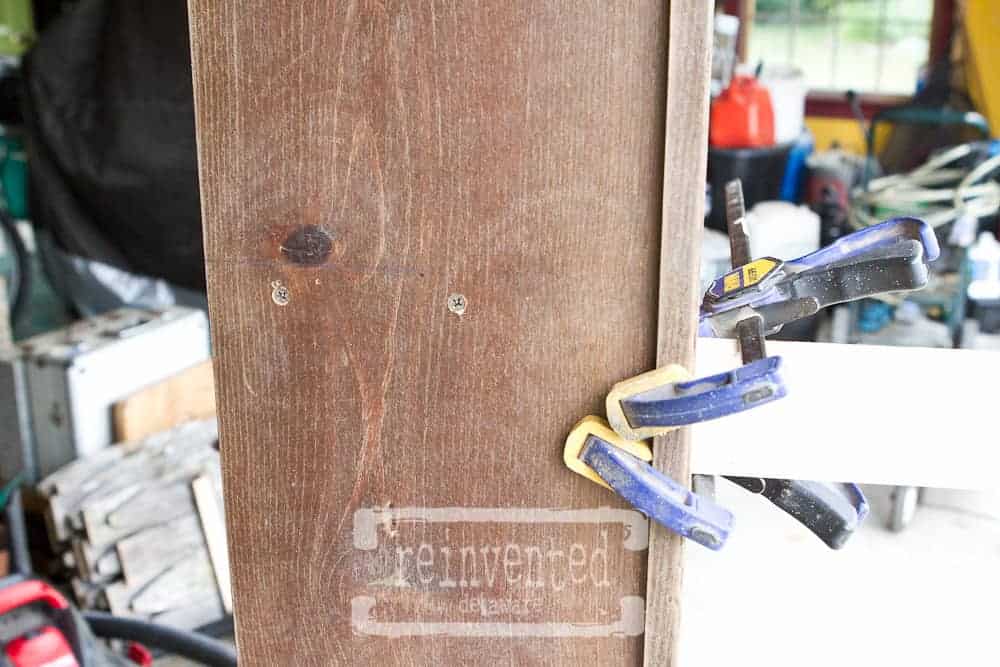
The screw heads would show and even though I am planning on applying a couple of coats of paint on this cabinet, I didn’t want them to be too obvious. Bondo Glazing & Spot putty will fill the spots perfectly.
You can also use wood filler. I have used this product on many projects in the past and have had great success with it. The tube is handy to have around! Use a putty knife and apply it to the screw heads. It won’t take long to dry and sands beautifully.
vintage inspired old furniture
On to painting! I usually mix my own chalk paint using latex white paint in a satin finish, calcium carbonate, and water. I searched Pinterest for some recipes and found one I like and use often. That sounds like a future post but for now, I have to get this cabinet painted!
Two coats of paint covered it nicely. Don’t forget to paint the thin strips of wood that held the glass in place. I can’t tell you how many times I have laid them aside in my workshop only to realize late in the project that they weren’t painted!
***If you don’t like the idea of making your own chalk paint, click below and choose the color you want from Dixie Belle. The quality is out of this world and no mixing is necessary!
click below to purchase supplies!
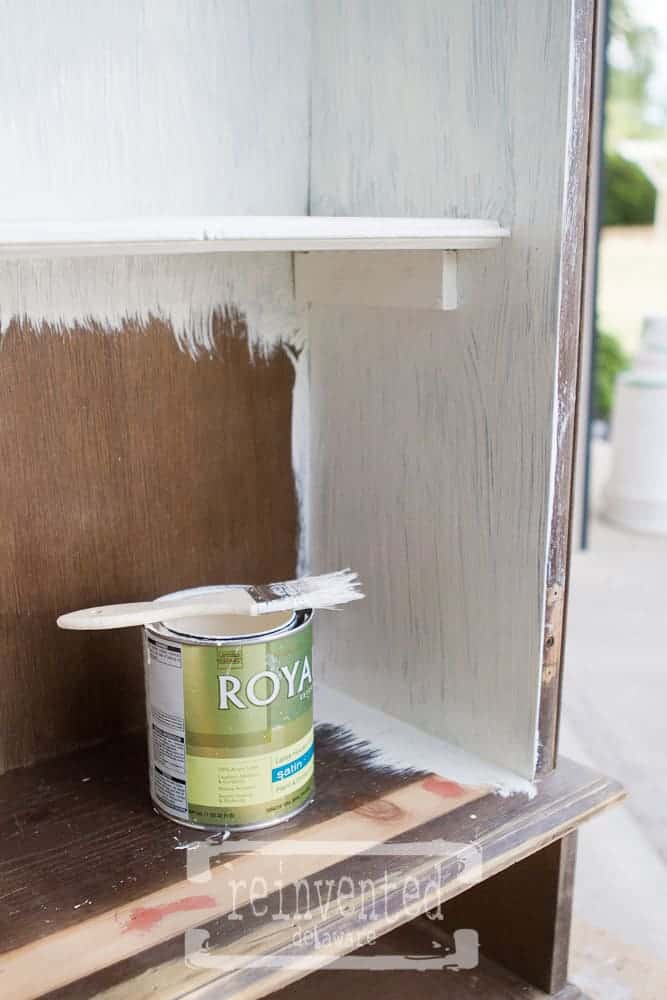
When I apply the second coat, I often use a random brush stroke method that adds interest and a vintage, rustic look to the piece. You can see the brush strokes in the image below. If you don’t prefer this method, I suggest you use brush strokes in the same direction. Be careful also near the edges of the piece – brush off the edge to prevent runs that you might miss!
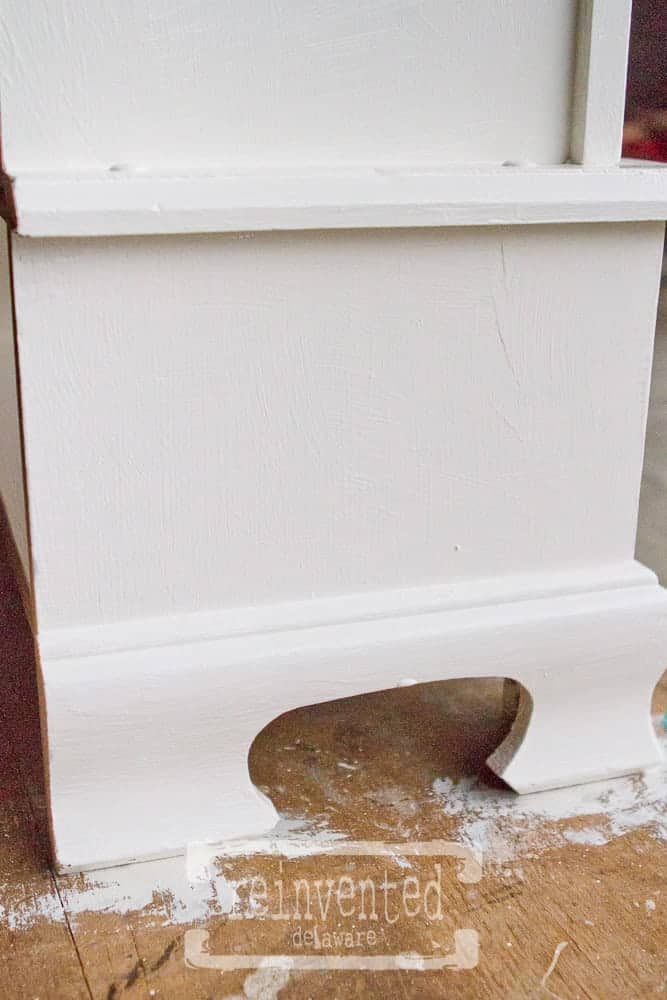
I distressed the piece using the knife method I talked about in this blog post showing how I like to create a chippy paint finish. Then I waxed the whole piece using Minwax Finishing Paste Wax in Special Dark. The slight darkness of this settles in the crevices and in the brush strokes. Just adds to a wonderful vintage feel 🙂
Looks like it’s been around for years! Don’t you think? This upcycled furniture piece could also be painted in different colors if you prefer. Choose a color that coordinates with the space you plan on using this gun cabinet storage unit. Wouldn’t it be useful in a powder room to store all of the extra bathroom necessities for your guests?
upcycled gun cabinet door
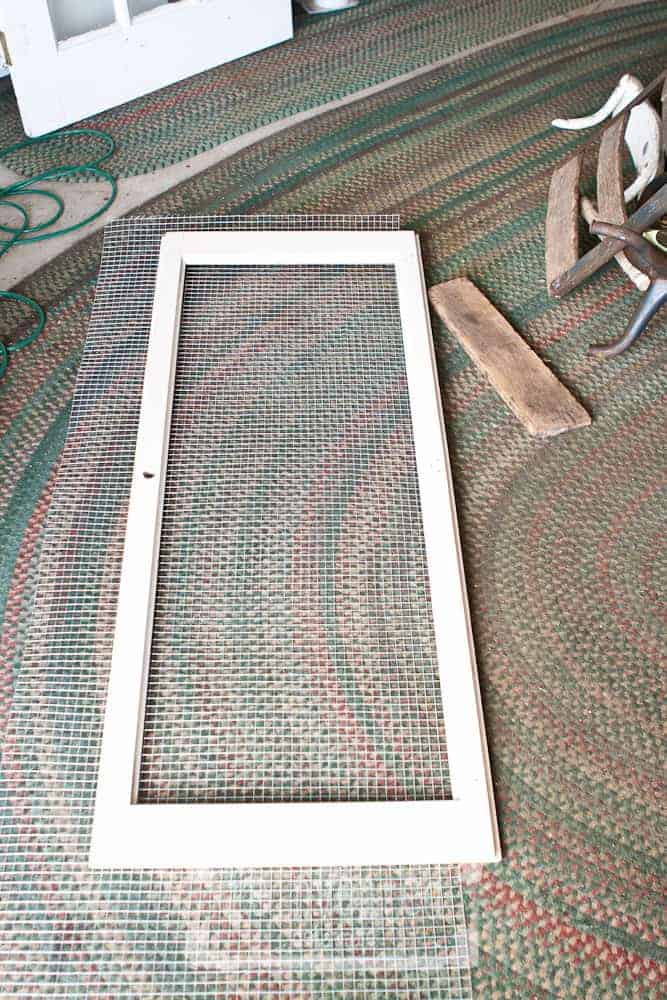
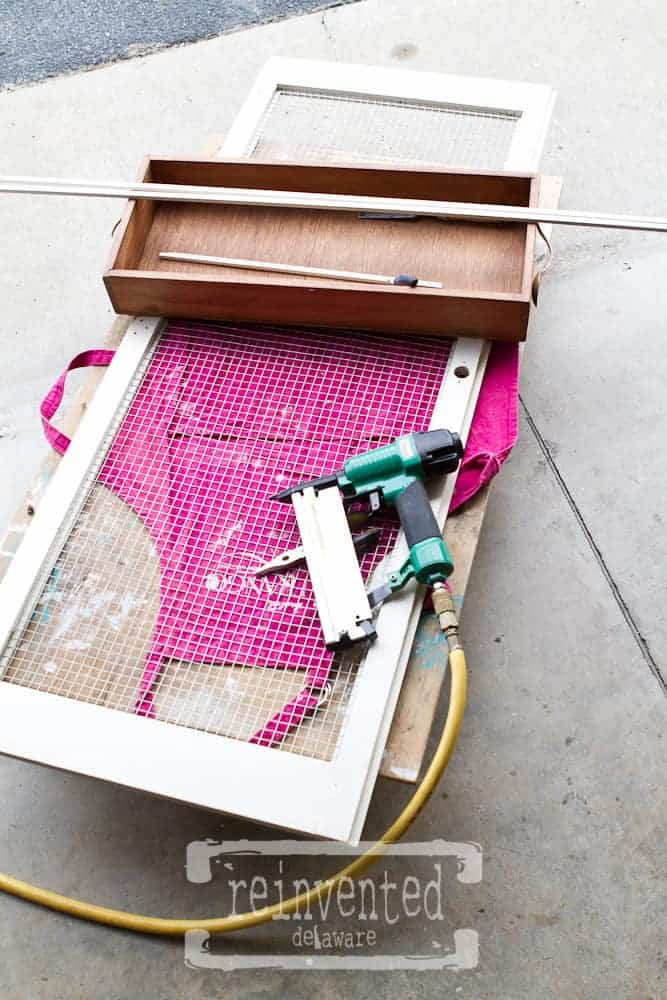
I painted the door as well. Remember that the glass was missing when I bought the cabinet? That’s not a problem! This is the perfect project to use hardware cloth in place of glass. It comes in several sizes – this time I used the 1/2 inch. It is galvanized so it adds a nice farmhouse touch to the furniture.
Working with it can be tricky. Use gloves and sharp wire snips. I first measured the inside recessed part of the cabinet – the space that would have held the glass. Then I transfer the measurements to the hardware cloth. When cutting the hardware cloth, it is best to work towards you rather than away from you.
This helps to control the cloth a bit more without it curling up and scratching you. Believe me, you can look like you have been in a catfight if you are not careful! Just work slowly – no need to be in a hurry!
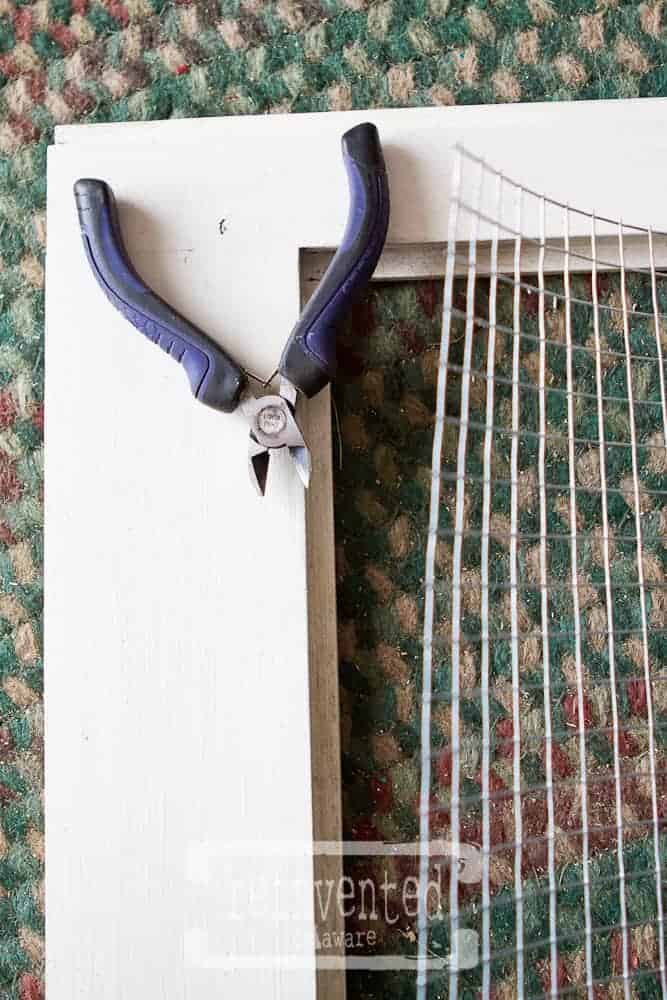
Using an object to hold down the curling cloth is helpful – like this wooden box. It has just enough weight to help to control the cloth while I staple it. I used my nail gun with the air compressor for ease with installing the hardware cloth. Be sure to check the size of the staple with the depth of the area you will be attaching the cloth. The staple is not attractive if it comes through the other side.
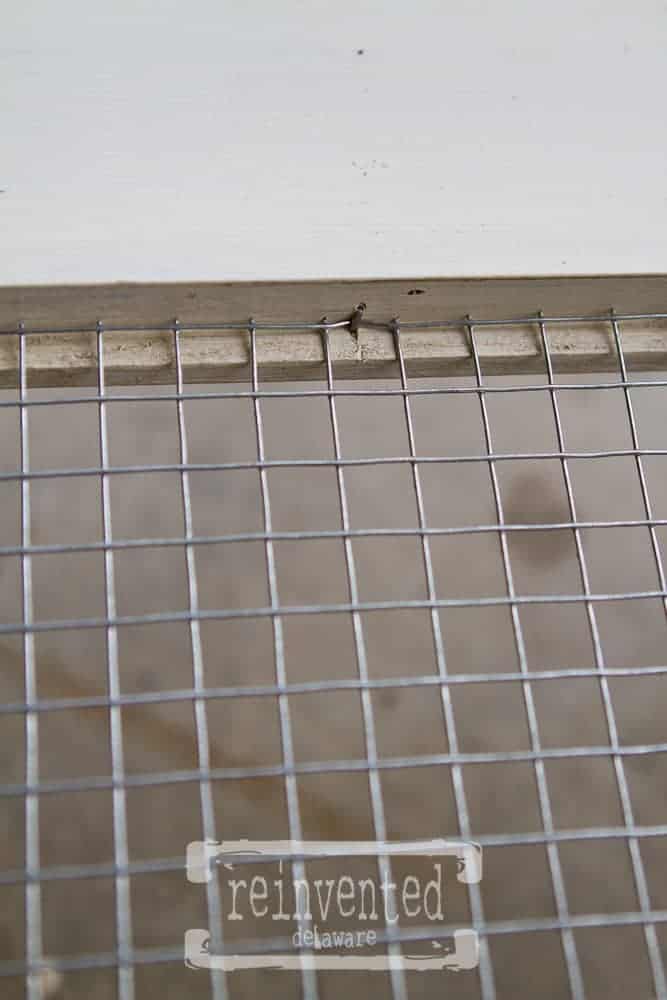
I stapled at a bit of an angle which gave me more clearance for the staple. Just a few staples around the perimeter of the cloth will hold it down.

spray paint the metal
Did you notice the thin strips of painted wood trim a couple of images back? Time to staple them back in! I used the same nail gun and staples and carefully attached each strip. Adding this back will give a neat appearance when the door is opened. We like neat and tidy 🙂
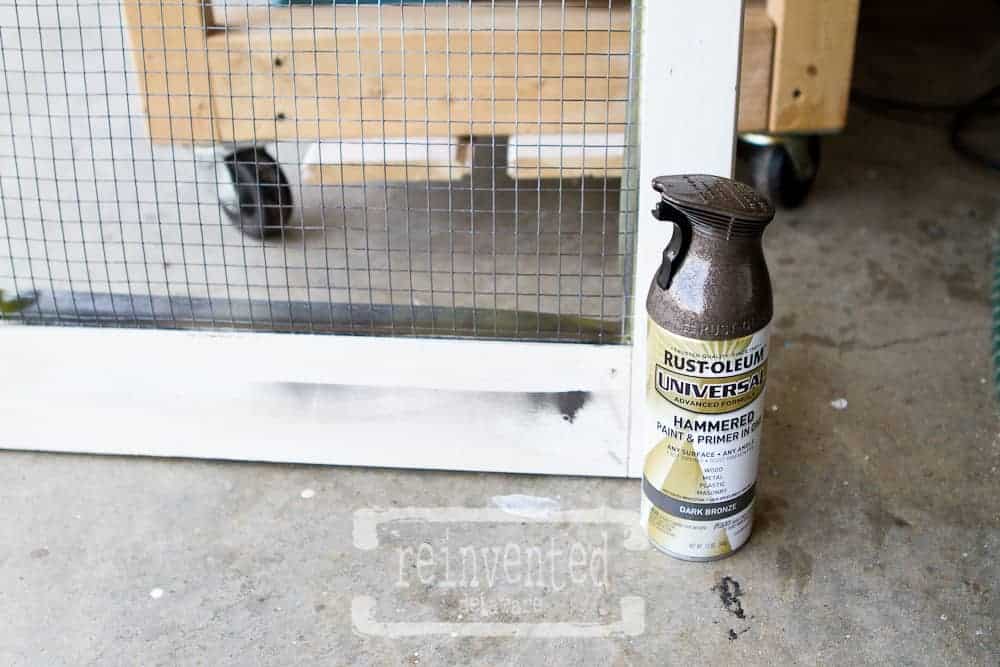
I really like the look of the galvanized hardware cloth, but I got this crazy notion to spray paint it. Ideally, this would be done before attaching it to the door but the idea struck me and I went with it.
Rust-Oleum Hammered Finishes are my favorite. I used the dark bronze color this time – I taped off the area but when I removed the tape I realized I didn’t consider the over-spray! Agh!!
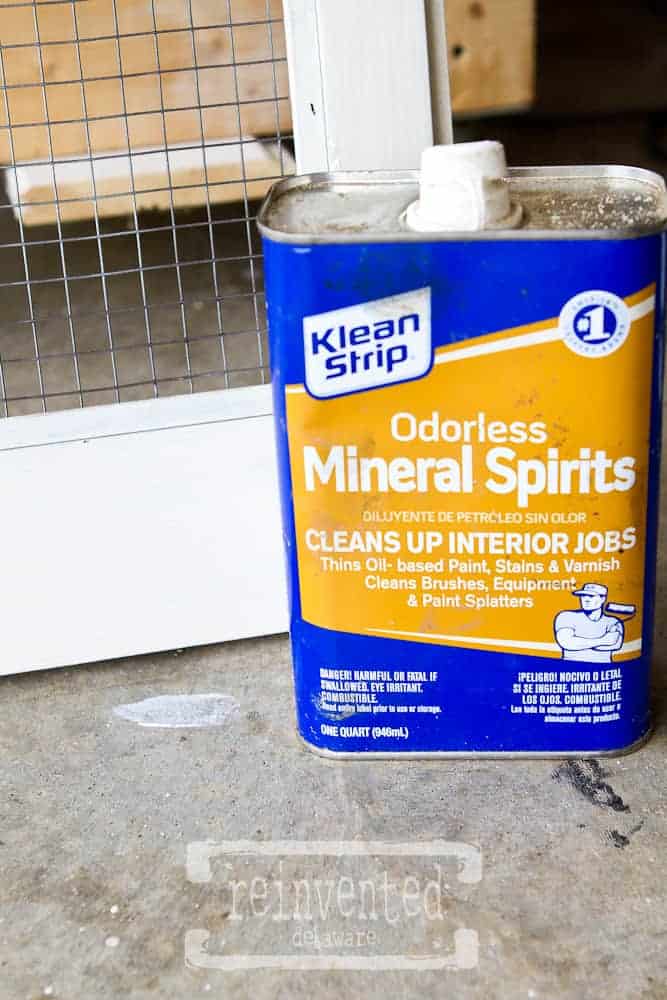
No biggie! Klean Strip Odorless Mineral Spirits to the rescue! Just a little on a paper towel removed the spray paint and didn’t harm the paint! I did add another coat of wax because the mineral spirits removed it.
The same spray paint went on the hinges. Often I scrub them back to the original finish, but I had the spray can out and ready 😉 When they were completely dry, I attached them to the door first and then attached the door to the gun cabinet.
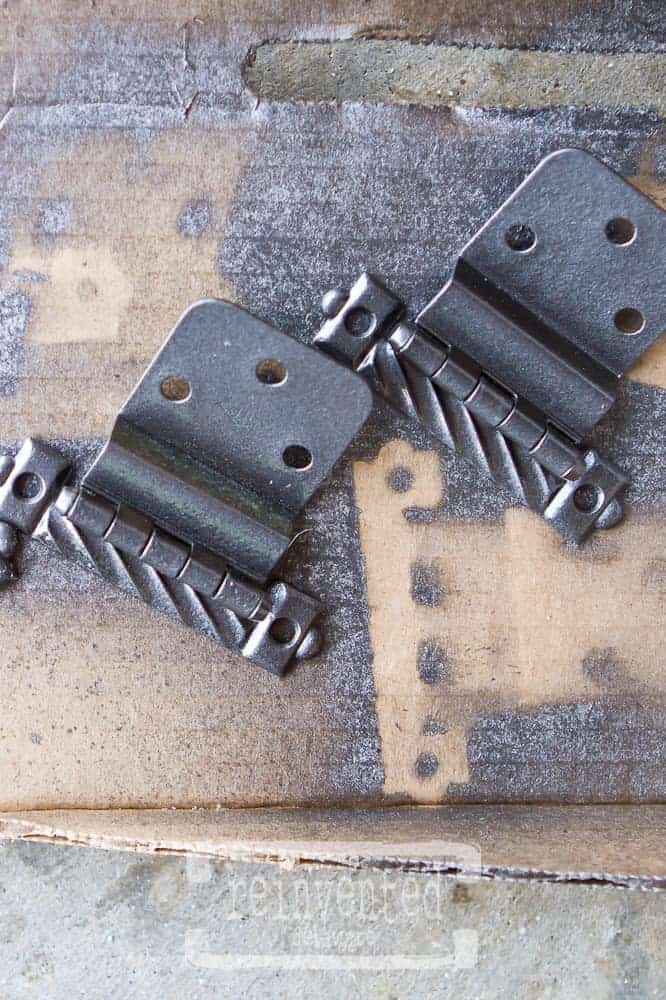
upcycled cabinet hardware
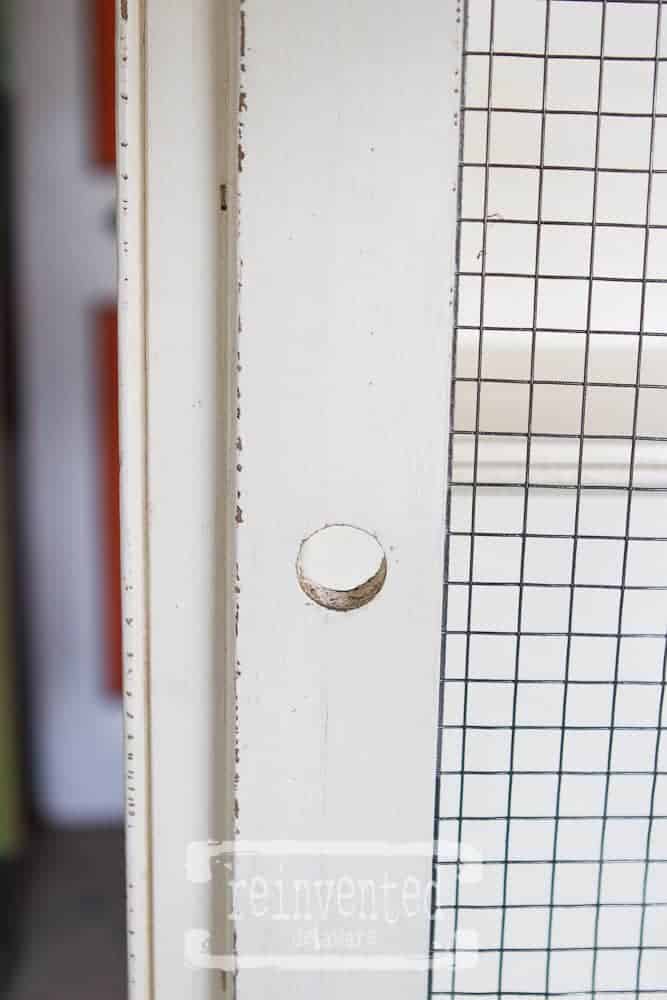
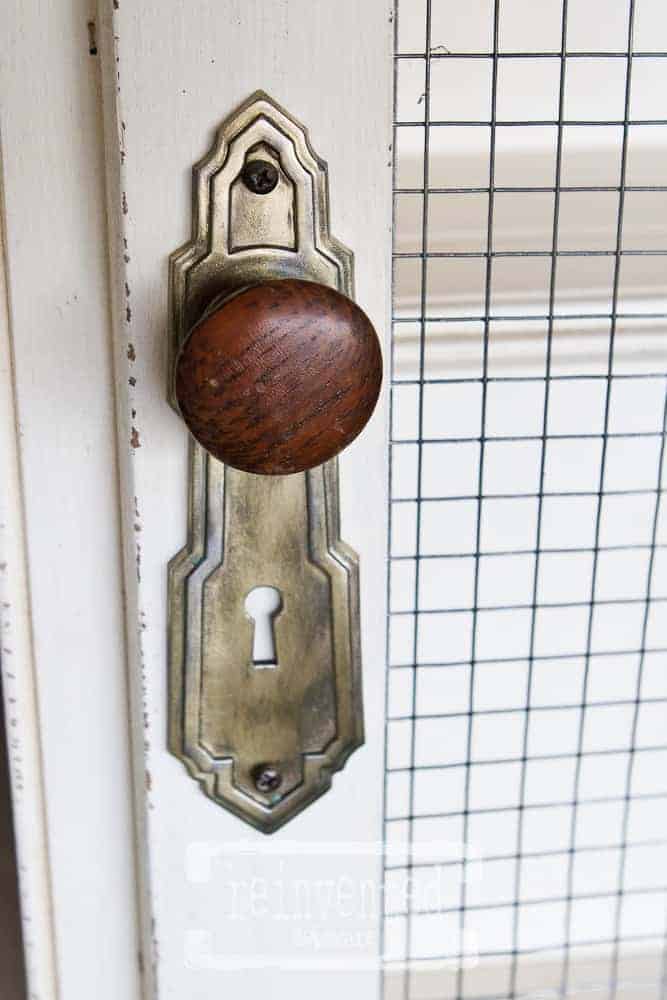
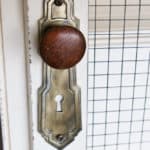
This was a gun cabinet so at one time it had a lock on it. The lock was missing when I picked it up and the missing lock left this hole. Fortunately, I have a collection of vintage door knobs and plates so I just attached a combination of them to cover the hole. The door won’t lock but there is a knob to open the door with now.
the reveal!
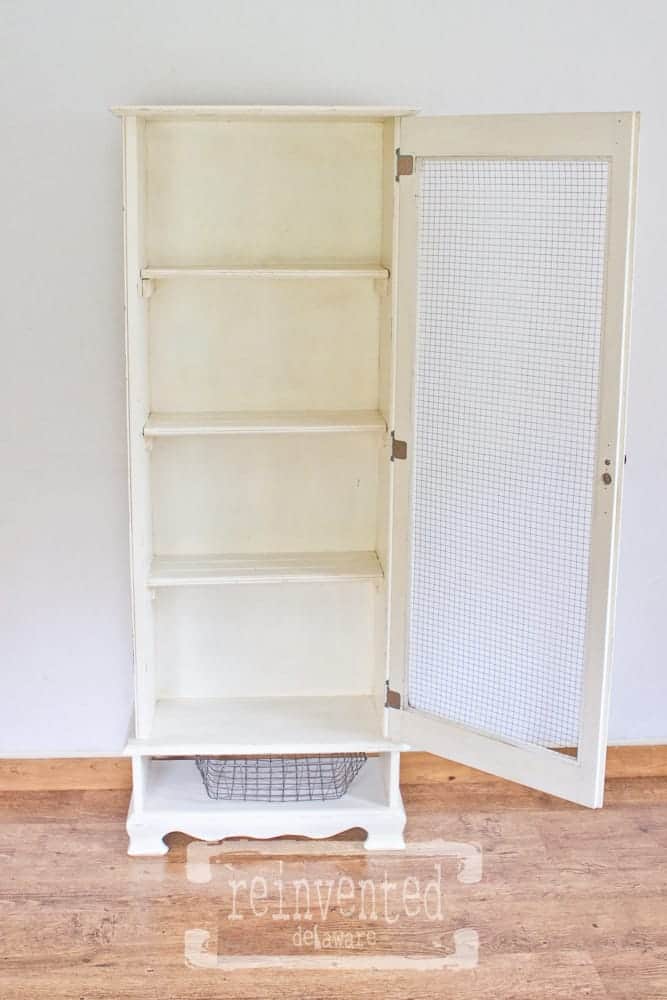
Here is the finished cabinet! Paint and a little creativity can give old stuff a fresh look without much time. This upcycled old furniture piece could be done on a weekend.
The additional shelving will make this a very useful piece without taking up much wall space. I added a wire basket at the bottom where there would have been a drawer. And I love the look with the vintage door knob and plate!
This gun cabinet-turned-adorable-storage cabinet is proof that you can’t just pass by all the unwanted and ugly pieces you see when you are at your local thrift store! This is a great project showing how to breathe new life into a piece of old furniture.
Thanks for stopping by for this tutorial! Leave a comment and let me know what you think of this project or if you have a request to repurpose something you have found in your thrift shopping!

Visit my Amazon Storefront!
Click the button below and head over to our online shop on Amazon!

How to Repurpose a Gun Cabinet
Equipment
- handheld saw
- clamps
- circular saw
- carpenters square
- hardware cloth
- pneumatic nail gun
- compressor
- staples
- Bondo
- spray paint
- paint of your choice
Materials
- old gun cabinet
- scrap wood for shelving
- paint and paintbrushes
- old hardware
Instructions
- Remove any unwanted decorative elements on the gun cabinet.
- Replace the broken or missing glass in the door with chicken wire or hardware cloth.
- Cut scrap pine boards to make shelving and shelving brackets to fit your gun cabinet.
- Fill holes with wood filler or Bondo.
- Prime the wood gun cabinet. Paint in your choice of color chalk paint.
- Seal the paint with the clear top coat.
- Attach additional old hardware to create a unique door knob.
- Enjoy your new DIY storage cabinet made from an old gun cabinet!
This is SOOOOO good! I have been racking my brain trying to think of a place I could put this in my house (like I do with everything of yours!) I love that quality of this piece. They just don’t make ’em like they used to!
Thanks so much my sweet Ema-Leigh!!
This turned out great! I’ve been looking for a narrow cabinet similar to this. I keep searching for sheet music cabinets, but now I see that I need to expand my criteria. You have such great imagination. Pinned.
Thanks, Marie! You can find these gun cabinets for such a reasonable price. They make great storage for so many things. Have a great week Marie 🥰
I am now on the hunt for an old gun cabinet! I wanted something like this to put in my somewhat small closet right in the middle of the back wall….hanging clothing from front to back of closet. Repurposing an old gun cabinet would serve to hold my jeans, sweatshirts, leggings (folded stuff) without taking up too much space. And, it would give me room on either side of it to access my hanging clothing!! Genius idea you gave me, Cynthia! Thank you for sharing!!!
So glad you are inspired Karolyn! I hope you find a small cabinet like this. They are so useful 😊
I like the cabinet, but don’t always like the “chipped look”, as it seems okay here. You have quite the eye for claiming any ugly duckling and turning it into a swan.
Styles change over time. I would say, if I painted this cabinet again, I might not distress it 🙂 Thanks for stopping by!