
Easy Hand Painted Wooden Eggs
Here is an easy hand-painted wooden egg project just in time for spring!
Be sure to watch the video towards the end of this post!
The following post may contain affiliate links. That means if you click and then buy something, I will make a small commission at no additional cost to you! Thank you for supporting my blog. full disclosure here.

gather the supplies
The supplies for these easy hand-painted wooden eggs are pretty simple. All you need is amazing paint colors in pastels like Dixie Belle has to offer, a couple of ice cube trays, and an artist paintbrush. A damp towel and a container of water are also helpful!
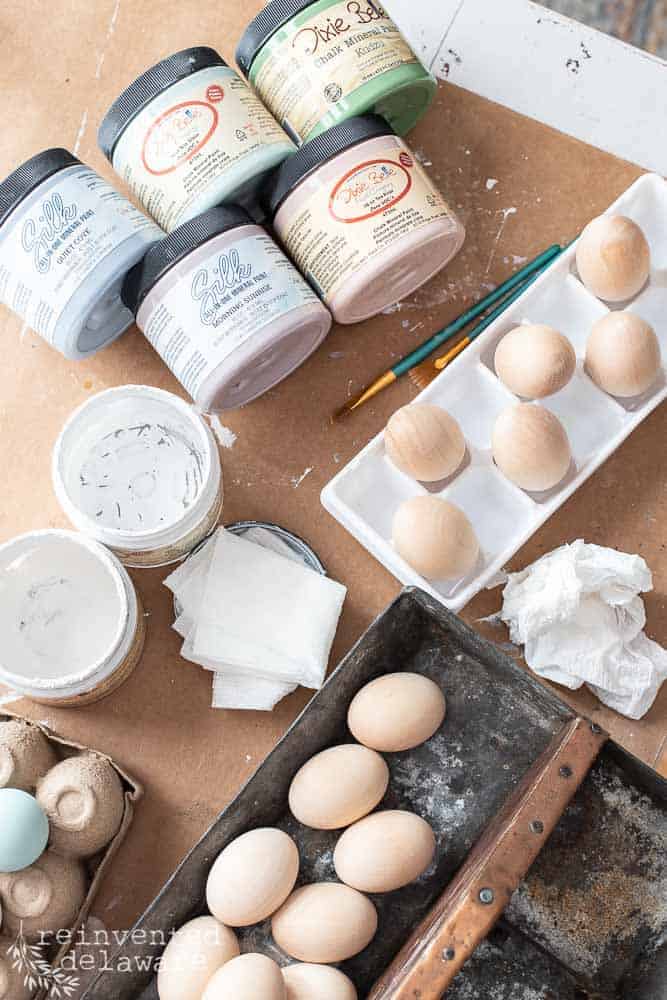
list of supplies:
Use the links below to purchase some of the supplies for this project! You are helping to support this blog and all the free tutorials we offer here! Thanks so much!😊
- Rebel Yellow chalk mineral paint
- Kudzu (green) chalk mineral paint
- Tea Rose (pink) chalk mineral paint
- Sea Glass (aqua) chalk mineral paint
- Quiet Cove Silk (blue)mineral paint
- Morning Sunrise (light purple) Silk mineral paint
- Gemstone Mousse in Diamond
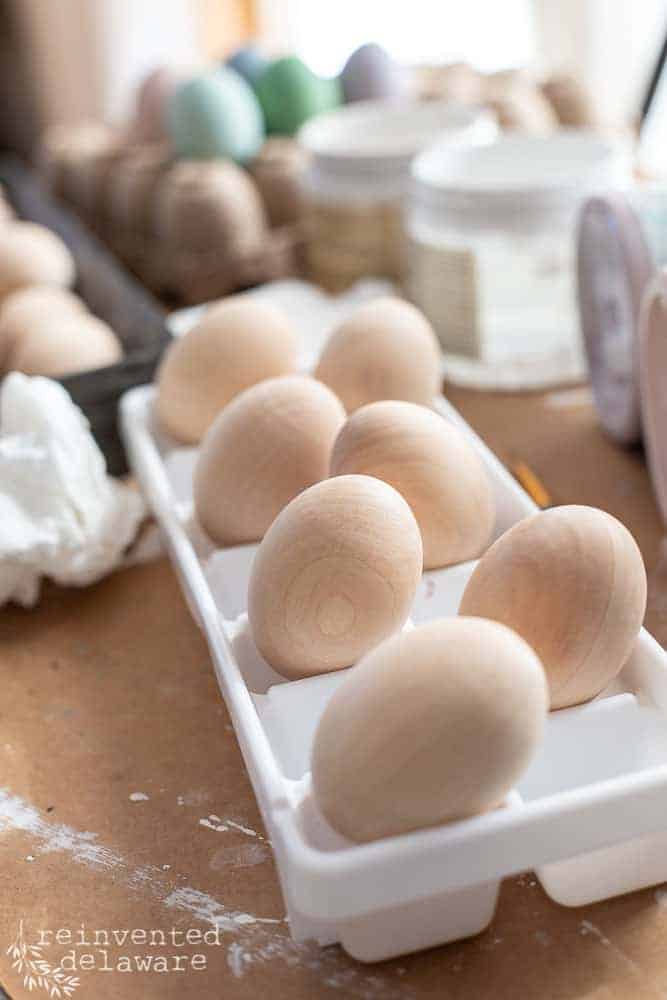
- wooden eggs (24 were used for this project)
- ice cube trays (mine are from the dollar store)
- artists paintbrush
- Signo Uni Ball Pen Set
- basket grass for decorating
- damp towel
- container of water
- paper towels
Here are some additional items you might need! Just click the image to head over to Amazon!


easy hand painted wooden eggs
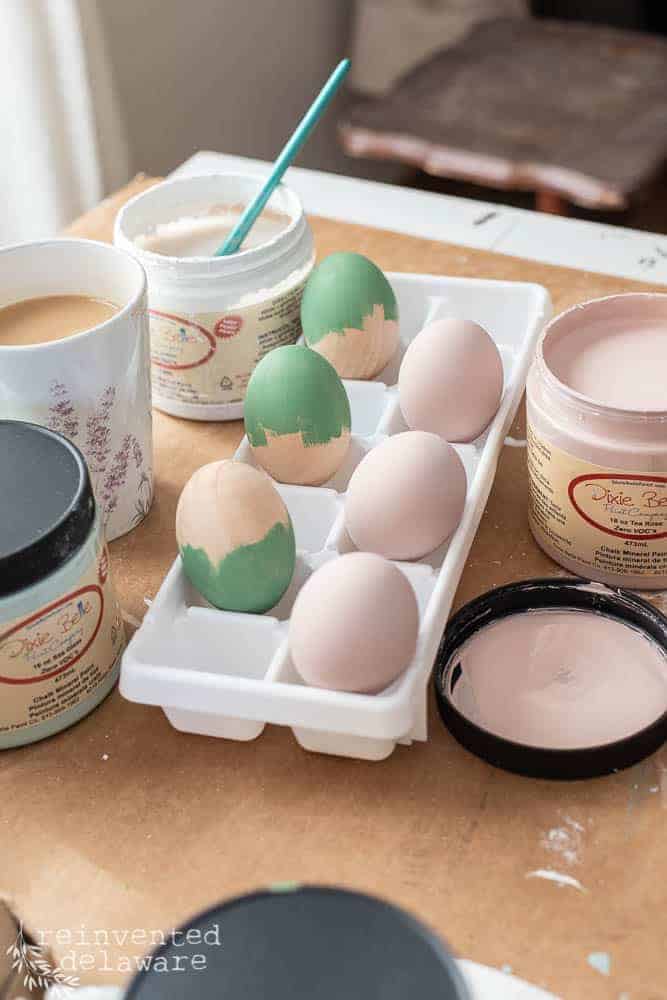
Now the fun starts! The ice cube trays work perfectly for holding the eggs while the paint dries. You can see below that I painted one half of the egg first and then set the unpainted end into the ice cube tray.
By the time you finish painting two colors, the first half of the egg is dry. Dixie Belle chalk mineral paint dries fairly quickly. Some colors might need more than one coat.
Keep a damp microfiber cloth handy to keep your fingertips clean. You don’t want paint all over the other eggs!
how to decorate wooden eggs
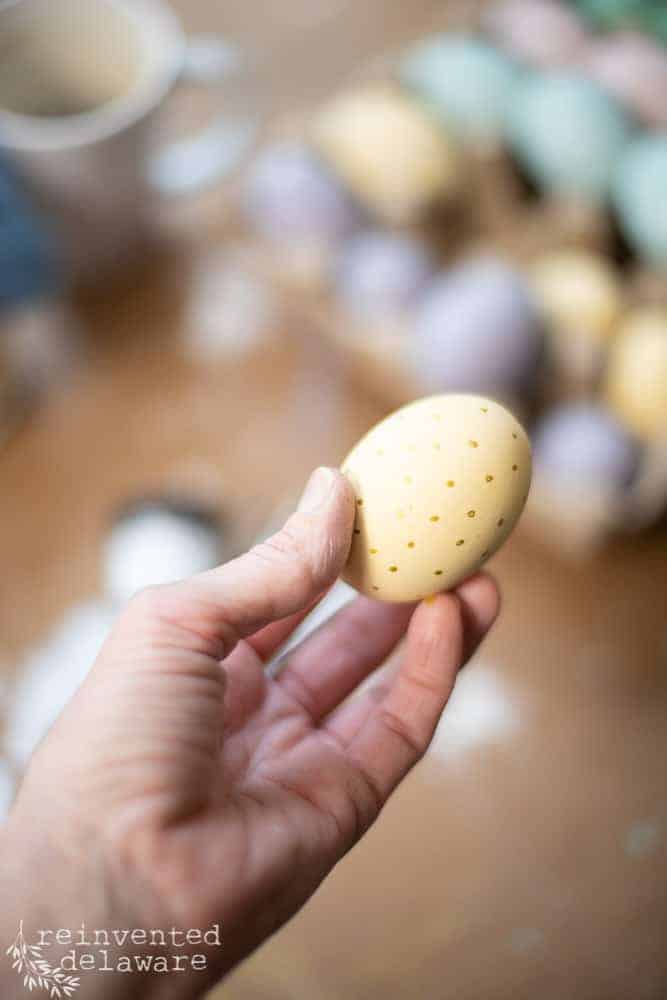
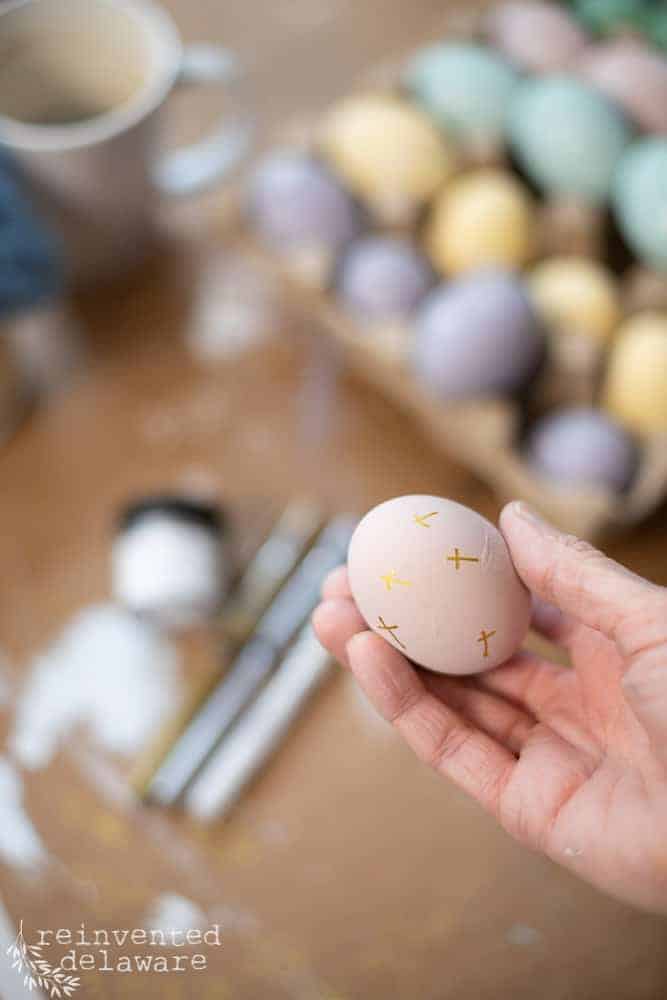
Grab a cup of coffee and let’s decorate the eggs! I used simple doodles like polka dots, squiggly lines, and simple shapes to decorate the eggs.
The UniBall Signo pens in white, silver, and gold make doodling extra fun because they add a little shine to the doodles.
If you make a mistake, just paint over it! The gel ink in the pens takes some time to dry so be careful when turning the egg to do the other side. Grab your blow-dryer if you want to speed it up a bit!
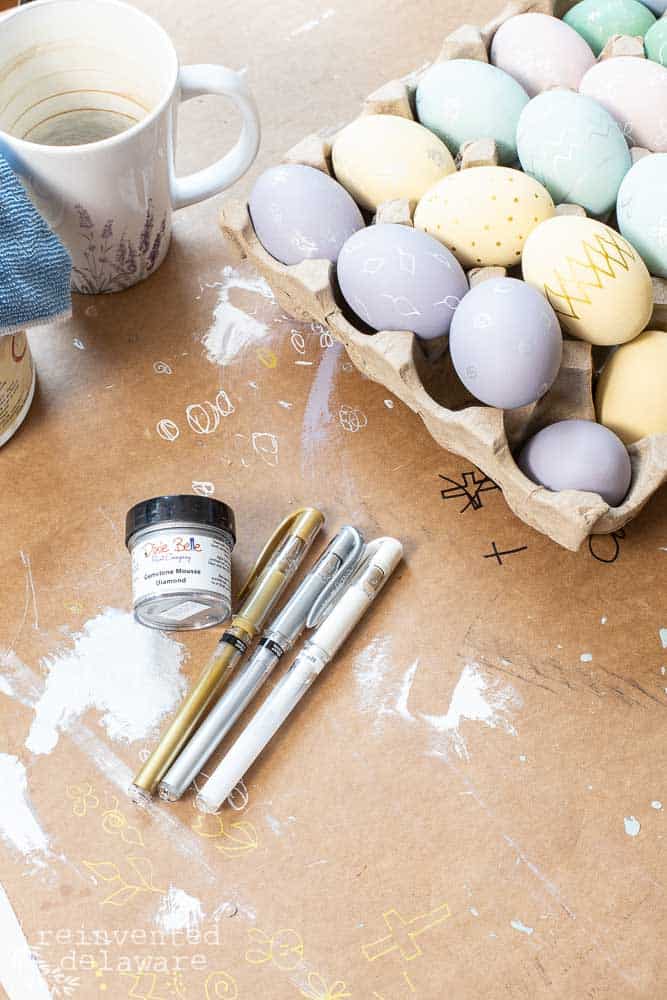
Dixie Belle offers an amazing product called Gemstone Mousse It’s sorta like wax but more intense in color. It works great on furniture hardware and other metals but it also works on painted surfaces like Easter eggs 😉
Just take a wadded-up paper towel, dab it into the mousse, tap most of it off and then dab the egg with the mousse. It creates a lovely sparkle. Use as much or as little as you like! The color that I chose is called Diamond and it’s so pretty!

decorating wooden easter eggs
You can see more of the designs in the image below but here is a list of the doodles I drew on the wooden eggs.
- diamonds
- stripes
- polka dots
- butterflies
- flowers
- leaves
- swirls
- crosses
Some of the eggs I just left in the paint color without decoration. The paint colors are so gorgeous on their own, don’t you think?

easy hand painted wooden eggs
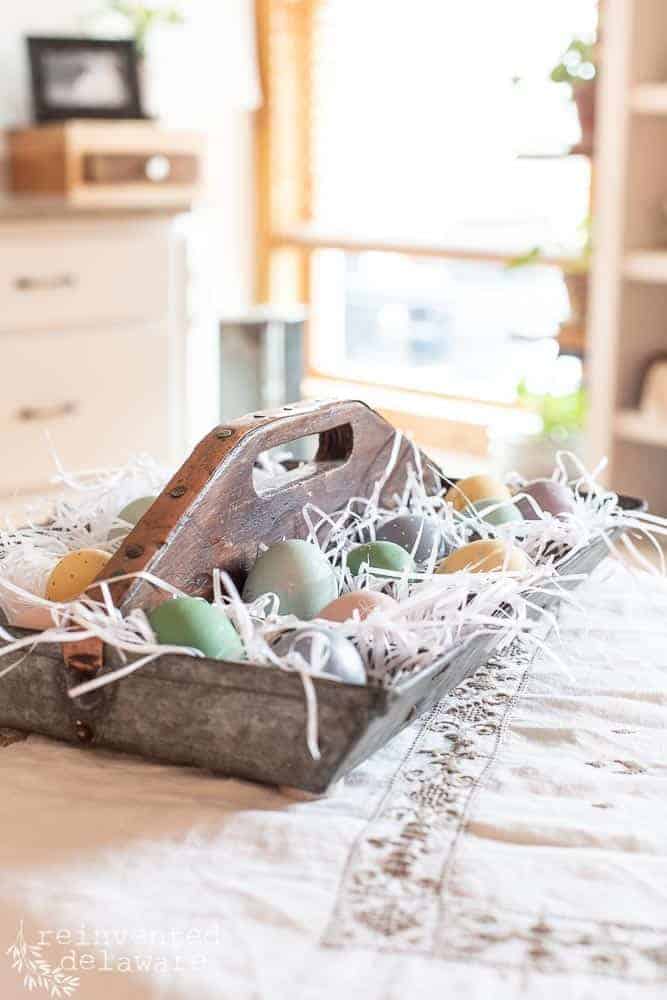
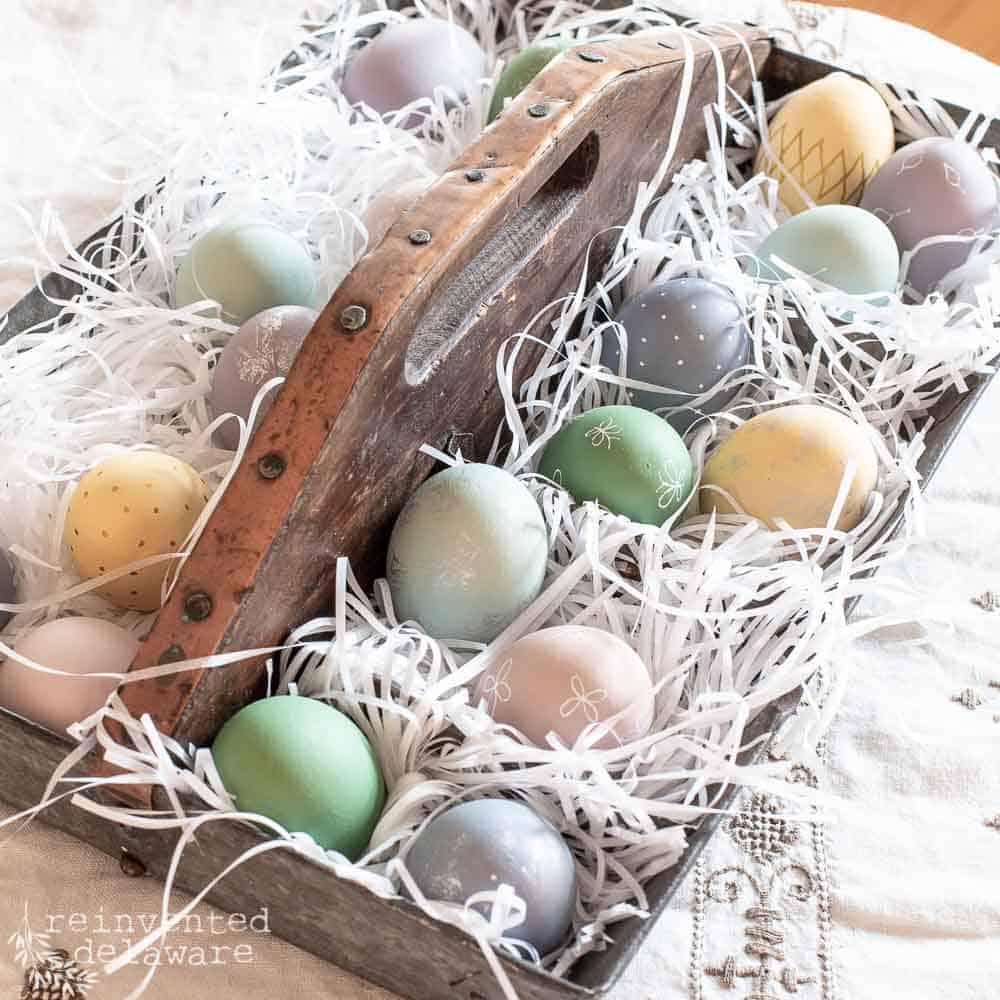
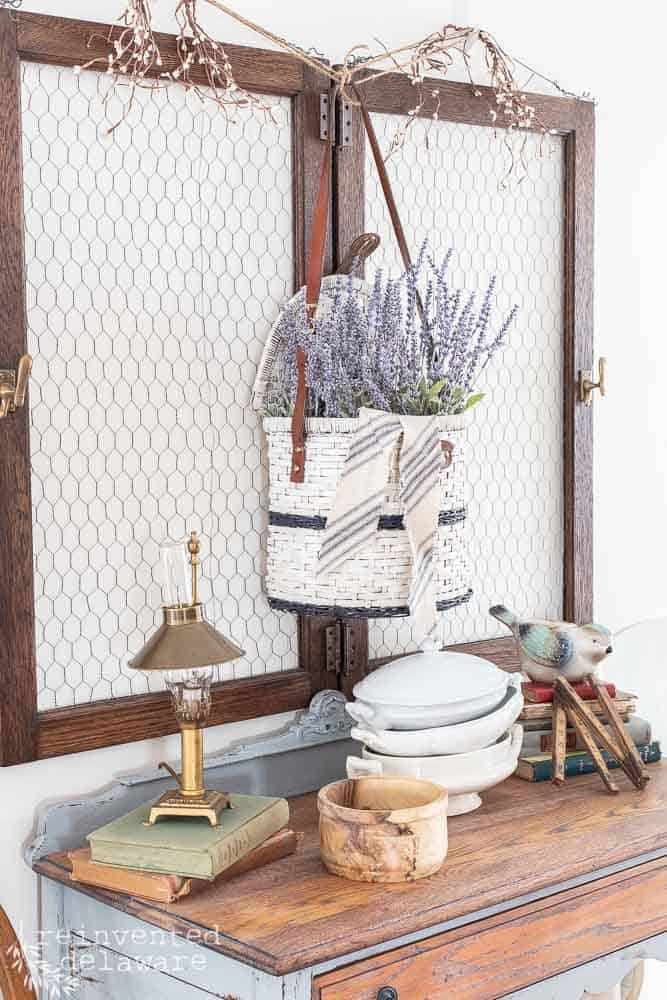
Our eggs are in our kitchen. The nice thing about the wooden eggs is that they won’t go bad sitting out for spring decor!
See the metal tool caddy? It’s one of my favorite pieces. I have a thing for pieces like this that represent the hard-working people that make this nation great and keep it all running! Hubby found this tool caddy for me for only $7! It has a copper strap on the handle. Could be any cuter?
The basket grass and the pretty pastel decorated eggs are the perfect contrast to the metal tool caddy in my vintage lovin’ opinion 😊
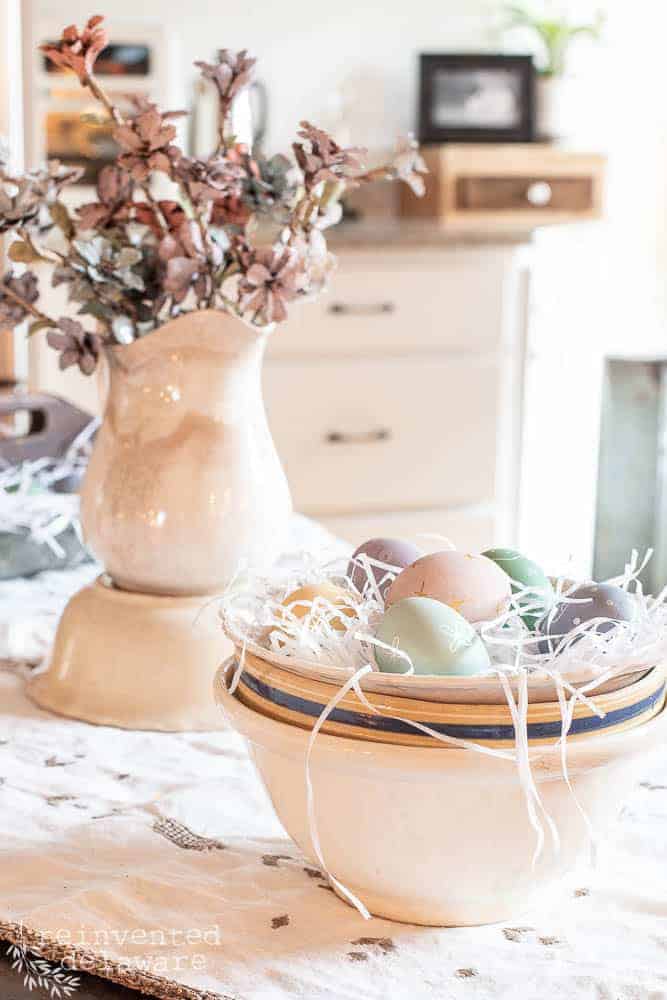
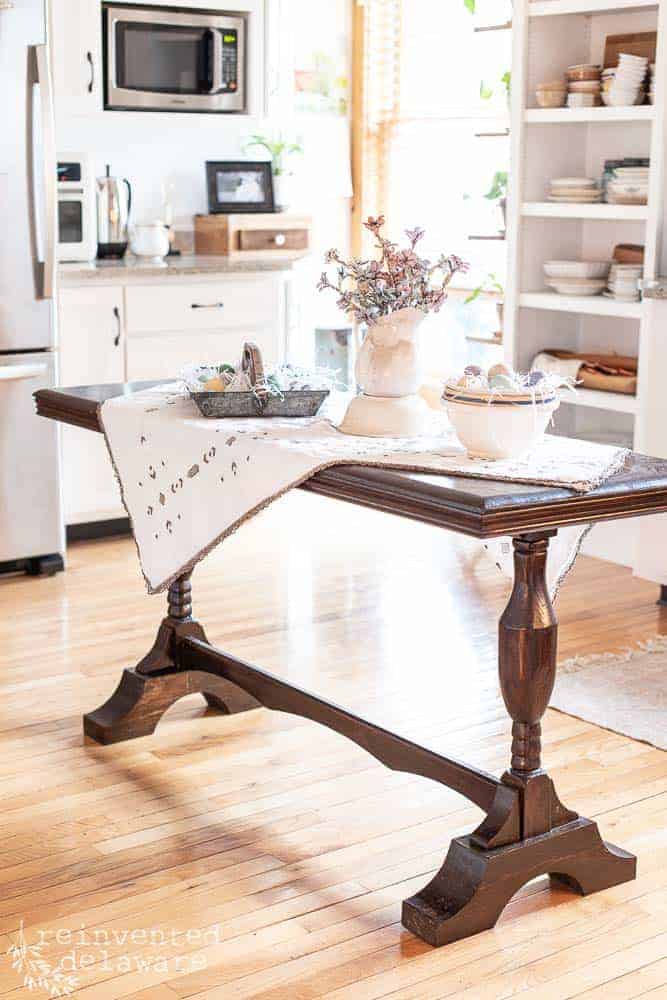
Since I painted 24 eggs, there were enough to add to a stack of ironstone and pottery bowls.

wooden easter eggs
The other great thing about these wooden eggs is that they can be used year after year! If you want to change the colors, just grab some paint 😊
By the way, did you notice the pretty floral arrangement on the table? Stay tuned because I have a fun tutorial for you next week! You will love this easy and inexpensive project so much!
an amazing idea for you!
Here is a great idea! Gather some of your friends from your neighborhood, each of you purchases one color of paint, and everyone buys their own wooden eggs and other supplies and make a day out of it! Y’all will have so much fun painting, laughing, and creating together!
more inspiring posts!
Click any image below to see the post! The one on the left is a doozy of a makeover! You will love it!

Pin the image below to your home decor, spring decorating, and furniture boards! Just click the pin button at the top left corner!

YouTube Video just for you!
Some like to watch the process so I created this video for those who love to see the project come to life!
The latest on Youtube:
Thanks for joining our journey!
Thanks so much for joining us for this post! Join our journey so you don’t miss any fun projects, tutorials, and inspiration we share with you each week! You can follow us on Instagram, Facebook, and YouTube. We share even more inspiration on Pinterest!
Visit my Amazon Storefront!
Click the button below and head over to our online shop on Amazon!

I love that these can be used again and again!
Me too Rachel – and they could be painted for a new year! We love to paint, don’t we??
These are super sweet and so much easier than decoupaging eggs!! Lovely.
You’ve given me an idea…. decoupaging eggs sounds like fun! Thanks for stopping by Kim! 😊
I bought some wooden eggs and left them raw for my Easter table. I may have to get them back out and paint them! These look great! Pinned!
Raw wood eggs would be so pretty! I love that idea Kim!🥰
So pretty Cindy and much easier and practical than painting real eggs!
Thanks Sara! So glad you enjoyed the post!
I love the soft buttery colors you chose. Using the signo pens to decorate them is a fabulous idea! Finally- you won’t be surprised to learn that I LOVE that caddy. 😍 Thank you for another inspiring post. Pinned multiple times.
Isn’t that caddy amazing?? Hubby has such a good eye! 😊
Cindy, these turned out great. I painted some last week too to tuck into places. It better than dying eggs. Love how you have them in the tray. Cute!
Great idea to tuck the eggs in here and there Tammy! 😊
What a cute project, Cindy!! I love all the simple colors of the eggs and the way you displayed them is SO lovely. Beautiful job!!
Thanks Rachel! I appreciate your kinds words! 😊
Hi Cindy – I am sharing a link to your You Tube video on this same topic in my updated post on Marbleizing Eggs.
Thanks for sharing Anna! I appreciate it my friend 🙂